WHAT YOU NEED
DIRECTIONS
 HAPPY VEG
0 Comments
DIRECTIONS
  HAPPY VEG
DIRECTIONS
  HAPPY VEG
DIRECTIONS
 HAPPY VEG
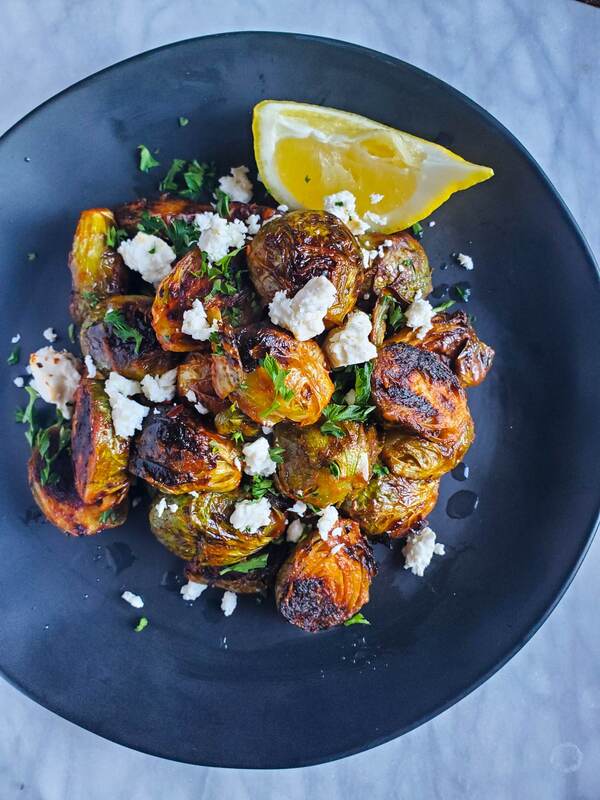
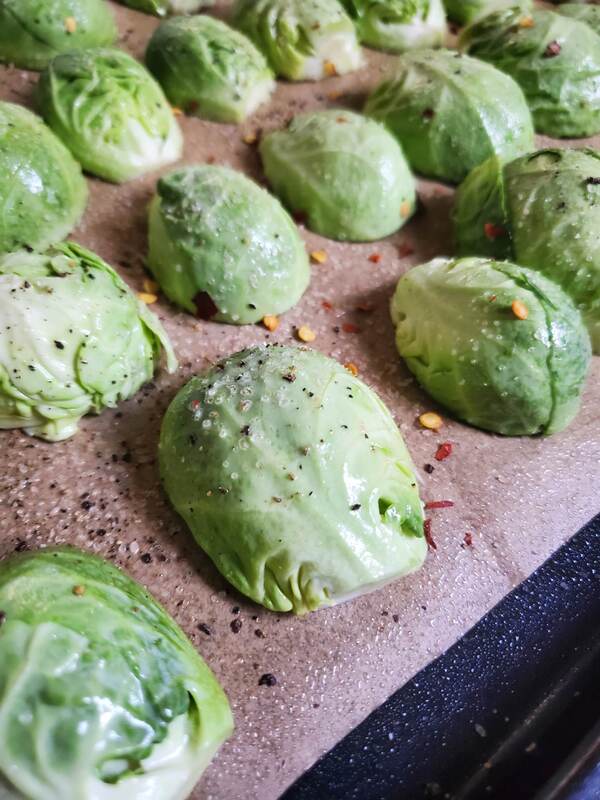
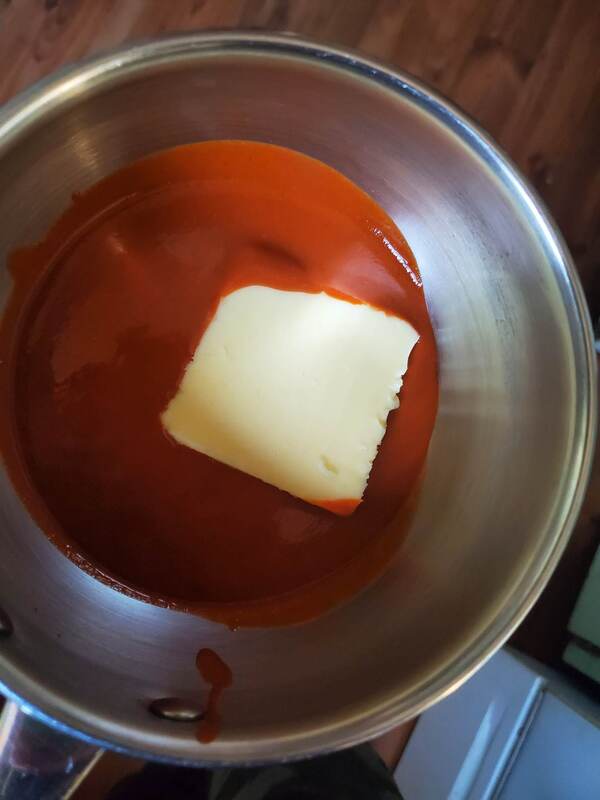
NOTES: 1. When shopping for brussel sprouts, you want to shop for similarly sized sprouts so that they cook at roughly the same time / temp. If you've got huge variations in size, they'll cook unevenly. 2. Valentina is probably my favourite hot sauce on the market. Mexican sauces always seem to blend the heat and flavour aspects of the sauce perfectly. You can honestly use whatever your fave hot sauce is in place of the Valentina if you'd like, or even buy a premade Buffalo sauce. Watch for ingredients though, those premade sauces can hide dozens of creepy ingredients. 3. I put (+) after the sauce / butter in the ingredients because I want you to try the sauce and manipulate it to your liking. My sauce is pretty effing spicy, so if that's not your thing, reduce the hot sauce a little and add a little more butter. Just taste it when it's done, you'll know if you want it less hot or not. DIRECTIONS
 HAPPY VEG
DIRECTIONS
  HAPPY VEG
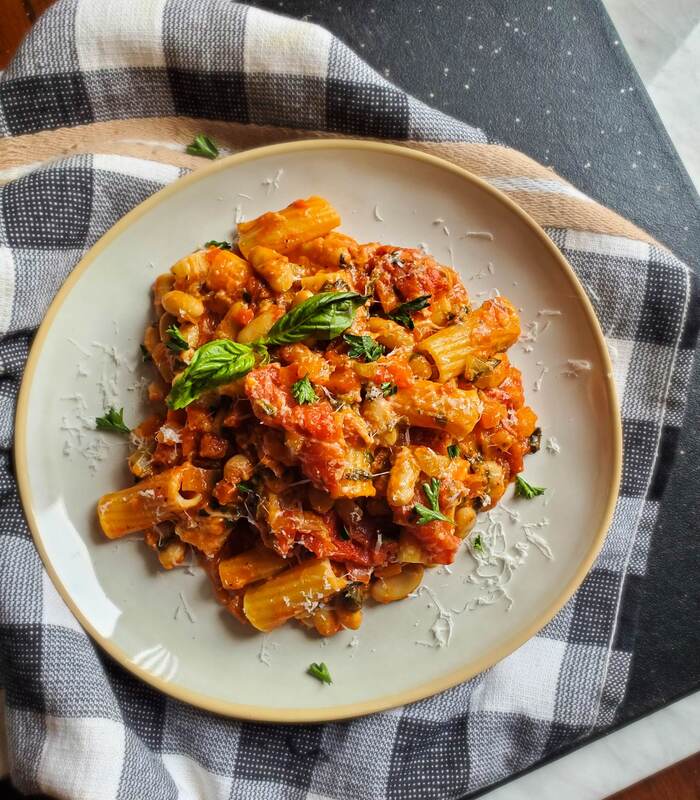
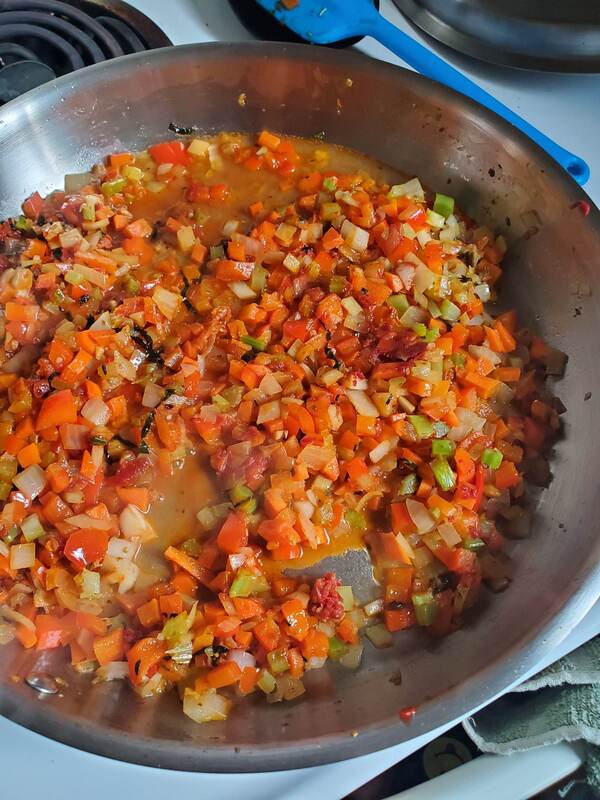
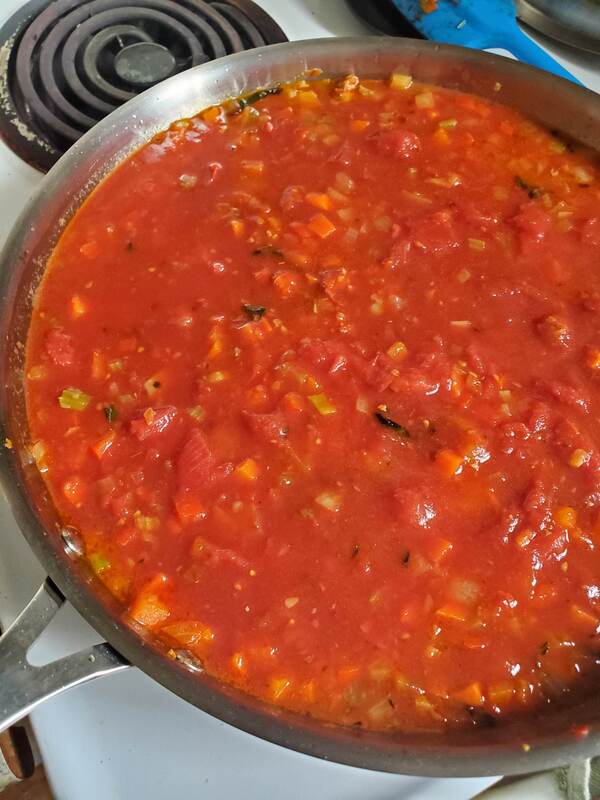
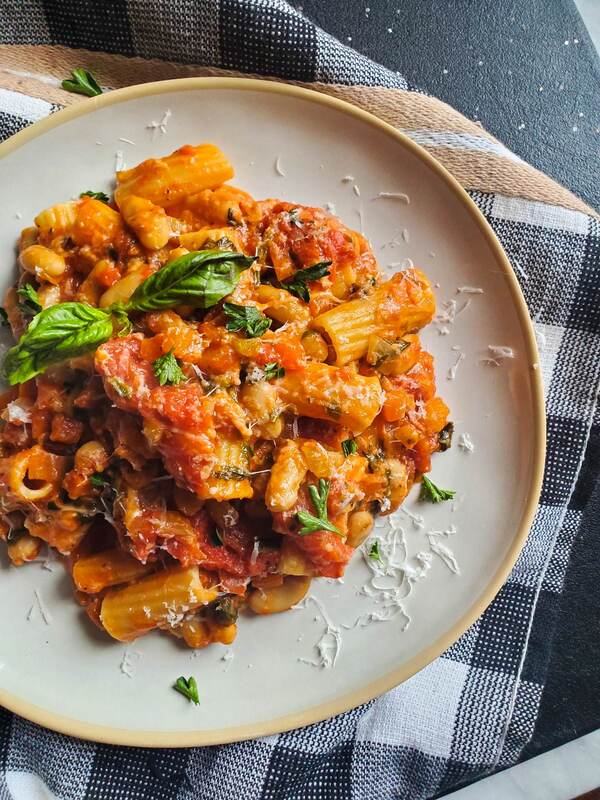 HAPPY VEGI find myself with extra tomato sauce quite often because I usually make a full batch and I'm only feeding myself. Yes, you could easily freeze the sauce until you're craving pasta once again, and yes, you could have pasta the following night as well, because we love carbs and we love pasta. There are however, some other ways to use up that banging tomato sauce and I've got a couple ideas for you guys to make use of that tomato sauce without always boiling up some noods.
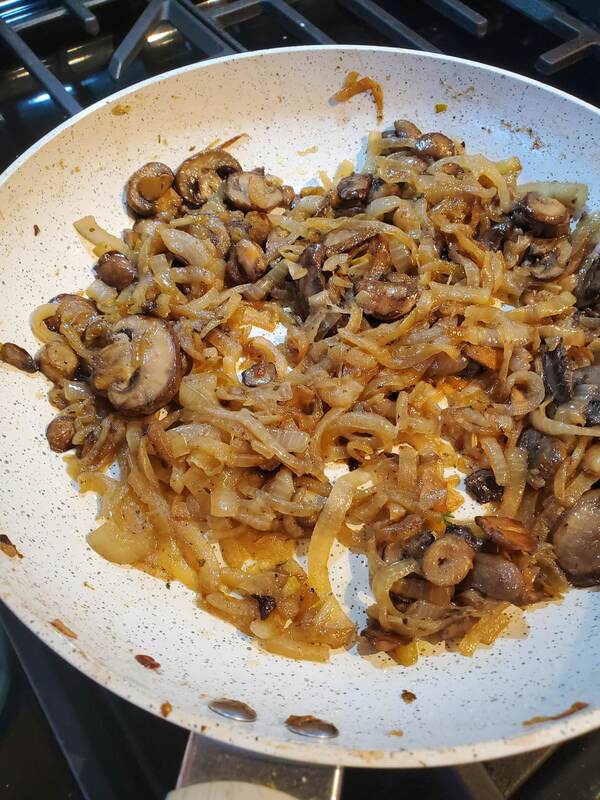
RECIPE 1 - Italian Poutines
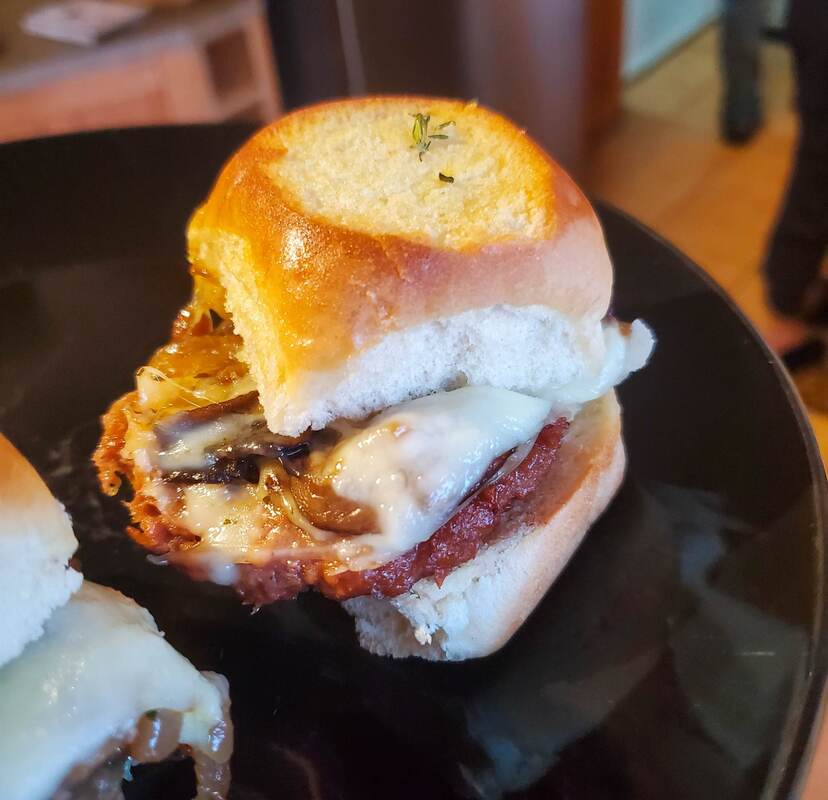
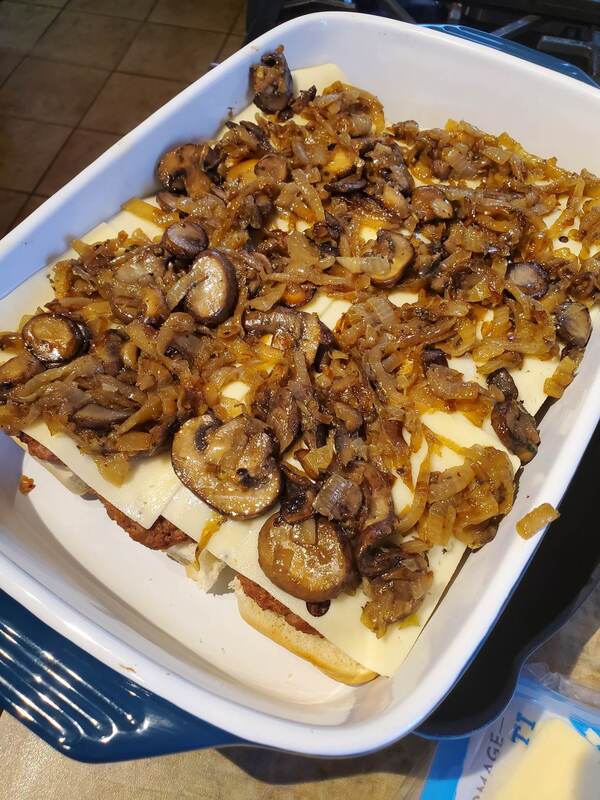
RECIPE 2 - Cheesy Grilled Chik'n Parm |


 |
|
- To serve, cut the bread in half so you've got 4 sandwiches. Smear a little tomato sauce on the bottom of the bread and place your chikn burgers on next. Place a couple slices of pizza mozz on top of the burger and smother in more tomato sauce. Top with a couple fresh basil leaves & grated grana padano, and place your top pieces of bread on.
- Serve & enjoy!

HAPPY VEG
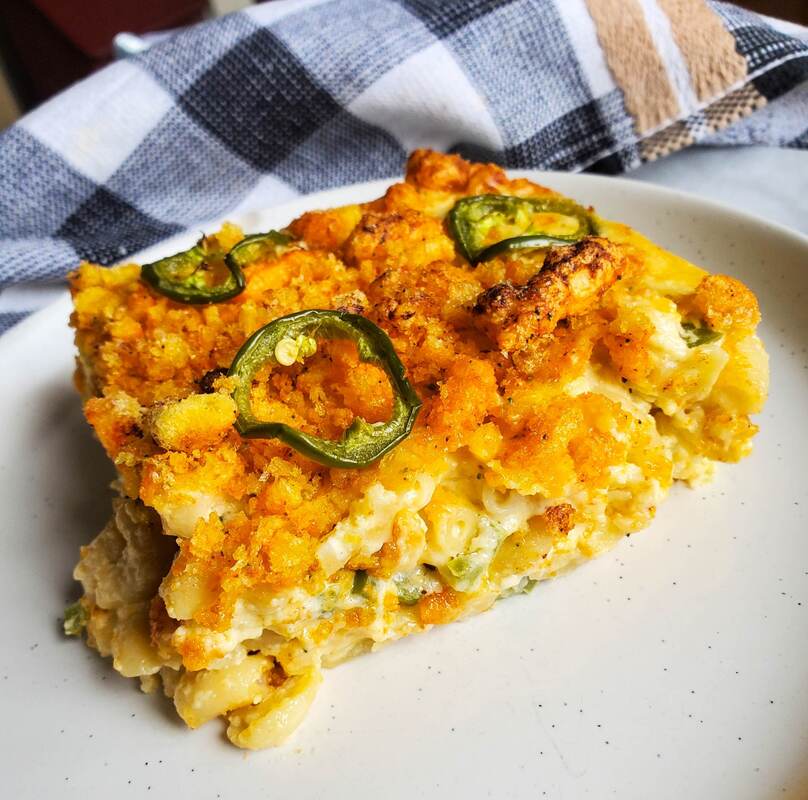
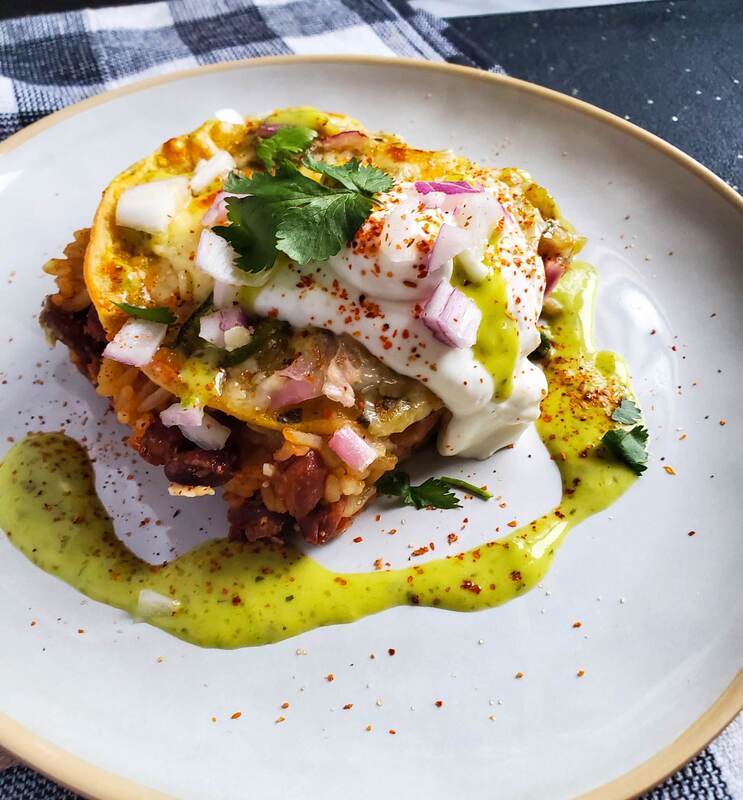
 | Mexi Casserole Prep Time: 10 Min Cook Time: 40 - 45 Min Yields: 6 Pieces |
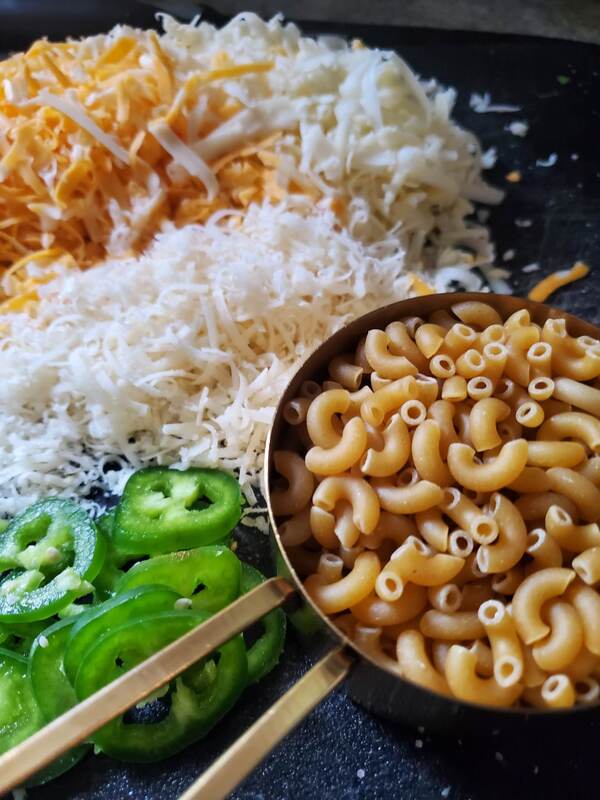
 | WHAT YOU NEED
|
DIRECTIONS
- Empty the Mexican beans in to a small pot. Cover and heat to temperature on medium low.
- Prepare the packaged rice according to directions. Set aside.
- Preheat oven to 375 F
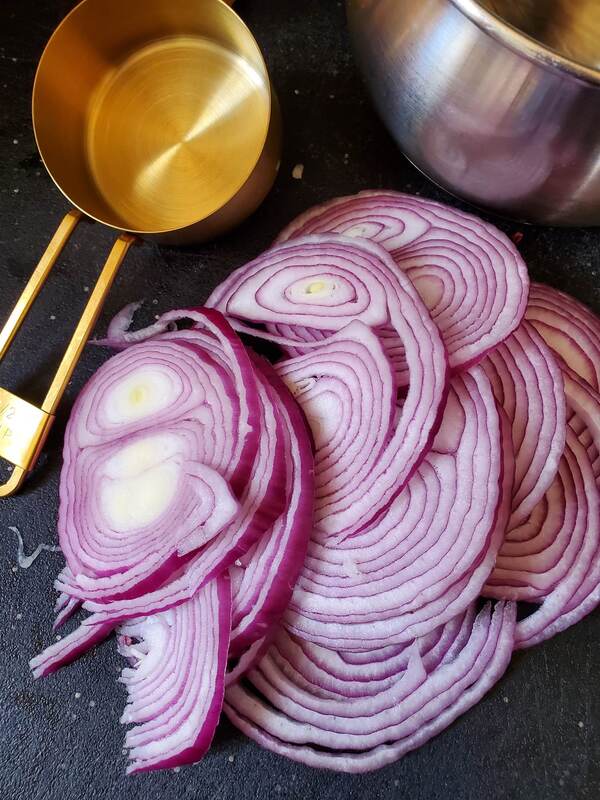
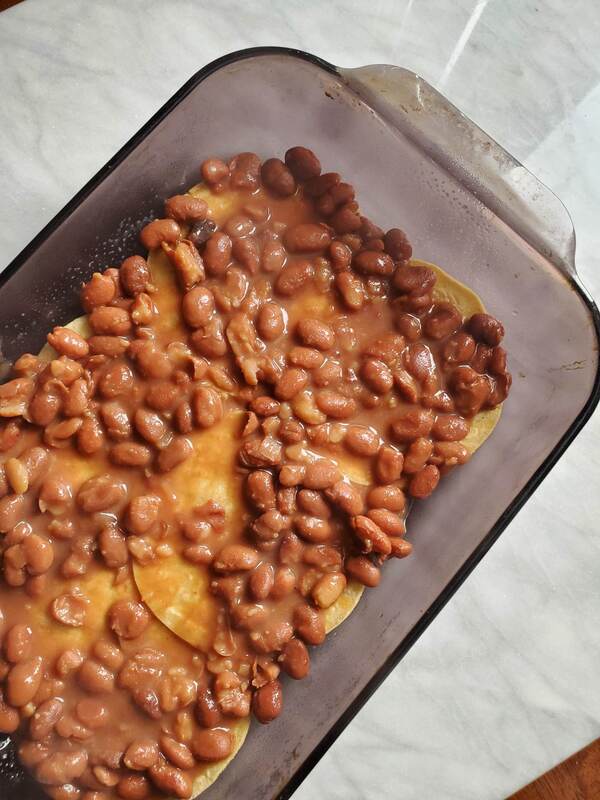
- Spray the inside of a 2 qt, 7" x 11" baking dish with cooking spray and lay out 6 tortillas to coat the bottom of the dish. Spread half the beans over the tortillas followed by half the rice, 1/3 of the mixed cheeses, and some sprinkled red onions and sliced jals.
 | 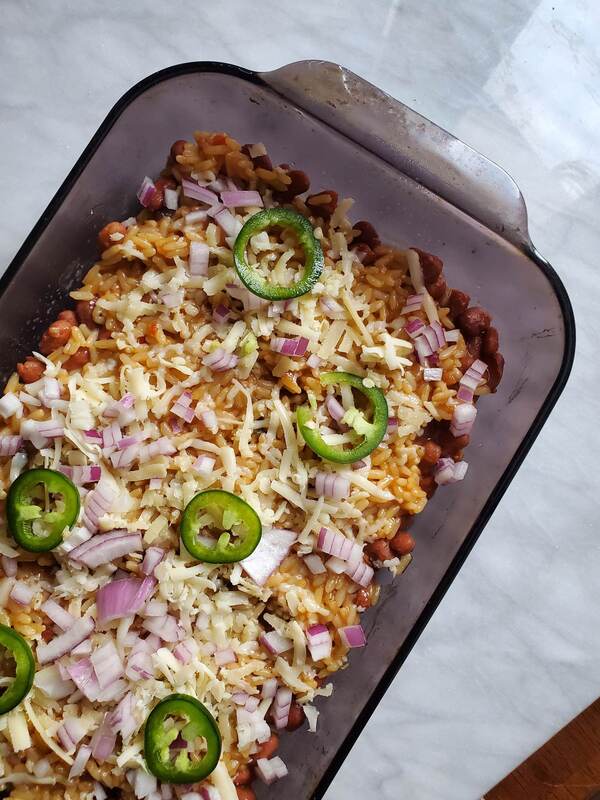 |
- Top with 6 more tortillas and gently press them down into the layer beneath. Continue with the remaining beans & rice, spreading to make another layer. Top with another 1/3 of the cheeses, diced onions, and sliced jals.
- Finish with 6 tortillas, gently pressing them down once again. Drizzle salsa verde over the entire top layer, making sure the tortillas are all coated in the salsa. Finish with the remaining cheeses, more diced onions, and the remaining sliced jals. Sprinkle the entire top layer with Tajin.

- Cover and bake for 20 minutes. Remove cover and continue to bake another 15 or so minutes until the cheese is bubbly, melted, and browned in some spots.
- Remove and set on to a wire cooling rack for 5 - 10 before slicing.
- Slice in to 6 pieces using the location of the tortillas as your guide for cutting.
- Garnish your casserole with some or all of the recommended garnishes. ENJOY!

HAPPY VEG
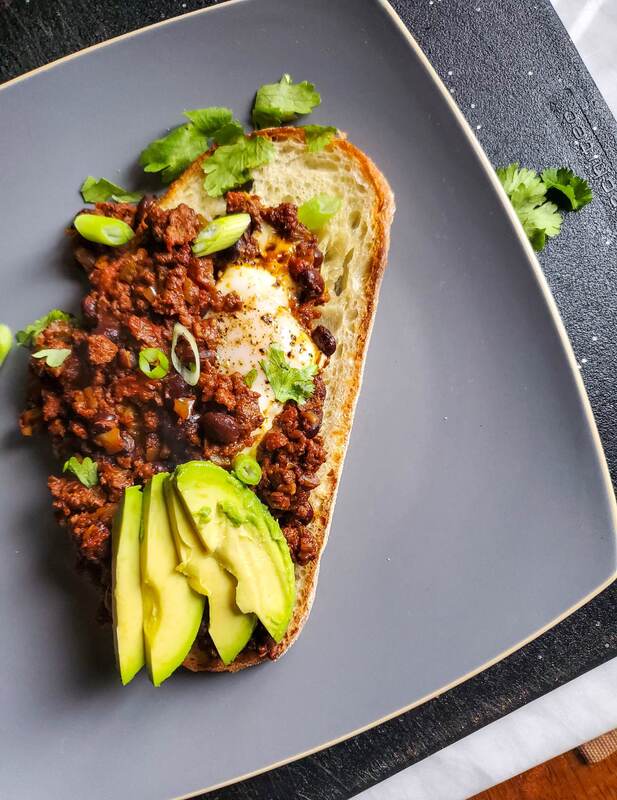
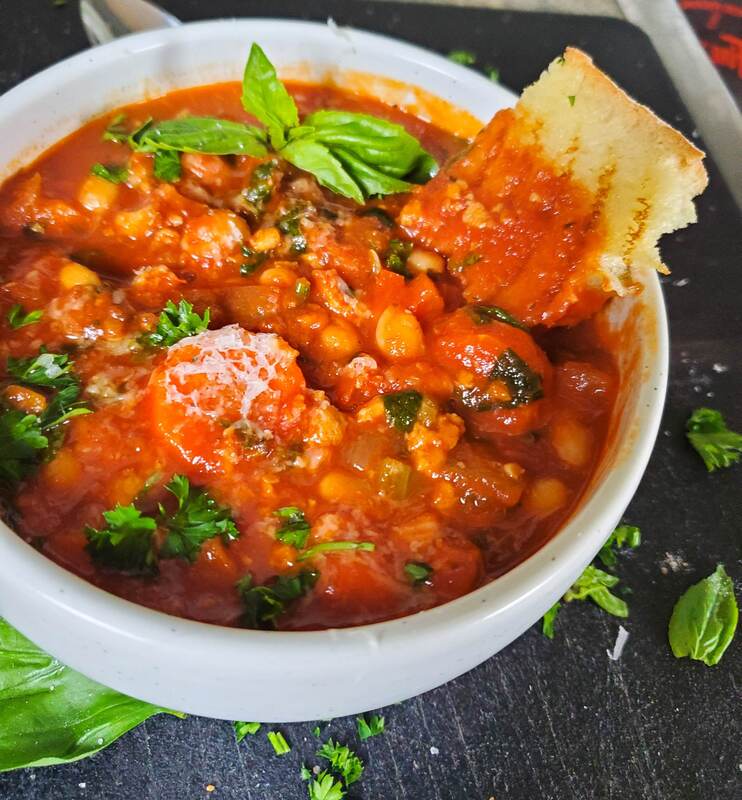
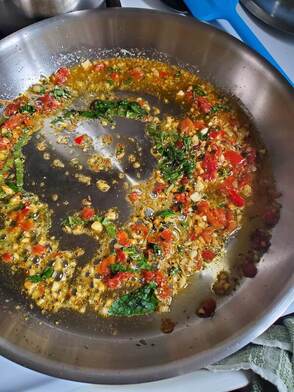
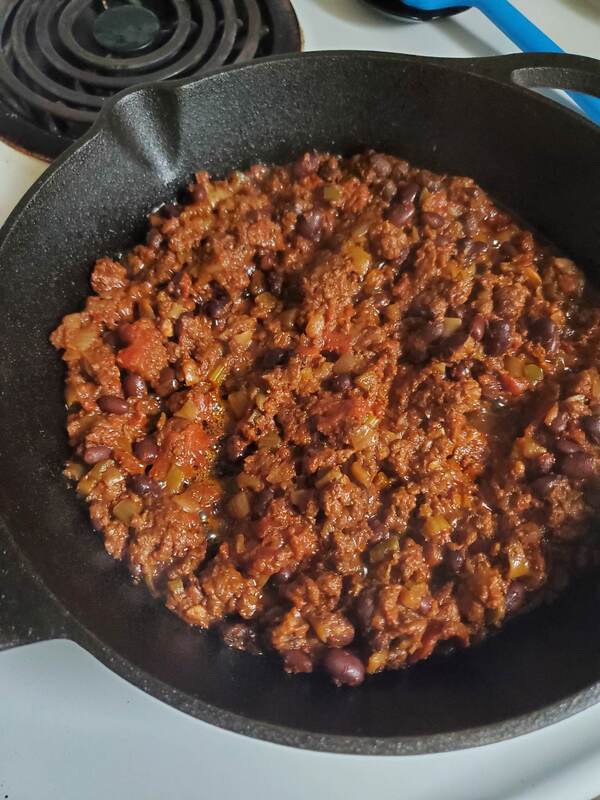
 | Chili Eggs Prep Time: 10 Min Cook Time: 10 Min Yields: 2 Servings |
 | WHAT YOU NEED
|
NOTES:
1. You could easily make this a recipe for 4 people if you have enough chili. Crack four eggs in to the skillet and grill a couple extra pieces of bread.
2. The chili recipe I used was my Impossible Chili -- https://www.thehappyveg.ca/recipes/impossible-chili-chili-cheese-burritos , however, don't be shy to use your own recipe or even open a can for a convenient option.
3. I recommend sourdough because it holds up well to heavy toppings. You could also try it with Texas toast style bread or any hearty, thick piece of bread.
DIRECTIONS
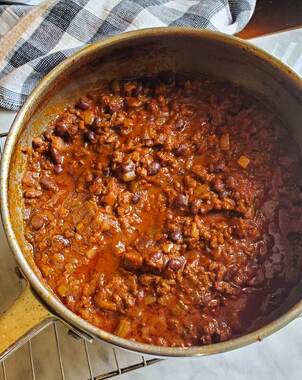
- Add about 1 1/2 - 2 C of cold, leftover chili to a 10" skillet. Set the heat to about medium and let the chili come to temperature.
- Once heated, make 2 small wells in the skillet and carefully crack in your eggs. Season the eggs with salt & pep and let them simmer in the chili until the whites are set and yolks are golden and runny. Spoon hot chili on to the whites of the eggs as they cook to speed up the process without overcooking the yolks. Keep your eyes on those eggs, you don't want them hardboiled.
 | 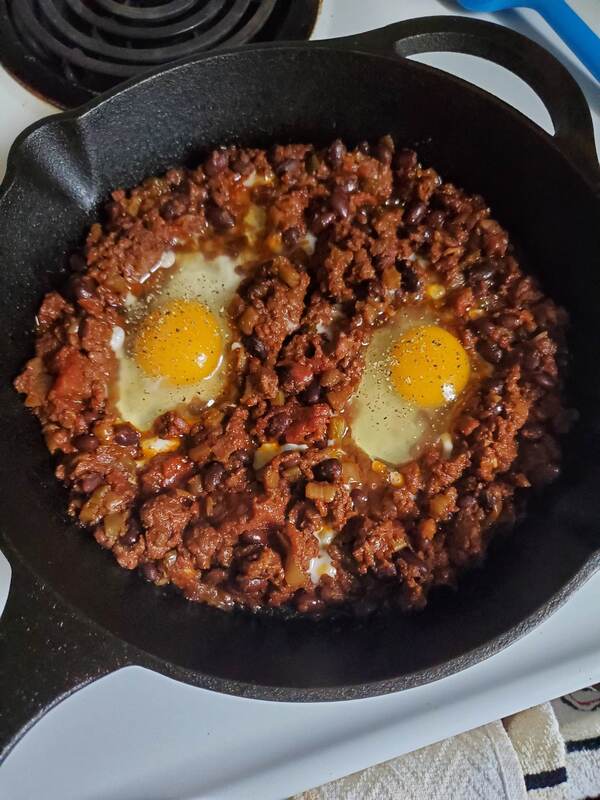 |
- While the eggs are cooking, heat up a grill pan and drizzle it with EVOO. Grill your bread slices on both sides until nice and crispy.
- For service, place your grilled bread on to your plate and scoop out an egg along with a generous serving of the chili. Serve it over the bread followed by a garnish of fresh cilantro, sliced green onions, and some sliced avocado.
- Optionally, you could include some shredded cheese if desired. I opted out of it this time.
- ENJOY!