
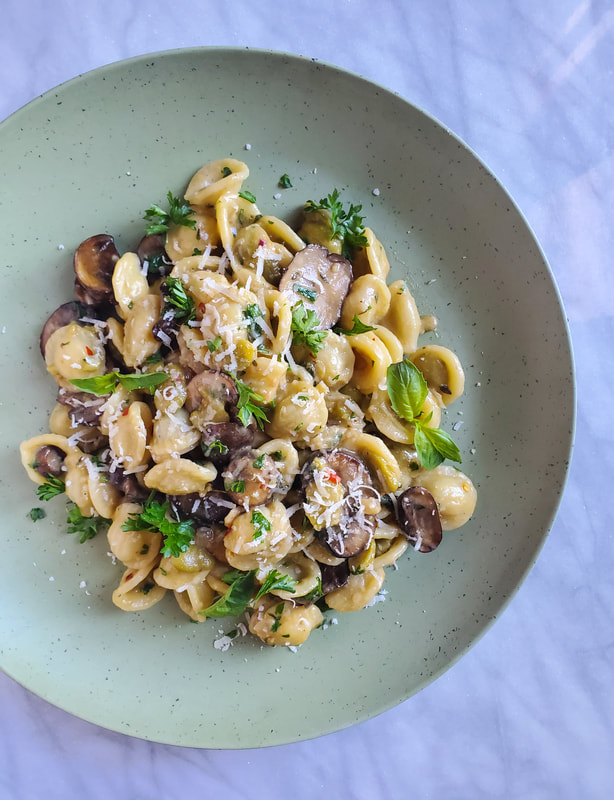
NOTES: (*1) Orecchiette Pasta can sometimes be difficult to find depending on the grocery store. You could sub out any small shaped pasta in its place. (*2) Pepperoncini is obviously spicy and I like all of my dishes to have some heat. Reduce to half a tablespoon if you prefer it a bit more mild. (*3) Peeling the fava beans is tedious but worth the effort. The skins are edible but the beans themselves are so creamy without the skins. I recommend peeling them.
 HAPPY VEG
0 Comments
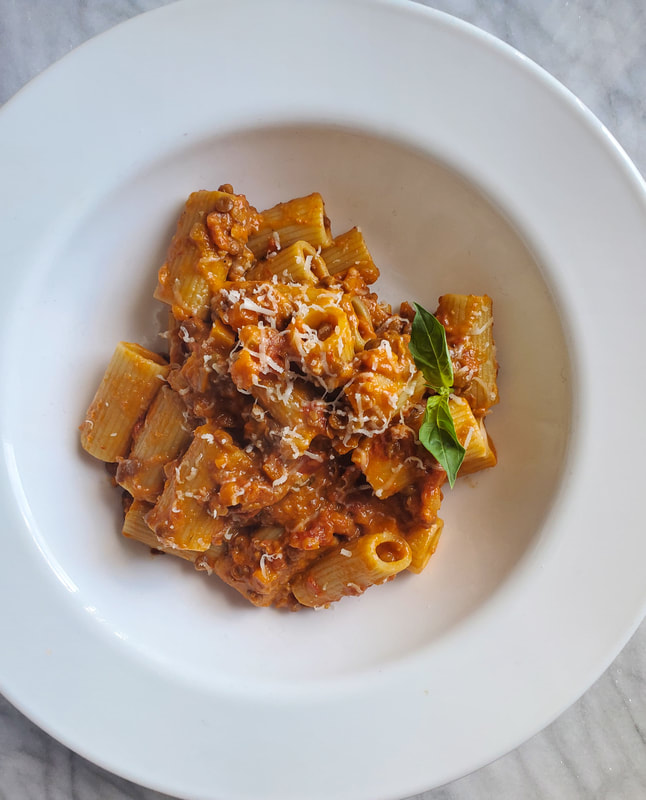
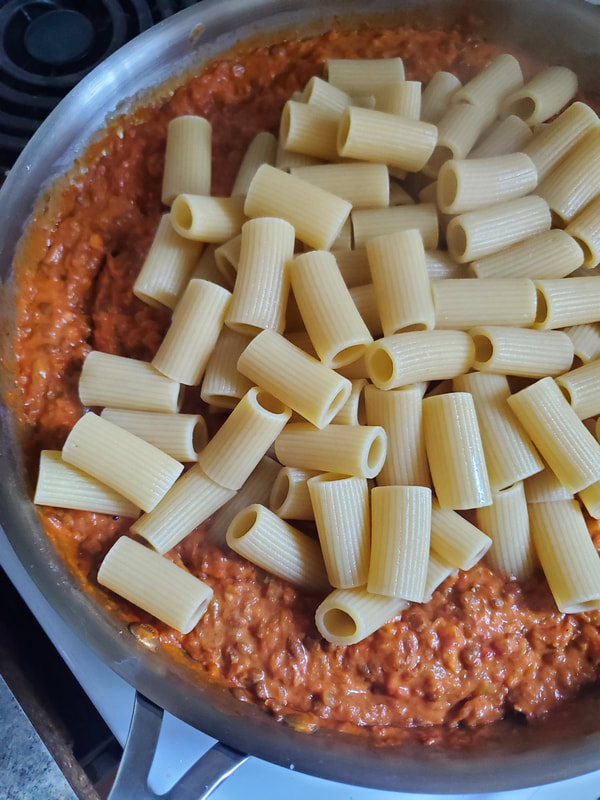
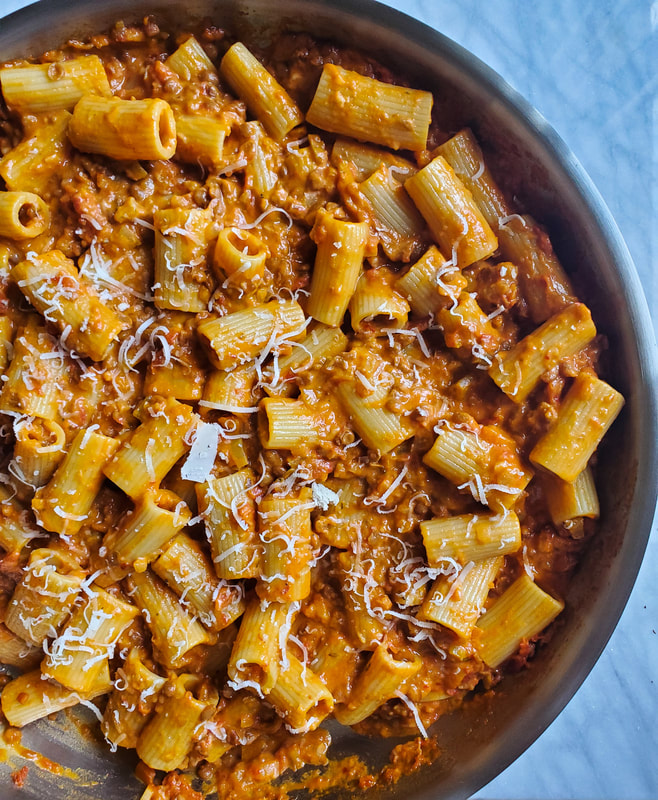
I love pasta. Could I eat it everyday? Absolutely, and I would in all honesty, but I worry that I would ruin one of my favourite foods on this planet. Is that even possible? Why would I even dare to find out when my love for pasta runs so deep. To pick a favourite pasta shape would be difficult for me. They all have their perfect place at the table and their perfectly paired sauce. Certain dishes require certain pasta shapes for reasons like ridges, length, capability of holding sauce in pockets, or functionality. Some can be swapped in for one another but you'd never expect a spaghetti mac and cheese. (Although hmm, is this something I need to try?) Let's celebrate my love for pasta together! I've gone through the blog and looked for some of my favourite pasta recipes and the various shapes they came in. Let's take a look at some of these delish pasta recipes! RIGATONI
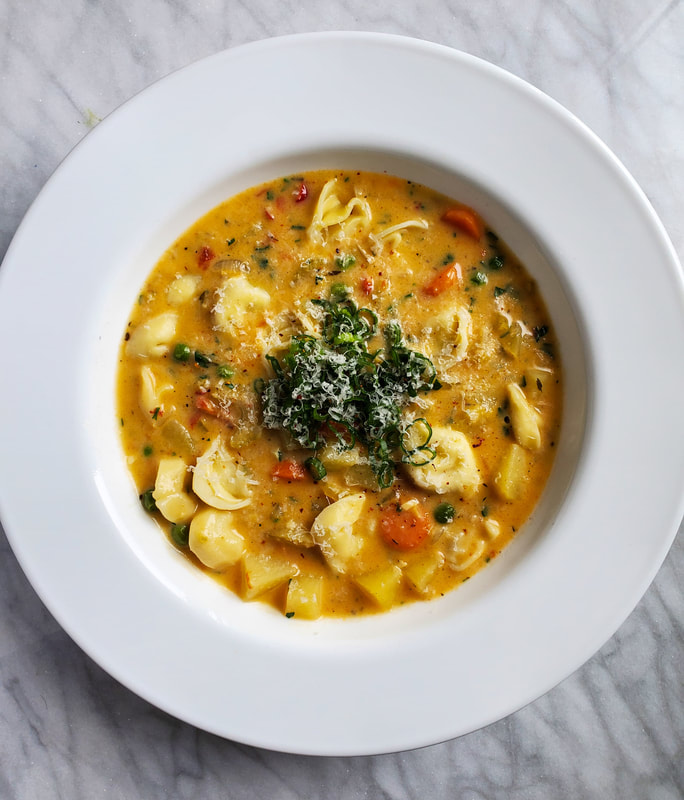
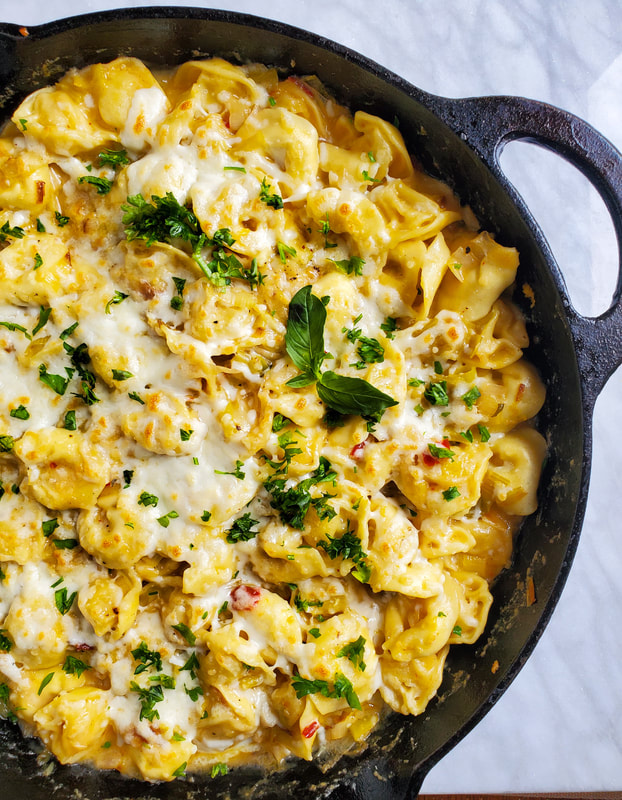
RecipeTORTELLINI
Recipe
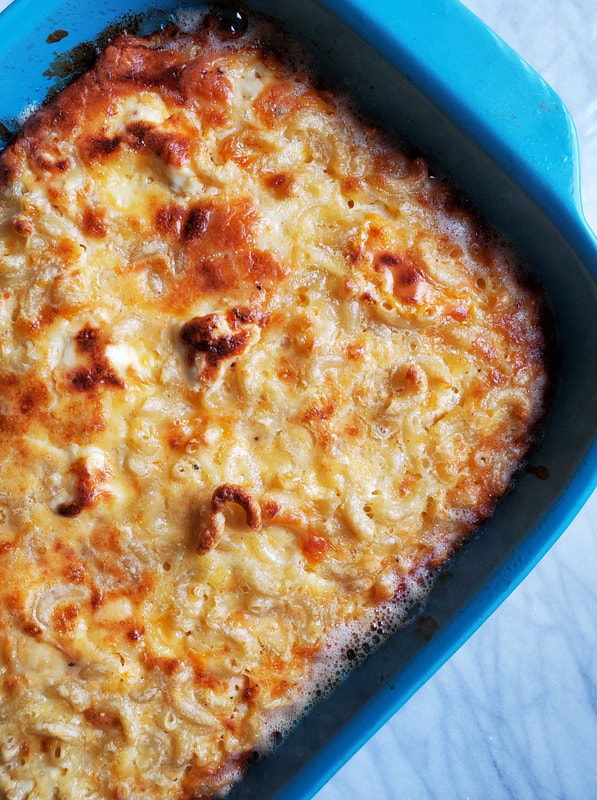
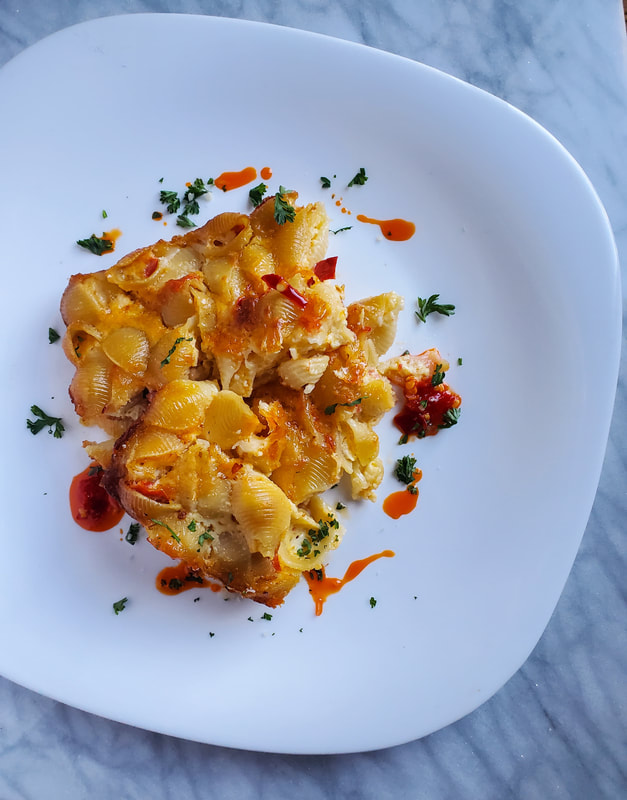
RecipeMACARONI
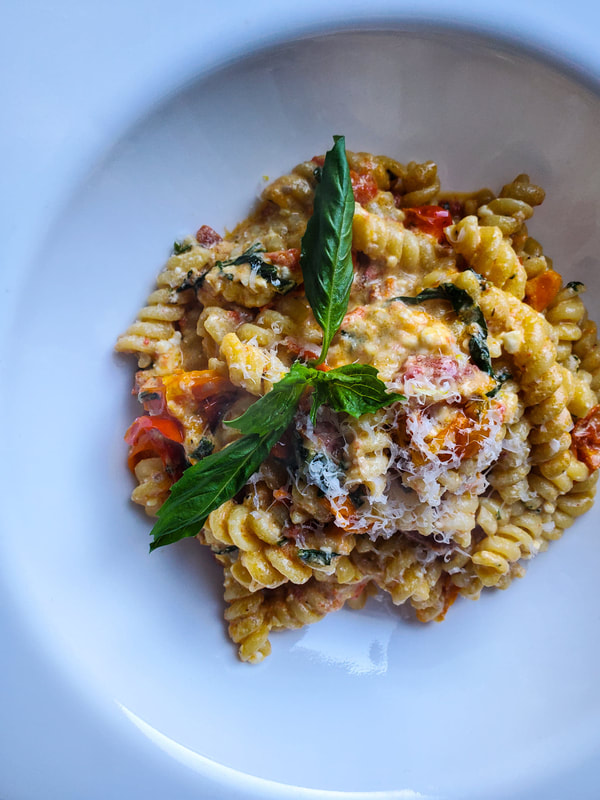
FUSILLI
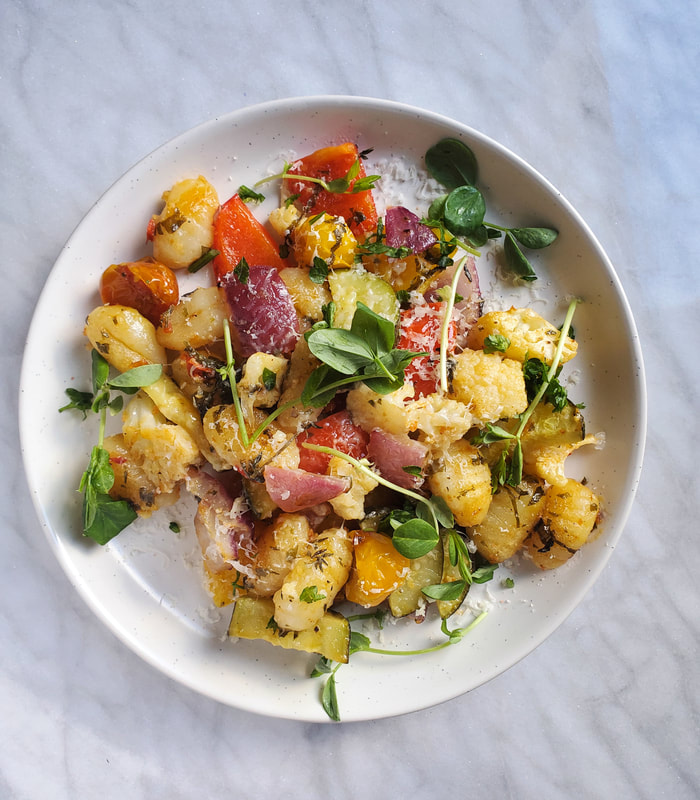
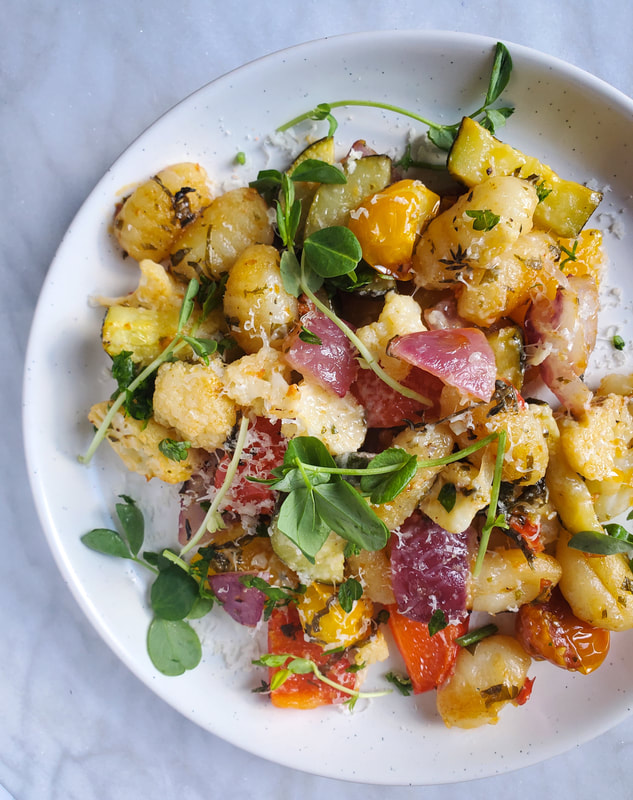
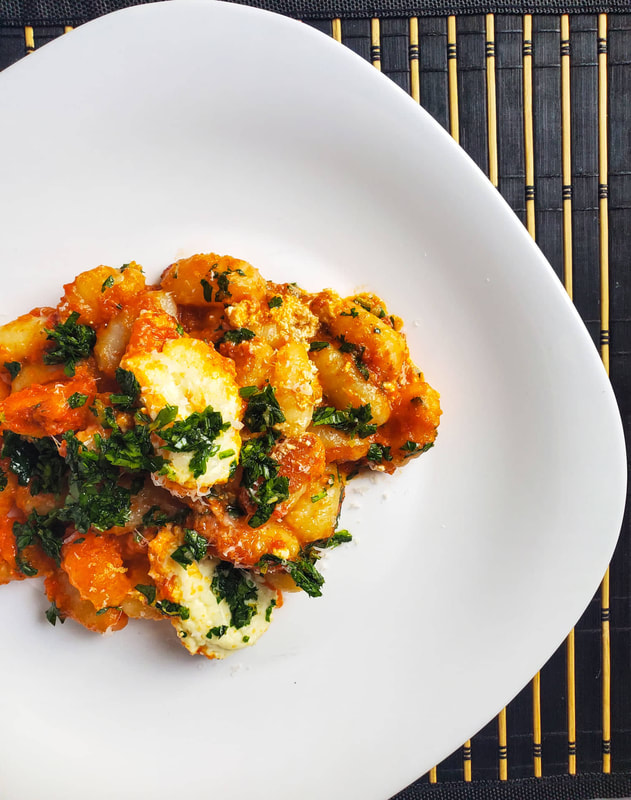
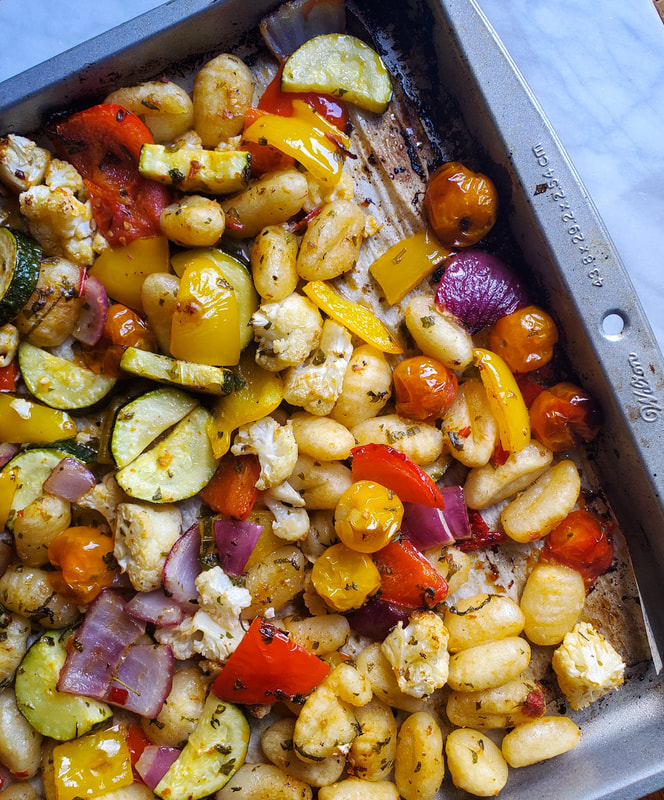
GNOCCHIEasily my top 3 favourite pastas, and that can be directly traced back to the potatoes that are involved in these glorious, fluffy potato pillows.
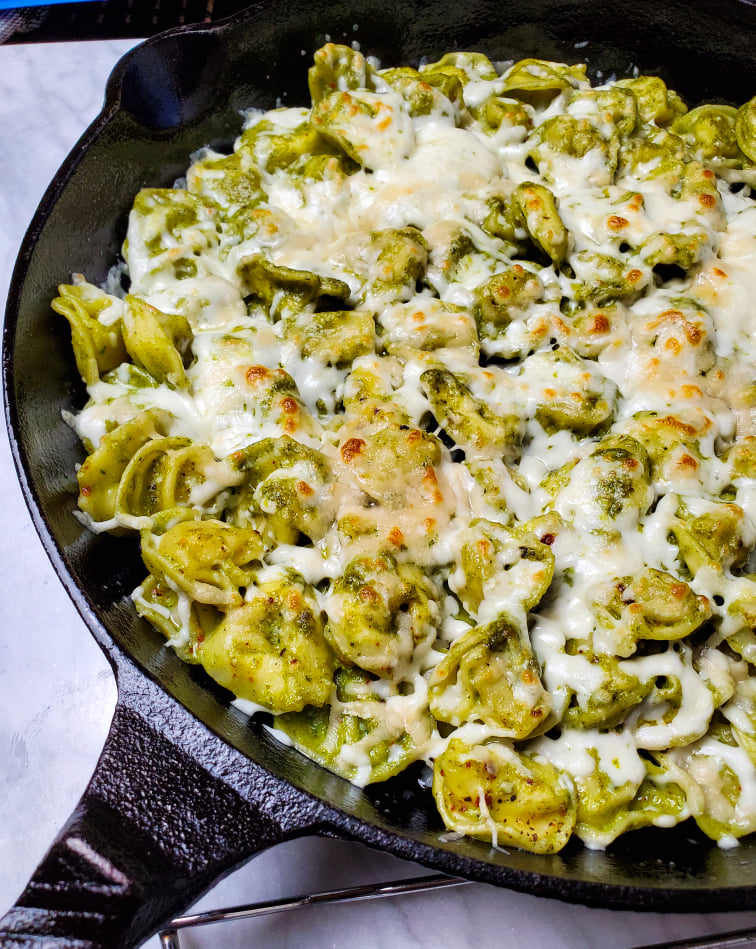
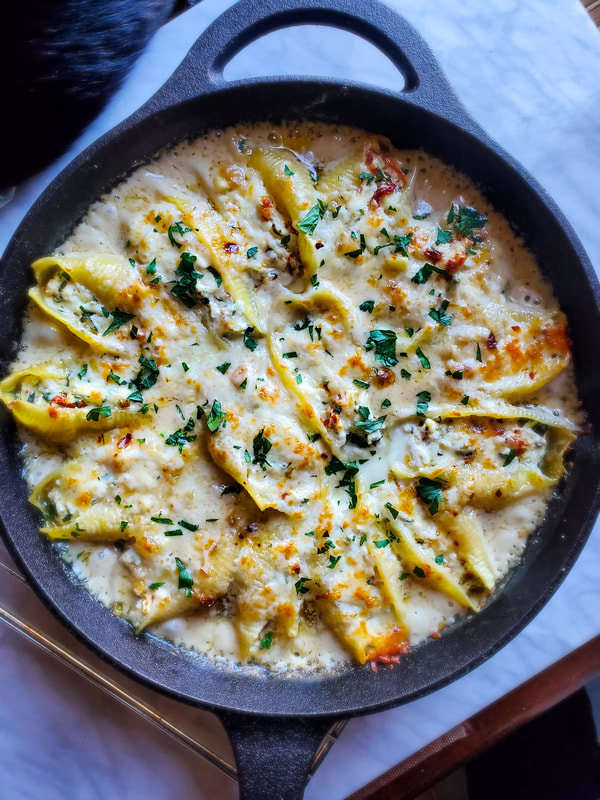
SHELLS
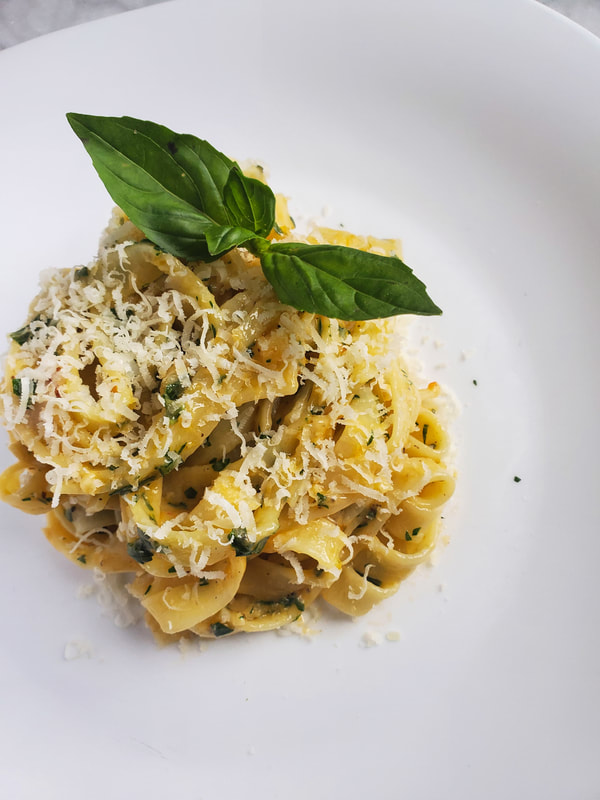
TAGLIATELLE
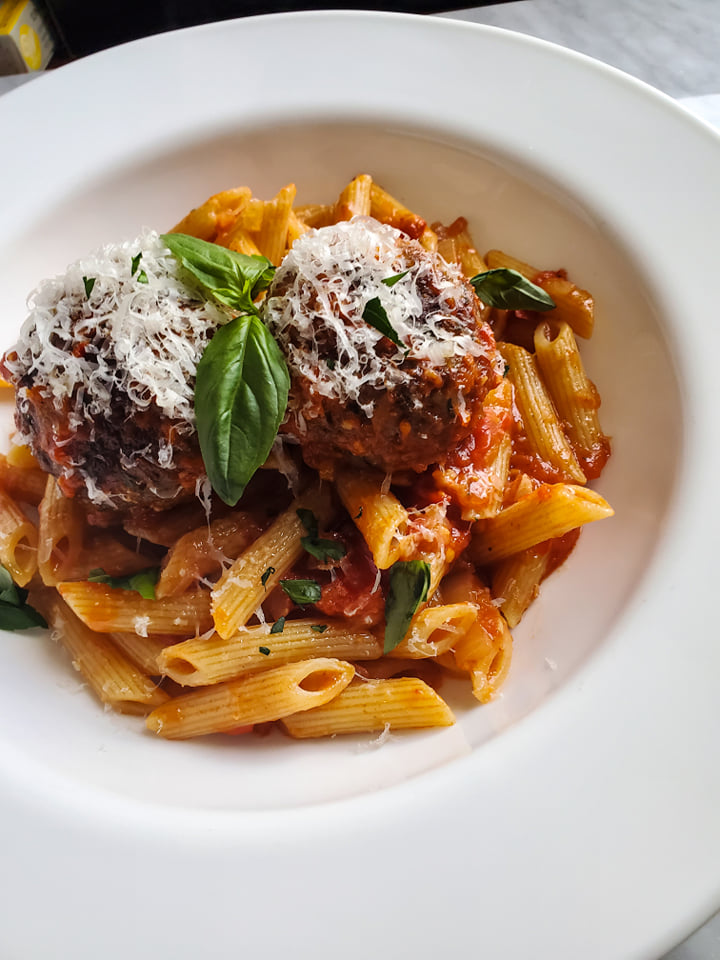
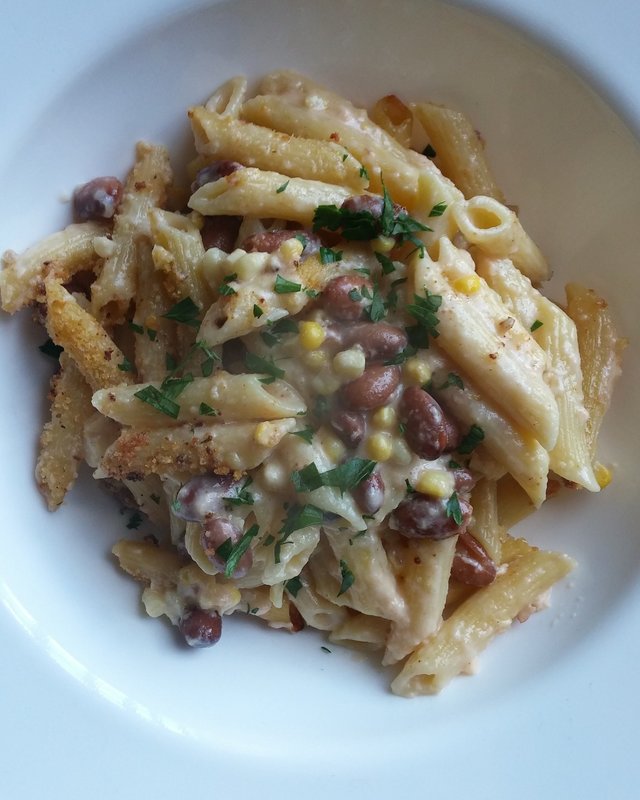
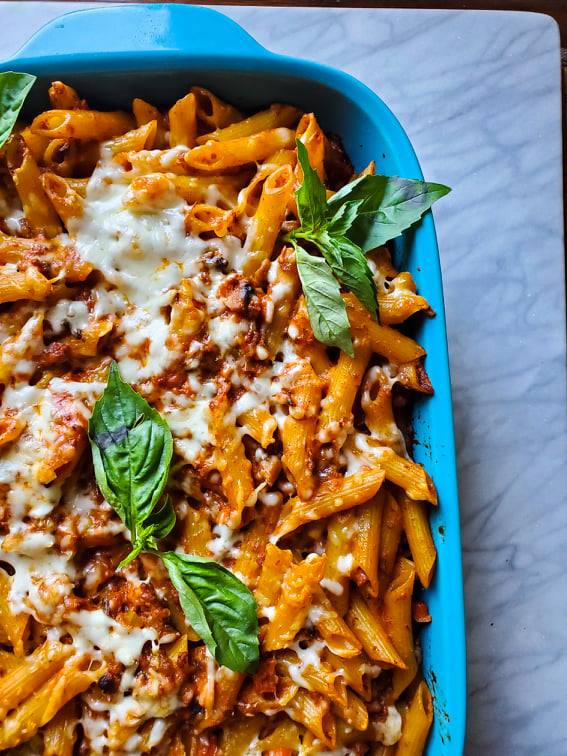
PENNEOk, we're all probably over penne depending on where we are in our lives. It's the most overused pasta in my opinion which has really devalued it. Tell me you haven't been to at least 3 weddings where it was tomato sauce penne? Because of this, we've stopped appreciating it, but I refuse to give in.
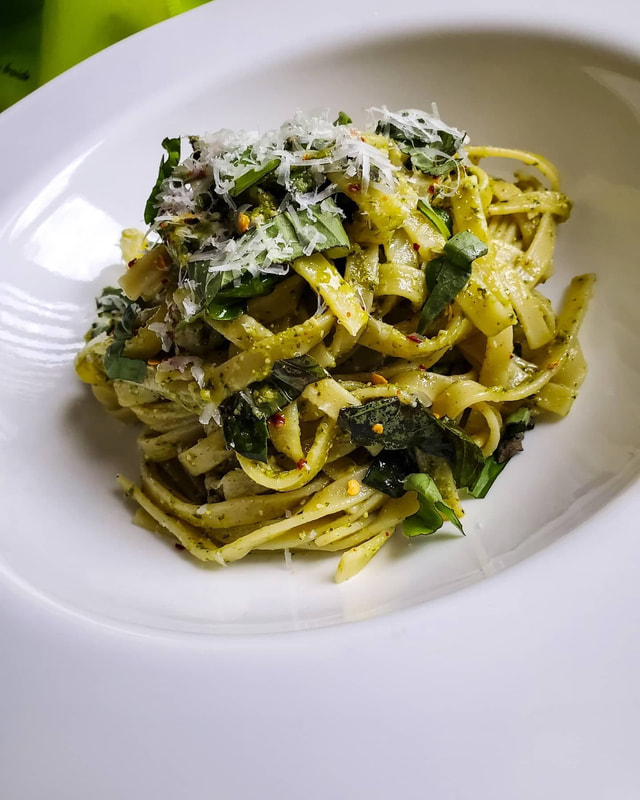
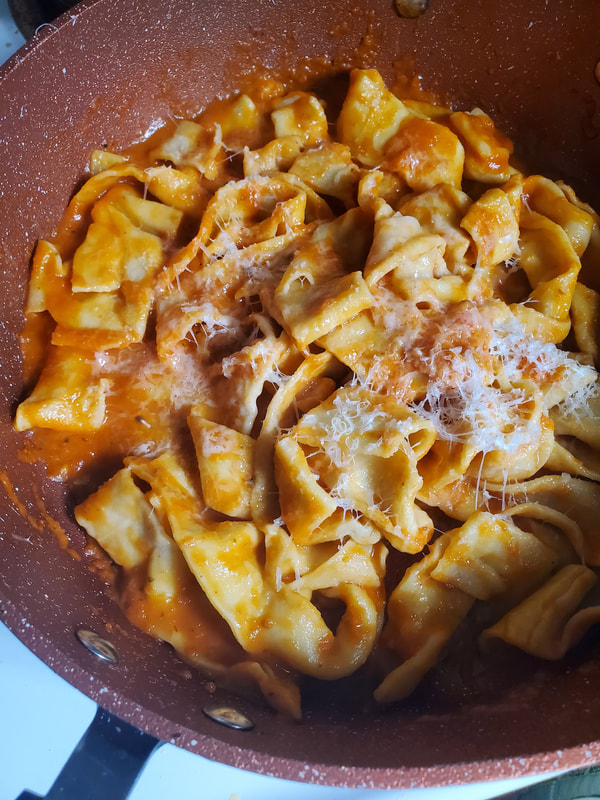
PAPRDELLE
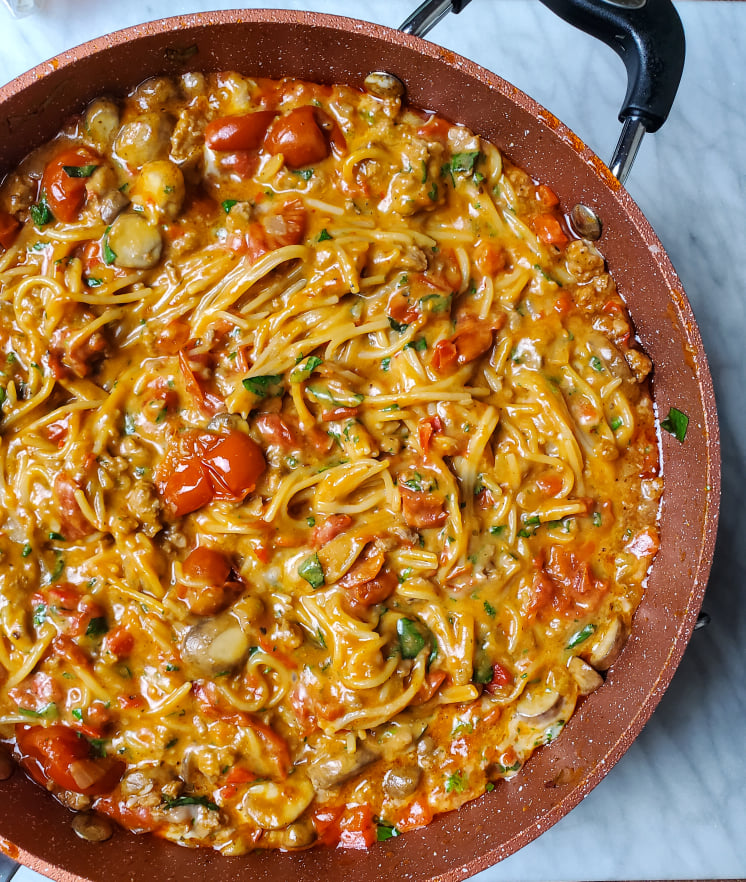
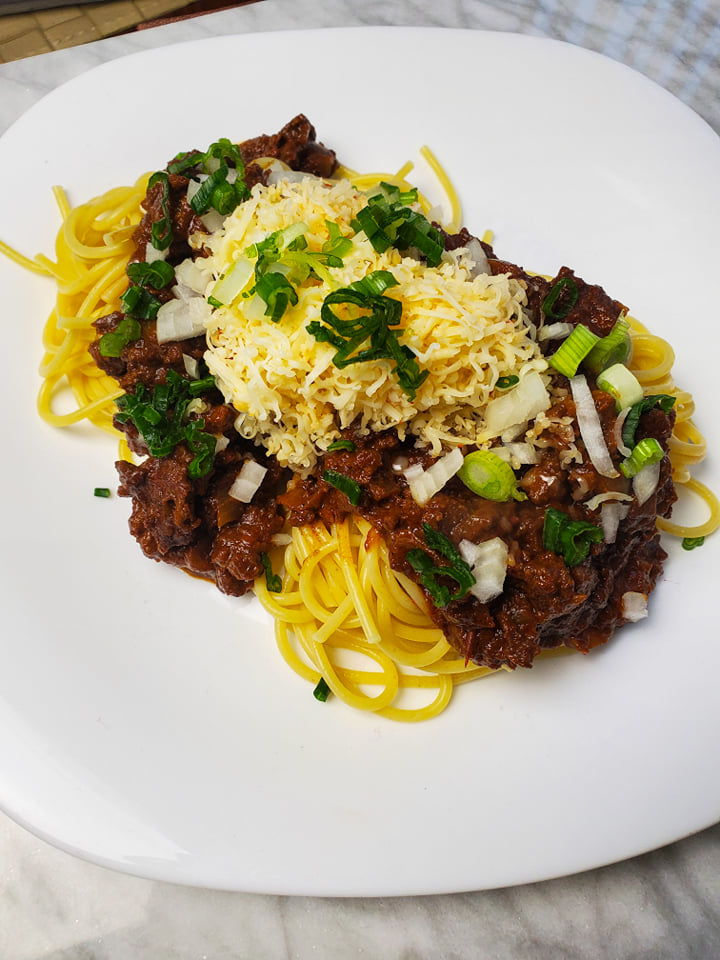
Spaghetti
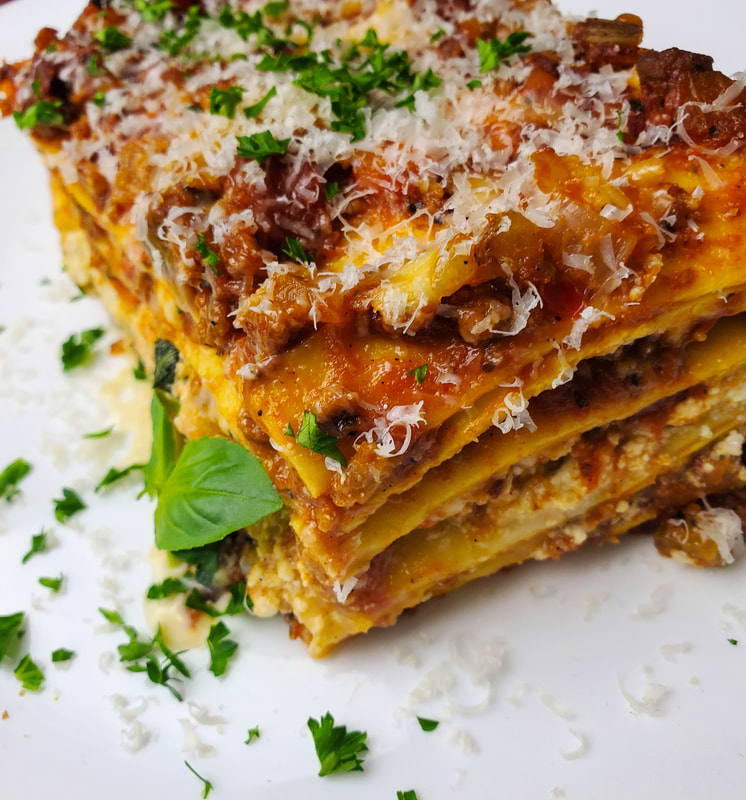
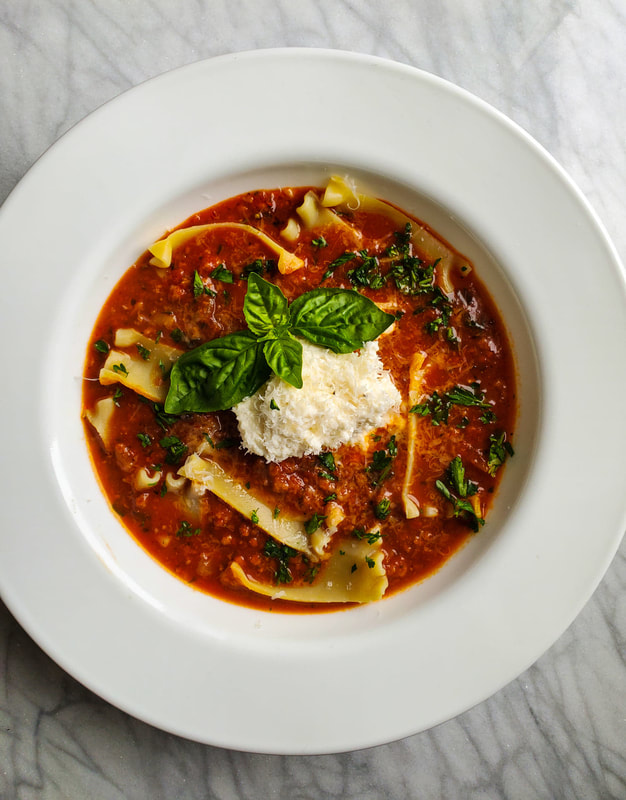
LASAGNA
WHAT'S YOUR SHAPE?These recipes only touch on the several different kinds of pasta and fun shapes you can find out there. I've made Italian Wedding Soup with the cutest little pasta stars. I've made the most delicious ravioli bakes / lasagnas and they've all been fabulous. Head to the SEARCH bar on the home page and type in your fave pasta. Maybe I've got a few recipes waiting just for you! HAPPY VEG
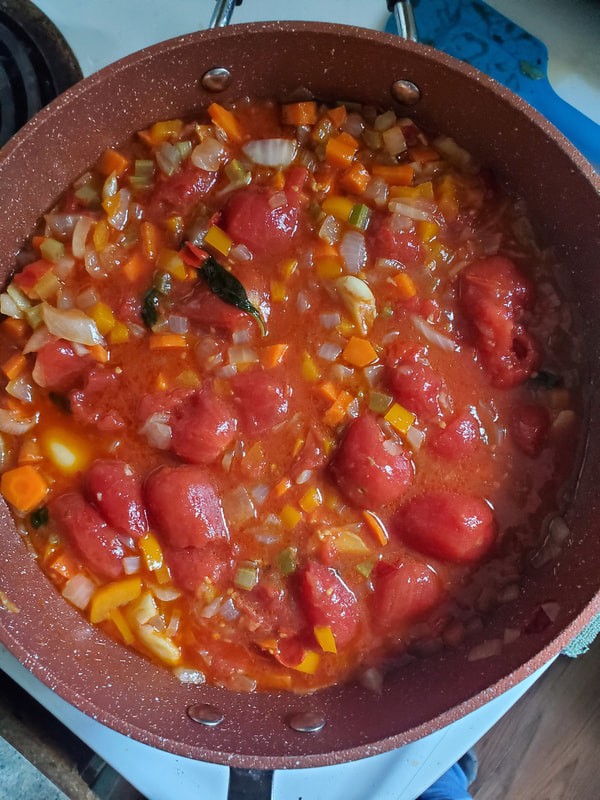
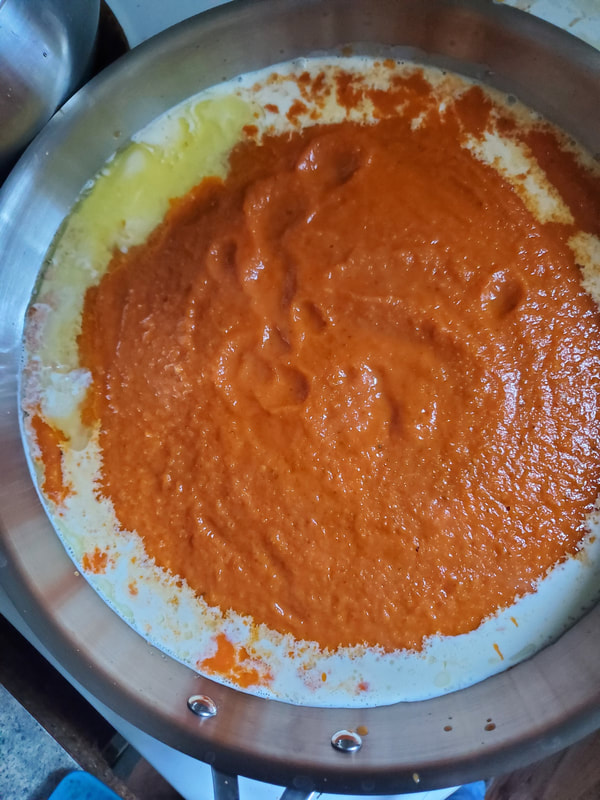
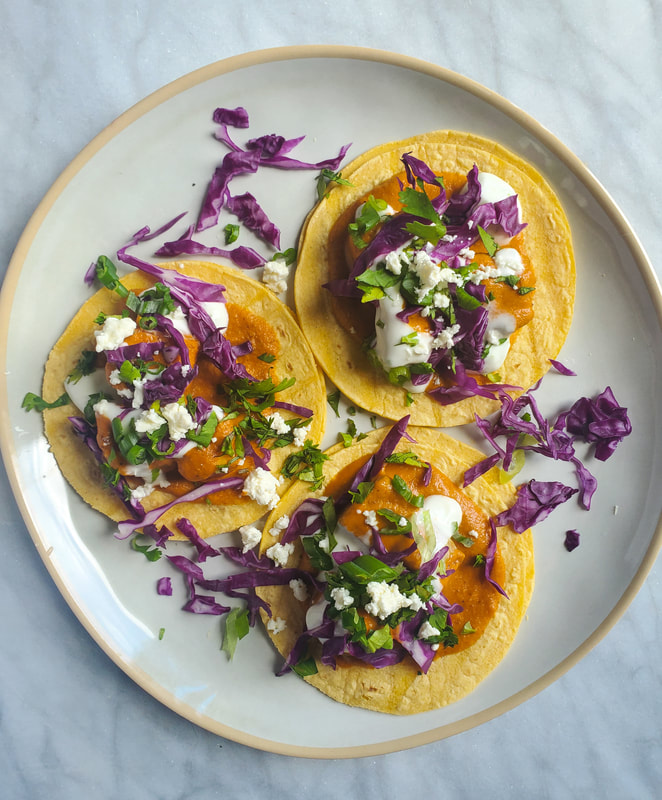 NOTES: (*1) Whatever sugar you have will work just fine. Coconut, white, brown, or cane, would all be acceptable. (*2) Make sure whatever blender you have is capable of safely blending hot liquids. If not, let cool completely, blend, and rewarm prior to creating the creamy sauce. HAPPY VEG
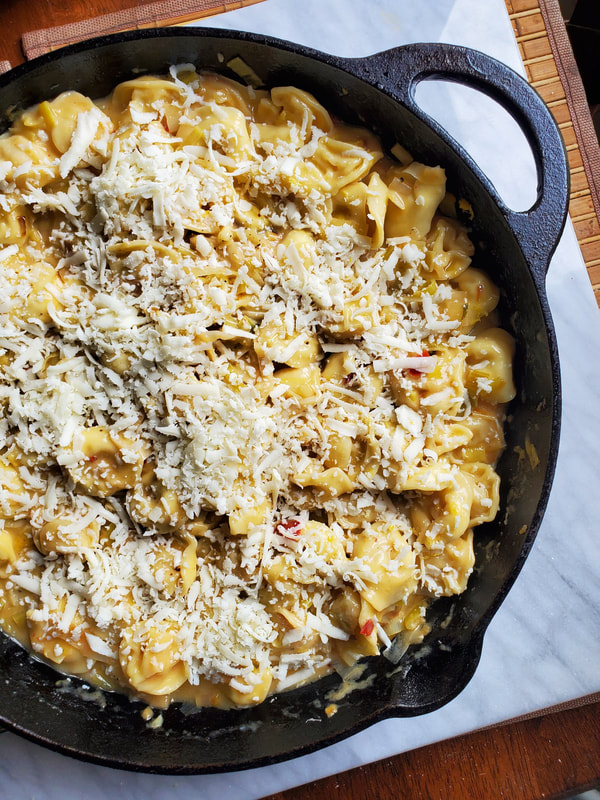
NOTES: (*1) This is an optional addition. The sauce will be delicious regardless. You could also substitute regular green pesto for the sauce as well if you have it available. (*2) When I originally tested the recipe, I used the entire batch of sauce and found that the raviolis were kind of swimming. Although I don't mind the sauce, I figured reducing by 1/4 would make this perfect. Reserve additional sauce in a sealed container in the fridge for 4ish days. 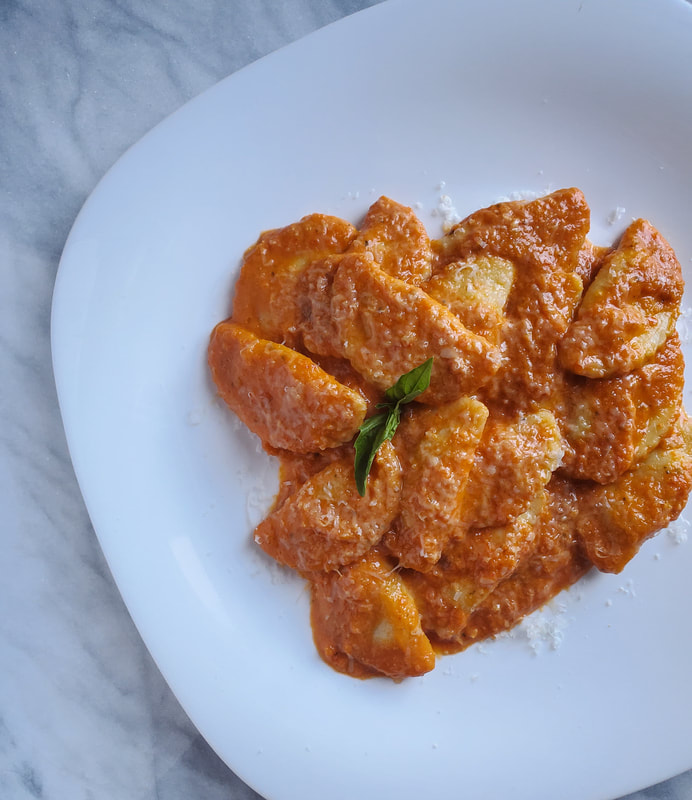 HAPPY VEG
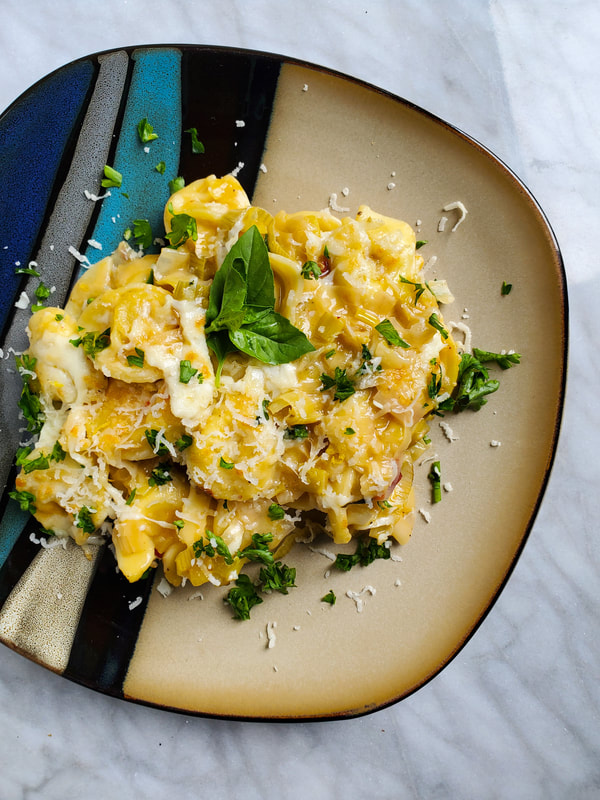
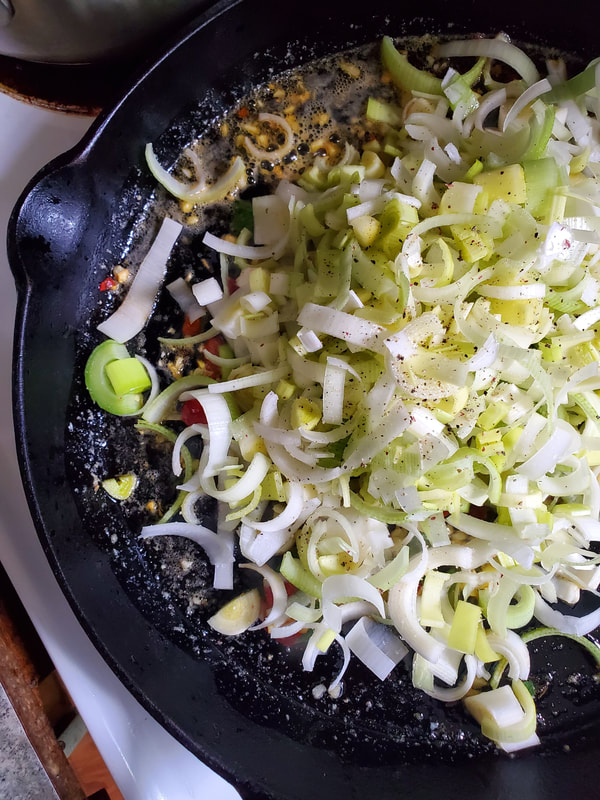
NOTES: (*1) Leeks are notoriously dirty between their layers. It's important to always wash your veggies but this is especially the case with leeks. Make sure they're nice and clean before cooking to avoid dirt ending up in your beautiful skillet.
 HAPPY VEG
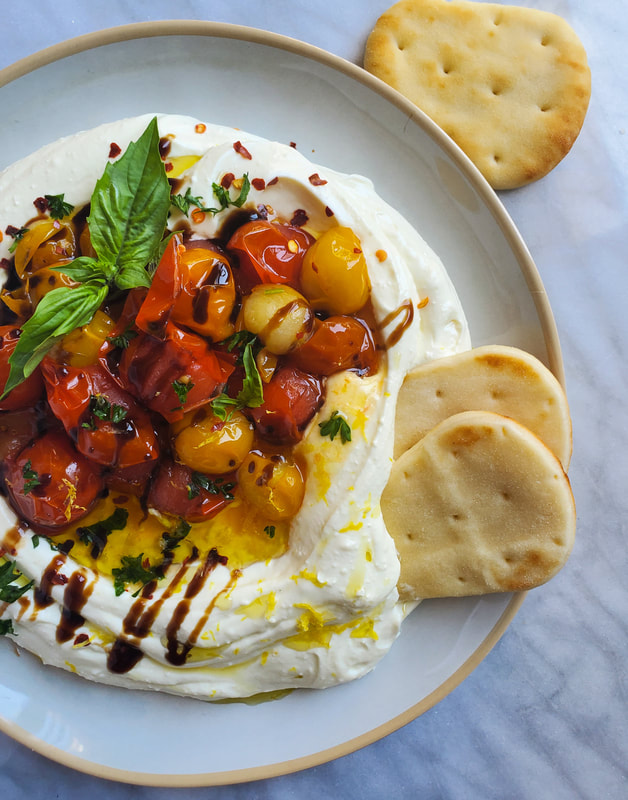
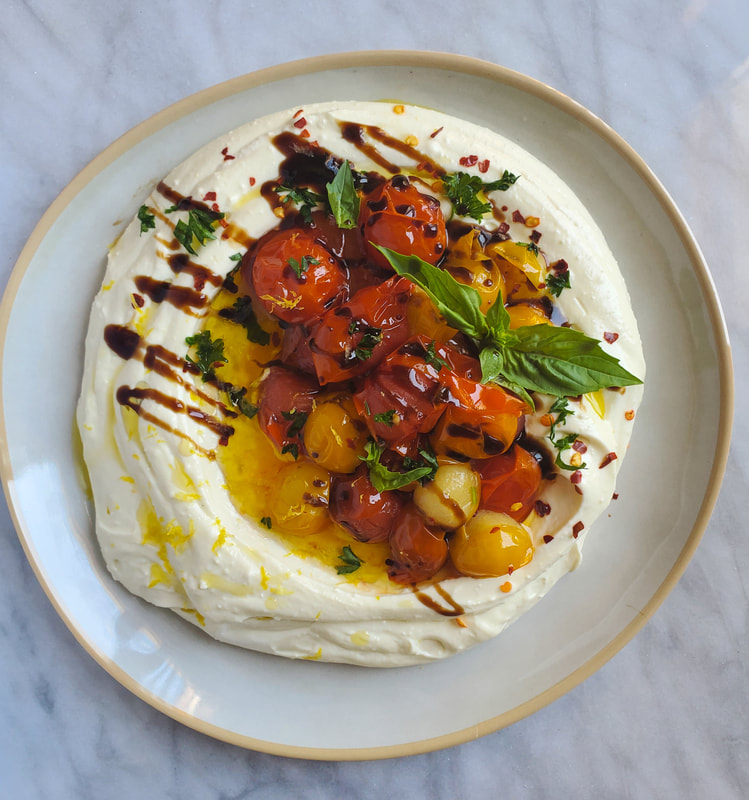 NOTES: (*1) If you can't find Mixiany cherry tomatoes, you can sub in any small variety of grape or cherry tomato instead. (*2) I used my Vitamix because embarrassingly, I don't own a food processor. I'd recommend a good quality food processor for this dip if available. HAPPY VEG
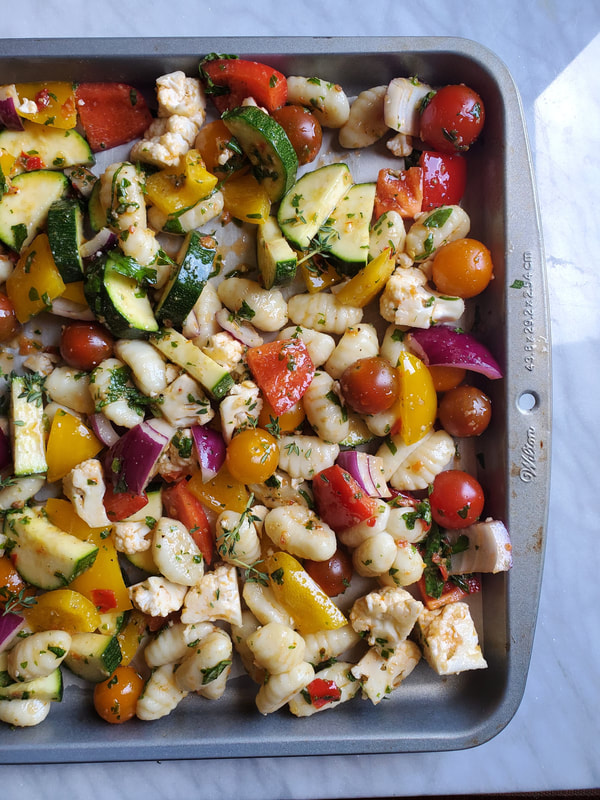
NOTE - When chopping your veggies, try to keep everything the same size as the gnocchi!
 HAPPY VEG
 HAPPY VEG
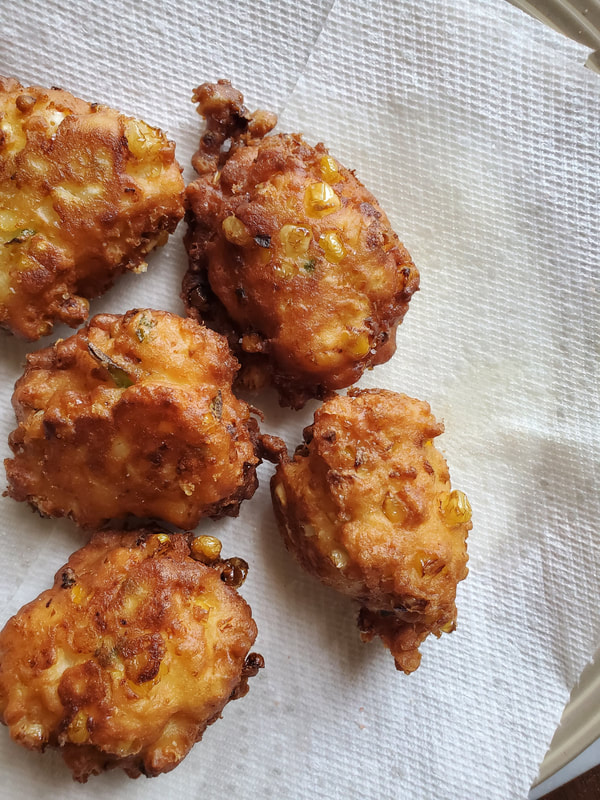
Fritters can be frozen once cooked & cooled. Put in a freezer safe bag for 2 - 3 months. Reheat in the oven until warmed through and nice and crispy. 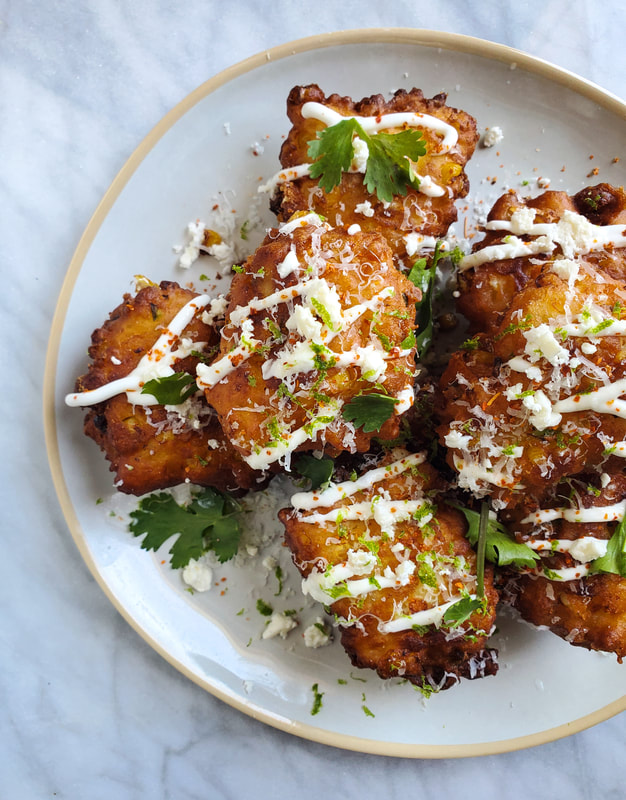
HAPPY VEG
 HAPPY VEG |


Proudly powered by Weebly