
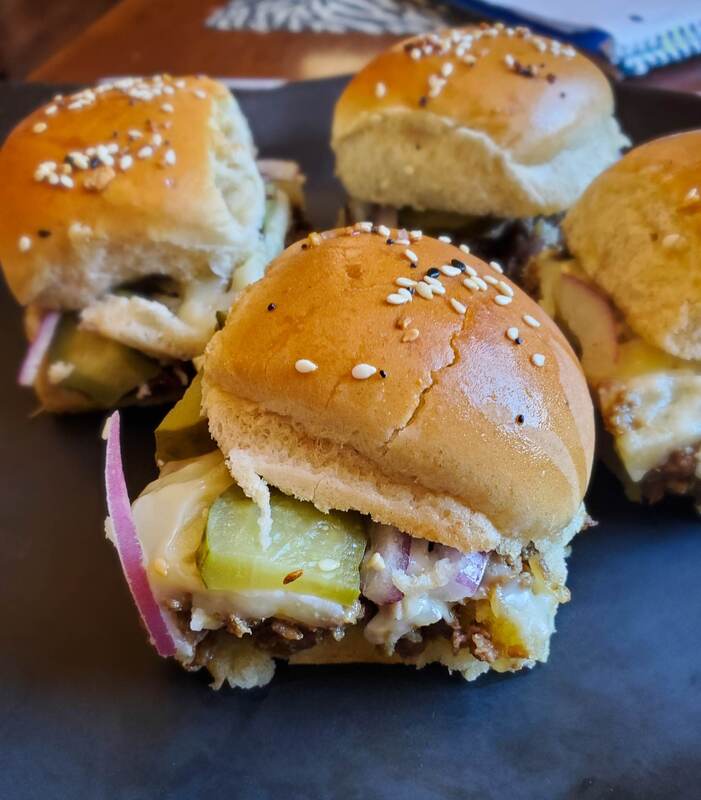
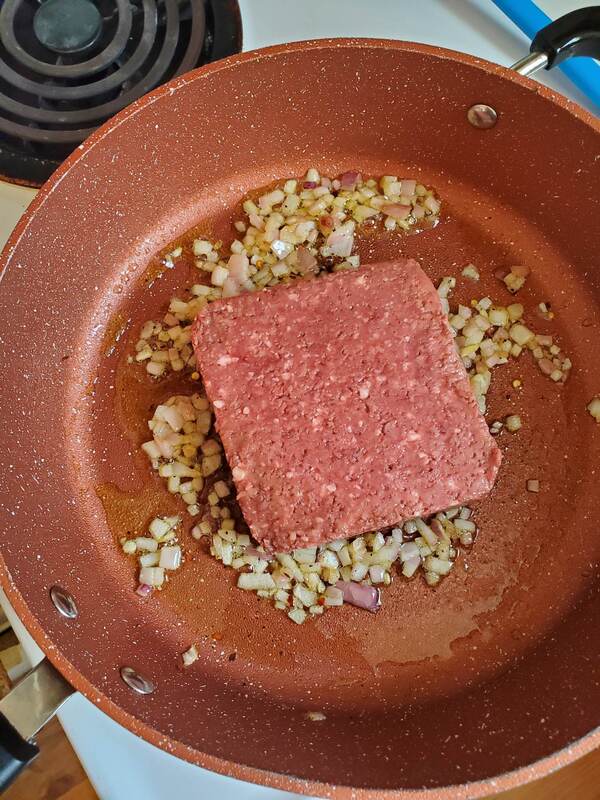
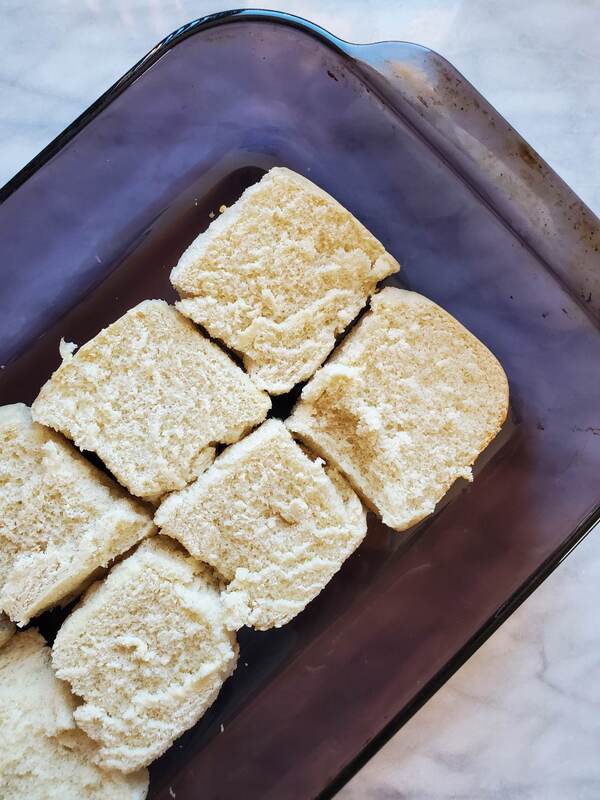
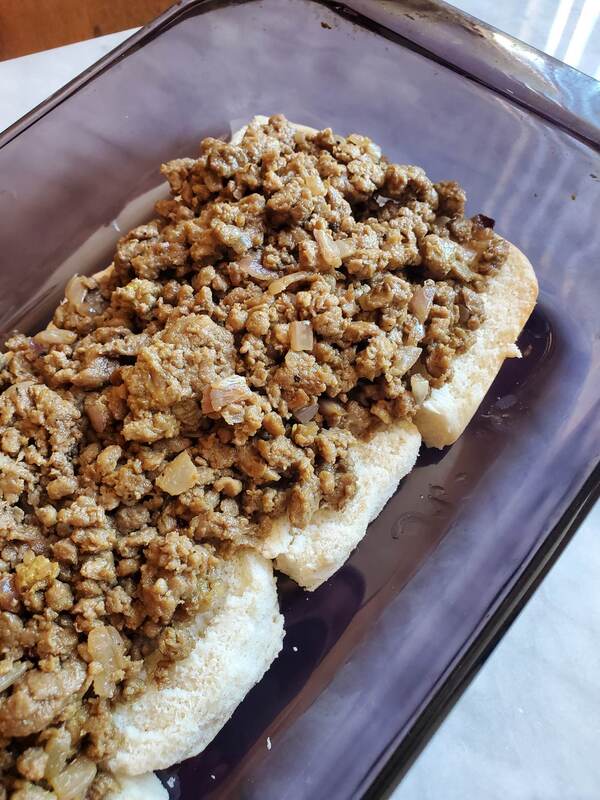
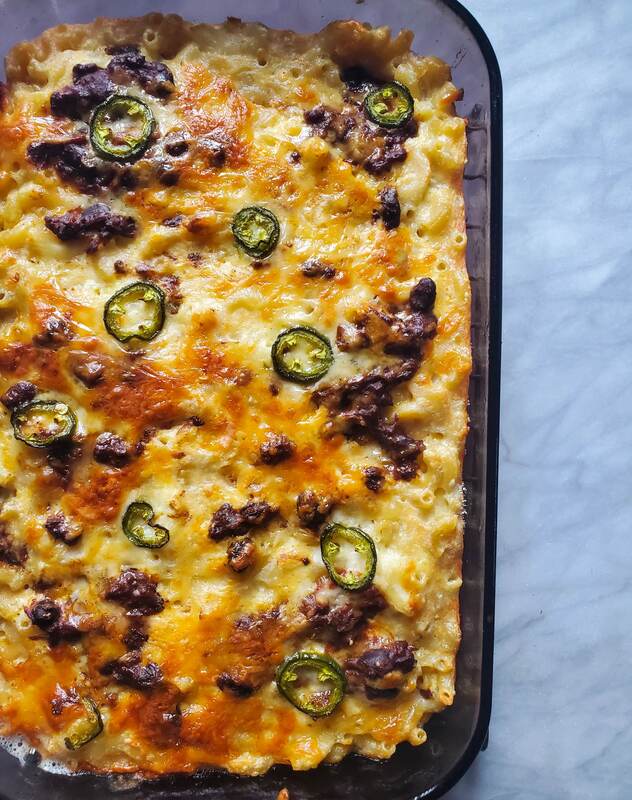
INGREDIENTS NOTES * I have no oven currently, so everything goes in to my tiny little Ninja Foodie. In my opinion, my sliders were STUFFED with the meat mixture. I think you could spread the mix out to ten - 12 slider buns depending on how full you want them. You could also just stick with 8 and get 8 REALLY meaty sliders. * Don't buy pre-shredded cheese. Take the extra time to shred your own. Pre-shredded cheese contains chemicals to keep it from melting and sticking together in the bag. * Make sure you're buying vegetarian / vegan labelled Worcestershire. Traditional worc contains anchovies. DIRECTIONS
  HAPPY VEG
0 Comments
DIRECTIONS
 HAPPY VEG
 HAPPY VEG
  HAPPY VEG
NOTES:
 HAPPY VEG
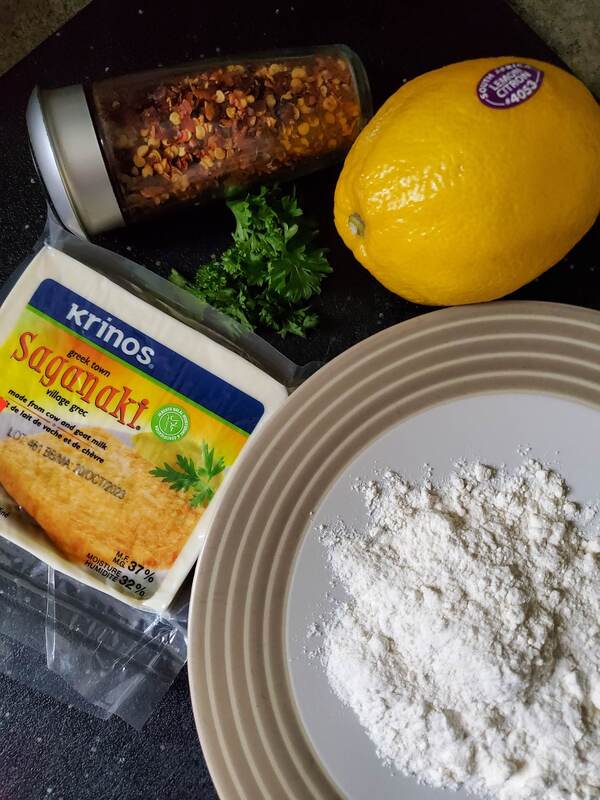
WHAT YOU NEEDNOTE:
 HAPPY VEG
 HAPPY VEG
 HAPPY VEG
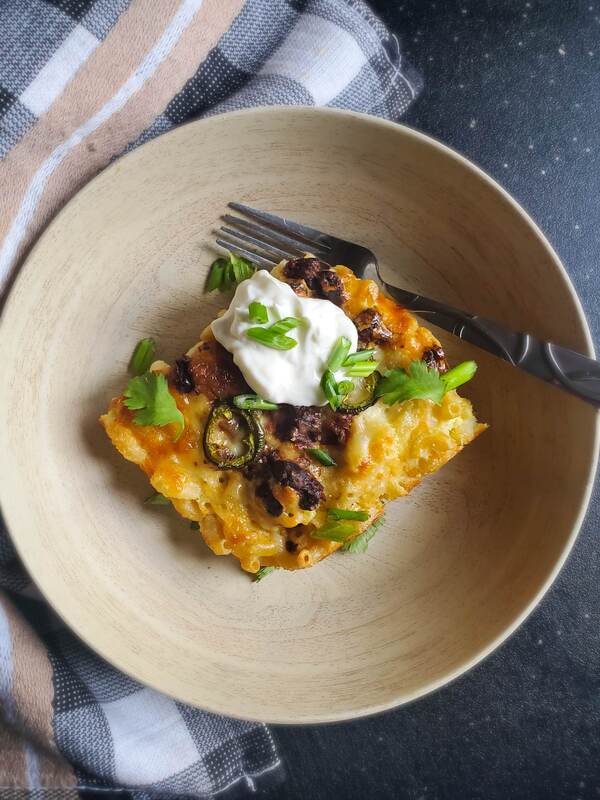
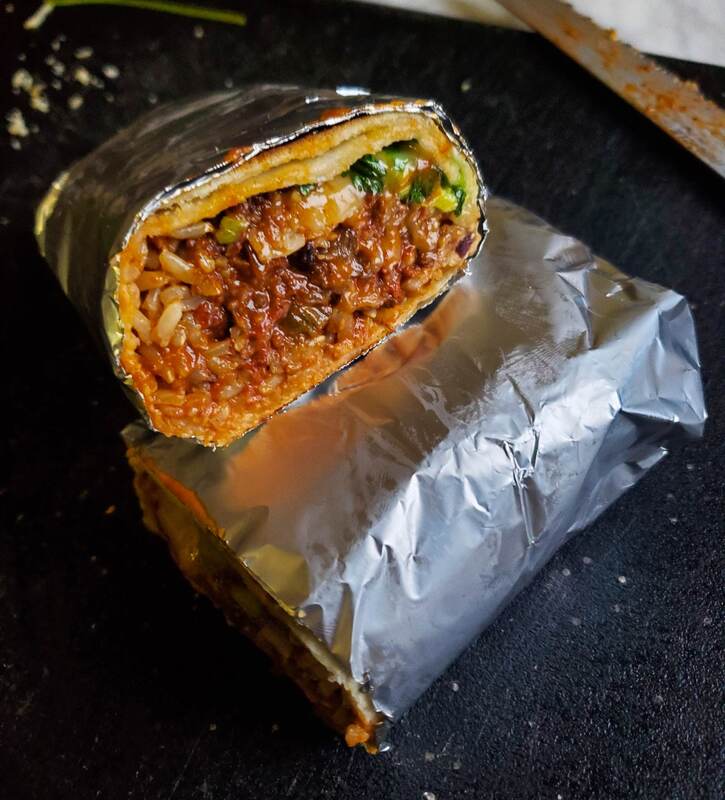
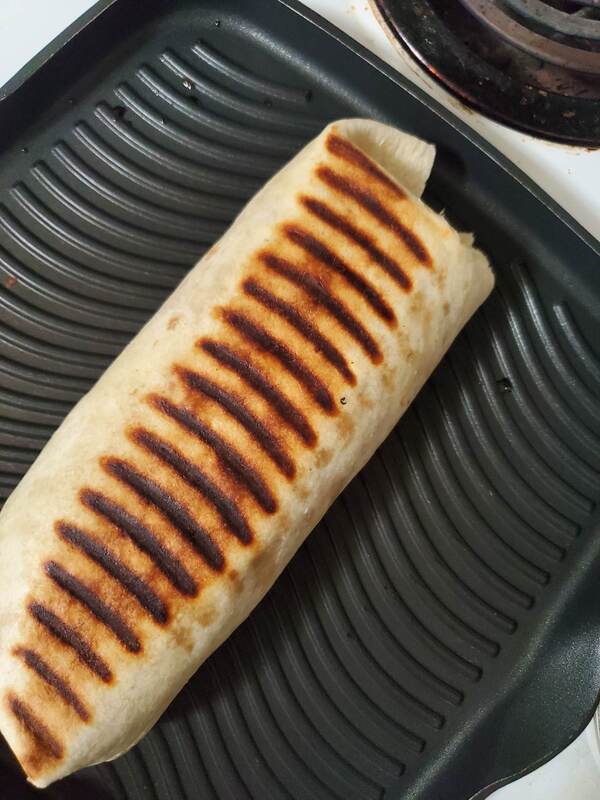
 Chili Cheese Burritos
 HAPPY VEG |


Proudly powered by Weebly