
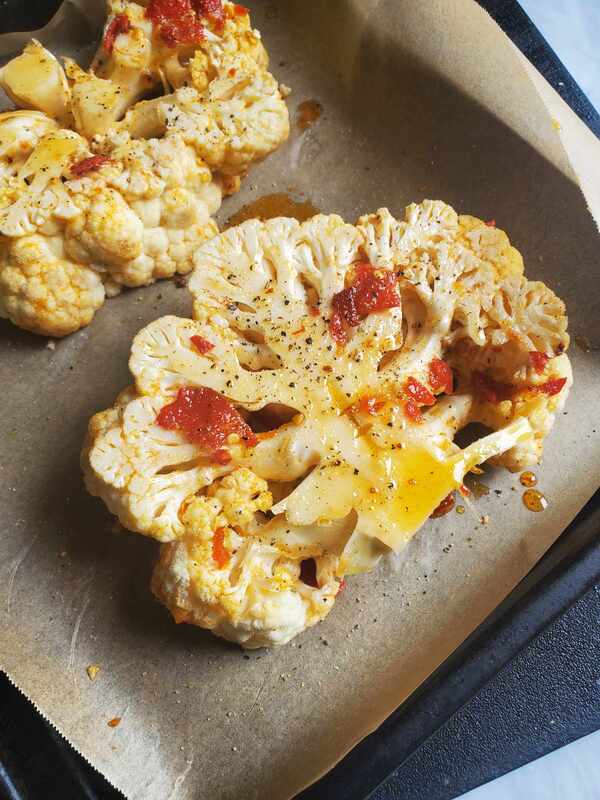
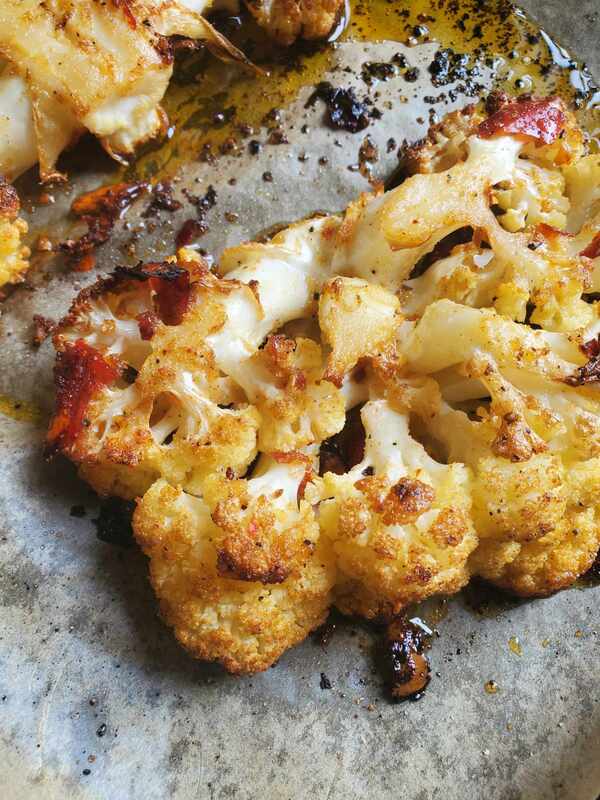
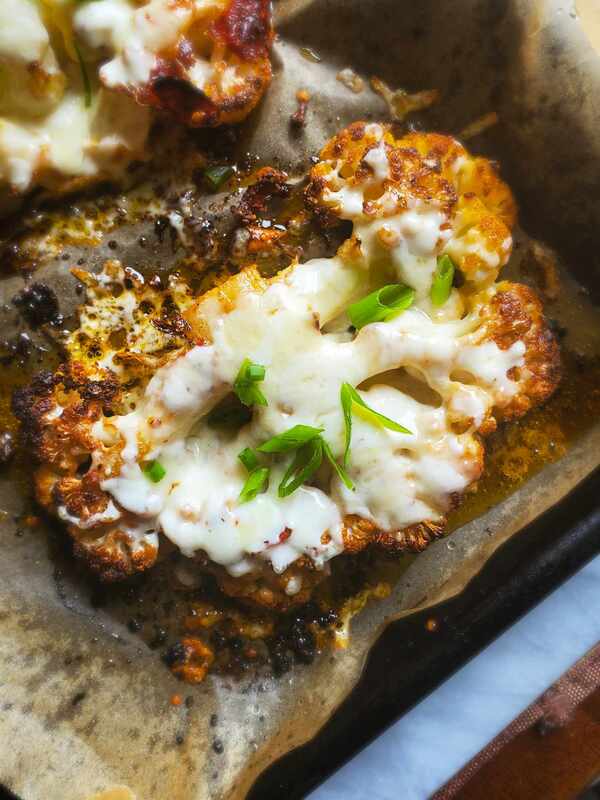
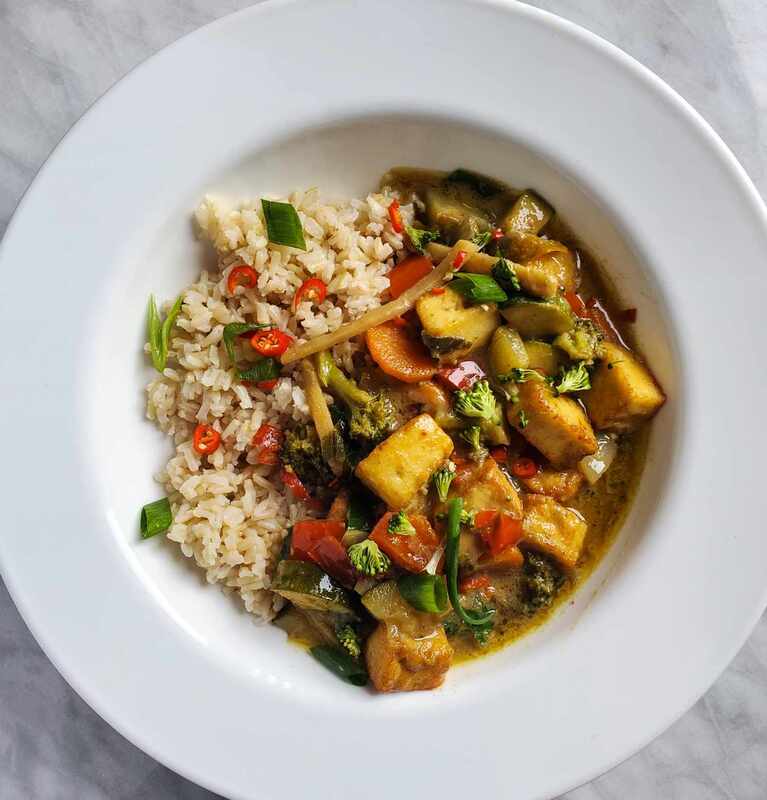
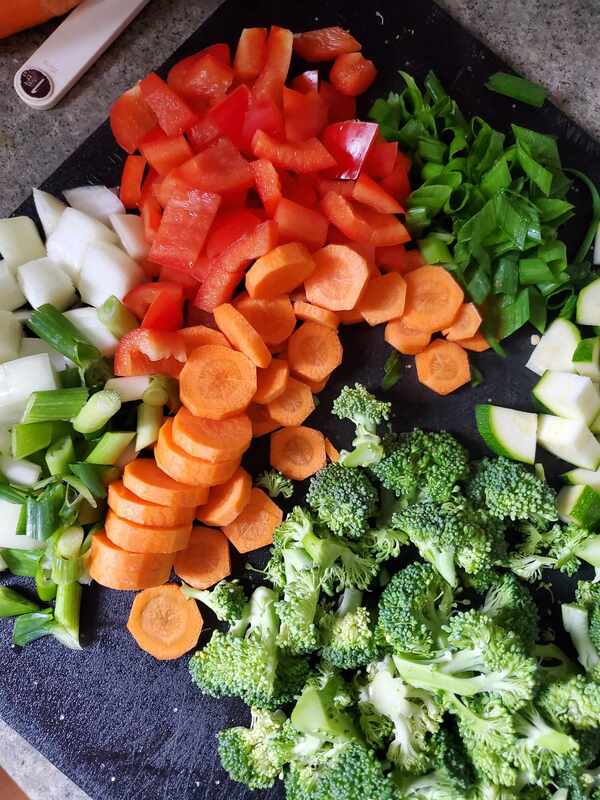
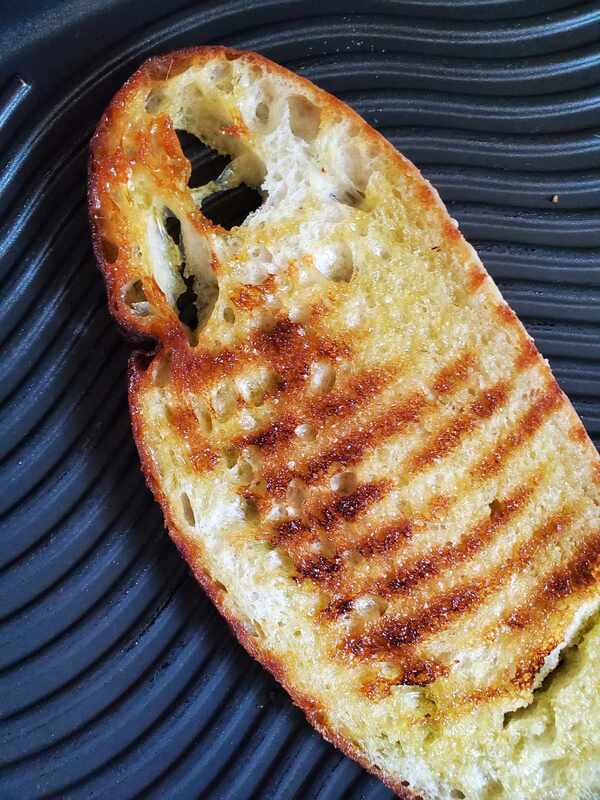
DIRECTIONS
 HAPPY VEG
0 Comments
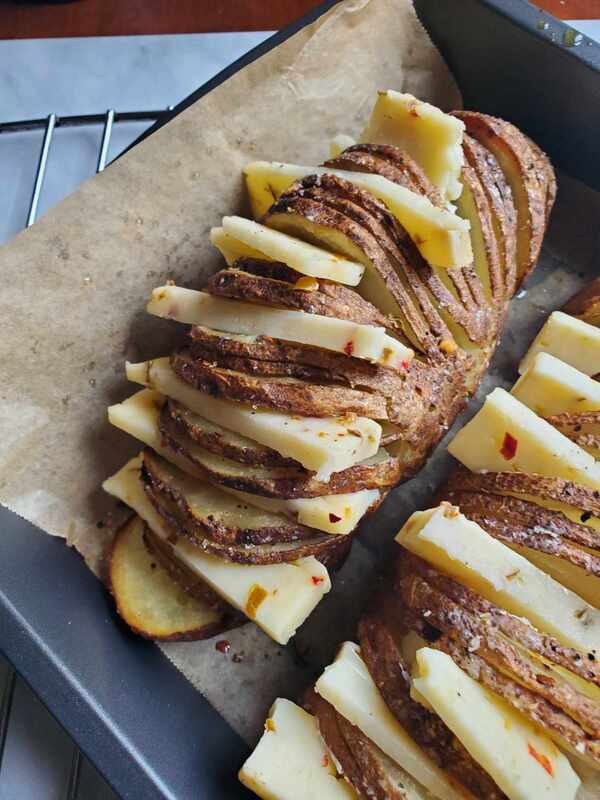
DIRECTIONS
 HAPPY VEG
DIRECTIONS
 HAPPY VEG
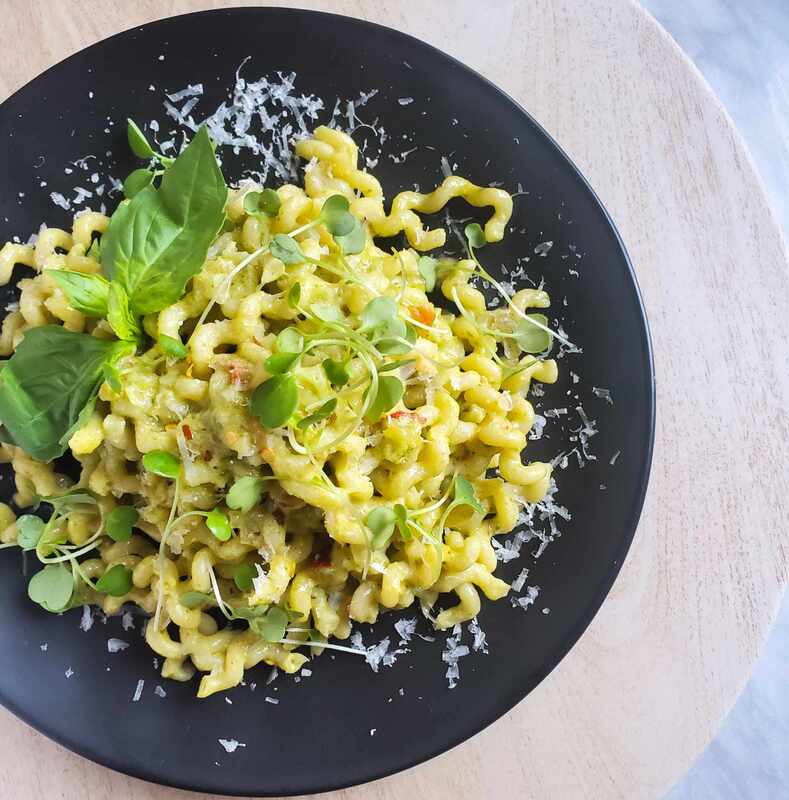
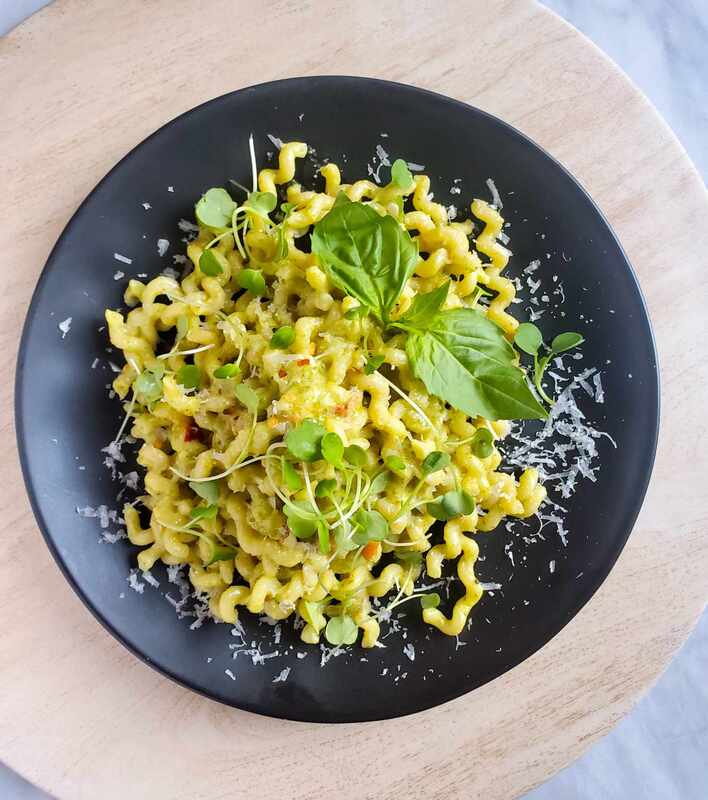
NOTES: ** Fusilli Lunghi are long, coiled noodles that are hollow like bucatini. If you cannot find them, sub in your favourite long pasta shape. In this case, bucatini would be a great substitution! DIRECTIONS
 HAPPY VEG
DIRECTIONS
 HAPPY VEG
DIRECTIONS
 HAPPY VEG
DIRECTIONS
 HAPPY VEG
DIRECTIONS
  HAPPY VEG
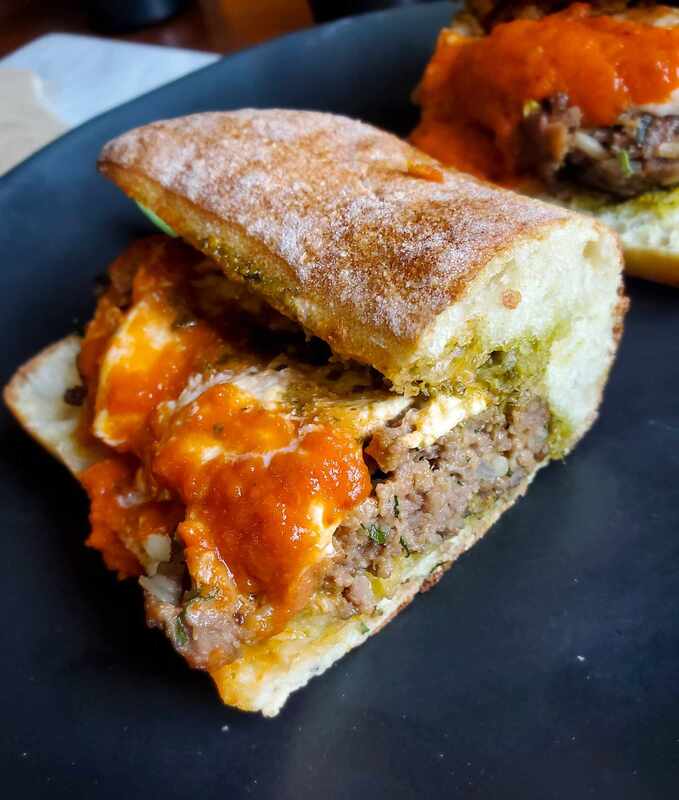
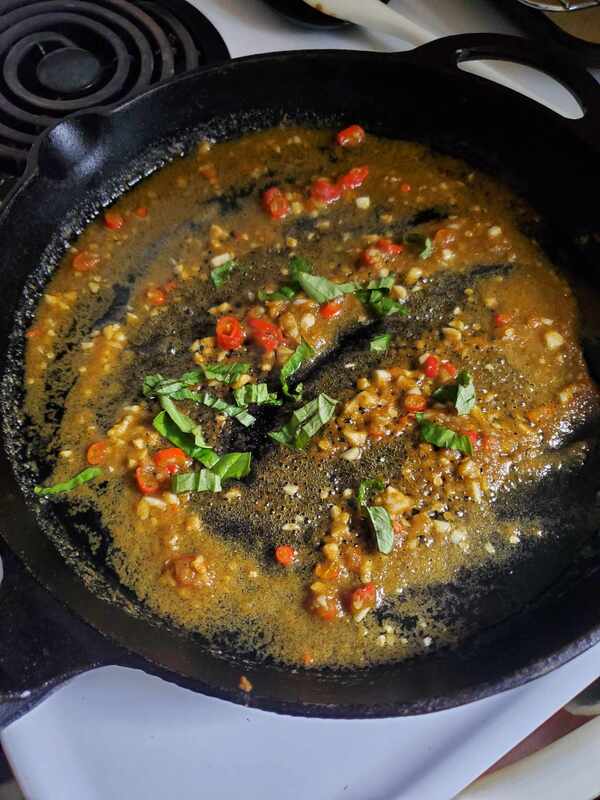
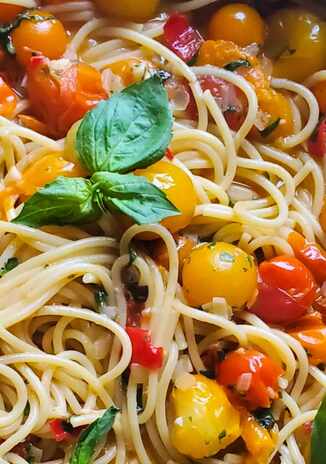
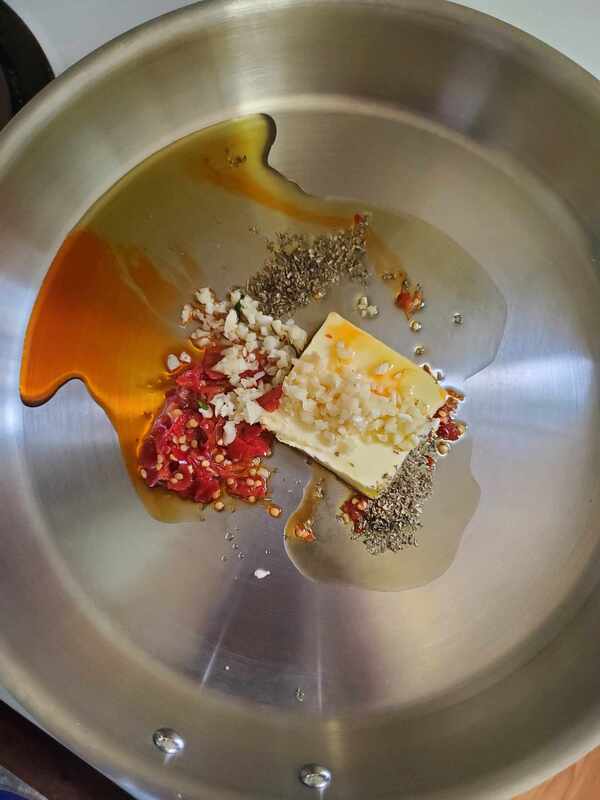
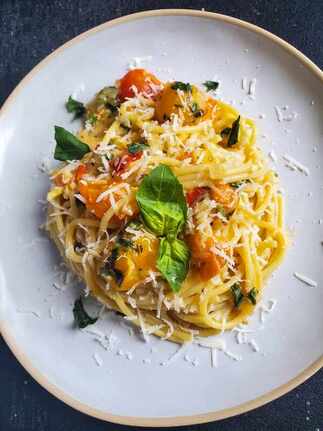
NOTES: * A recommended serving of dry spaghetti is 2 ounces. If you're hungry, please increase to 3 per person. You can adjust your sauce using pasta water if it were to even be needed. ** If you don't have the pepperoncini packed in chili oil, sub in 1/2 tsp. + red pepper flakes & an additional Tbsp. EVOO / butter. DIRECTIONS
 HAPPY VEG
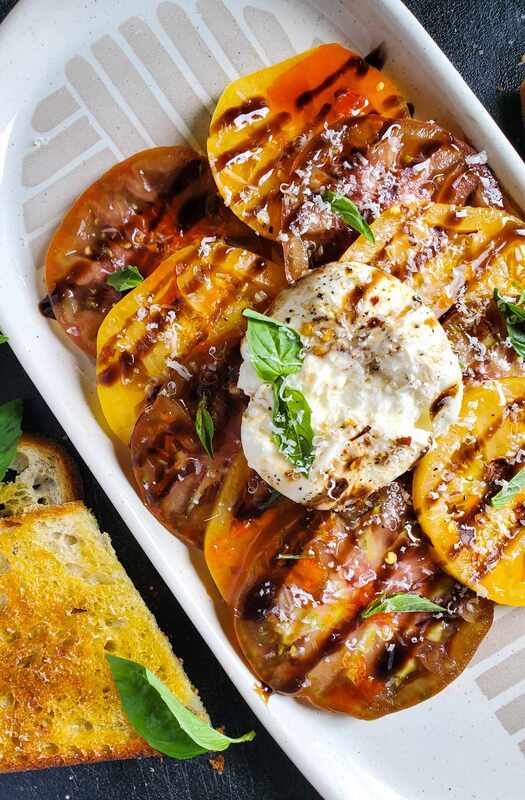
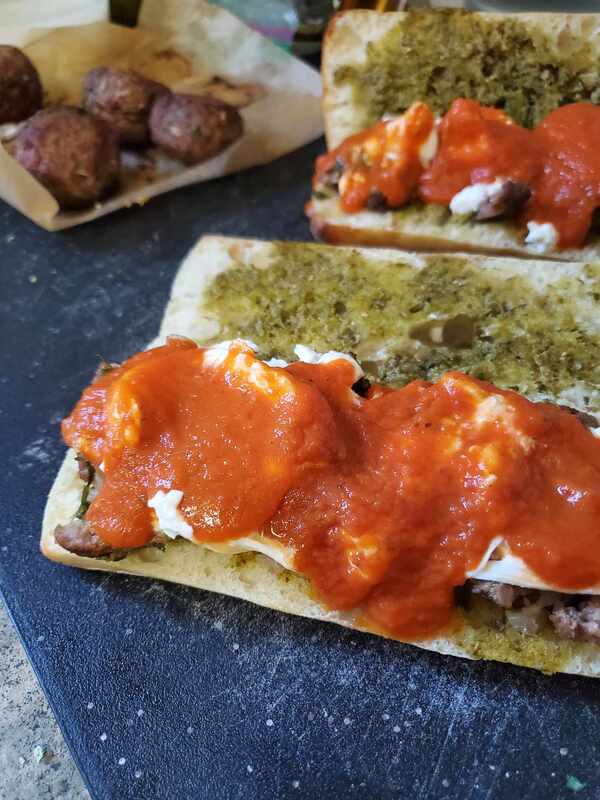
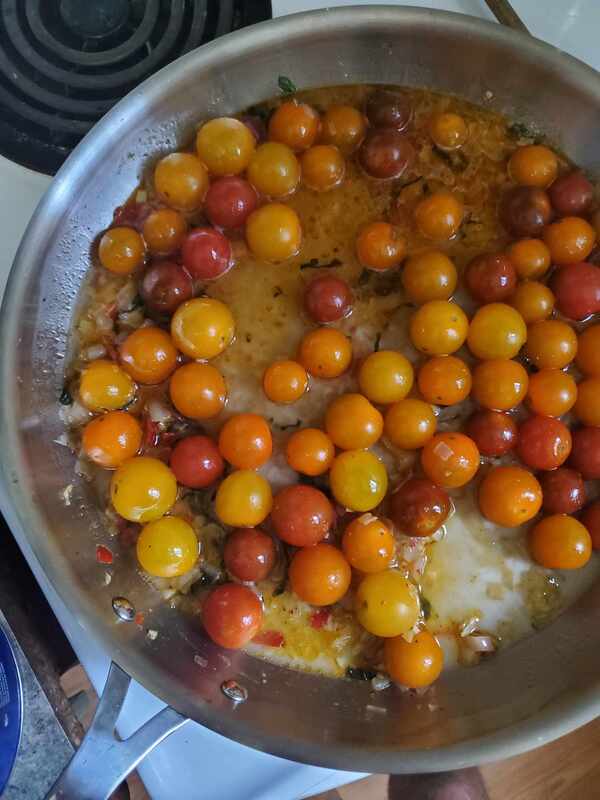
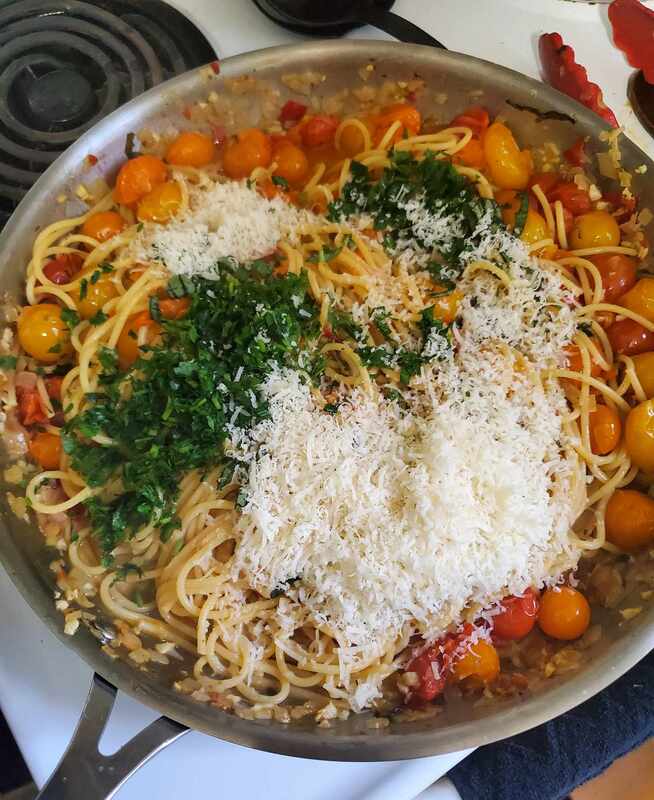
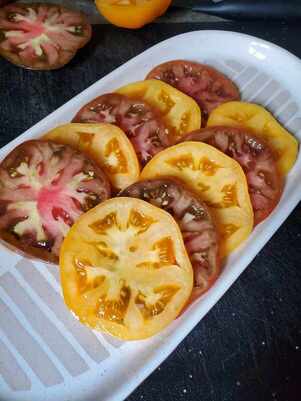
NOTES: ** I buy a 226g container of burrata that comes with 4 small burrata pouches. They're almost an individual serving each. If you have one larger piece of burrata, simply break it apart and place it on the tomatoes in chunks. ** When I served the dish, I only used one of the burrata pouches. I found it was JUST enough cheese, but I could have easily used two and been happy. Use your discretion and add an additional pouch if you want a good amount of cheese.
DIRECTIONS
 HAPPY VEG |


Proudly powered by Weebly