
DIRECTIONS
 HAPPY VEG
0 Comments
DIRECTIONS
 HAPPY VEG
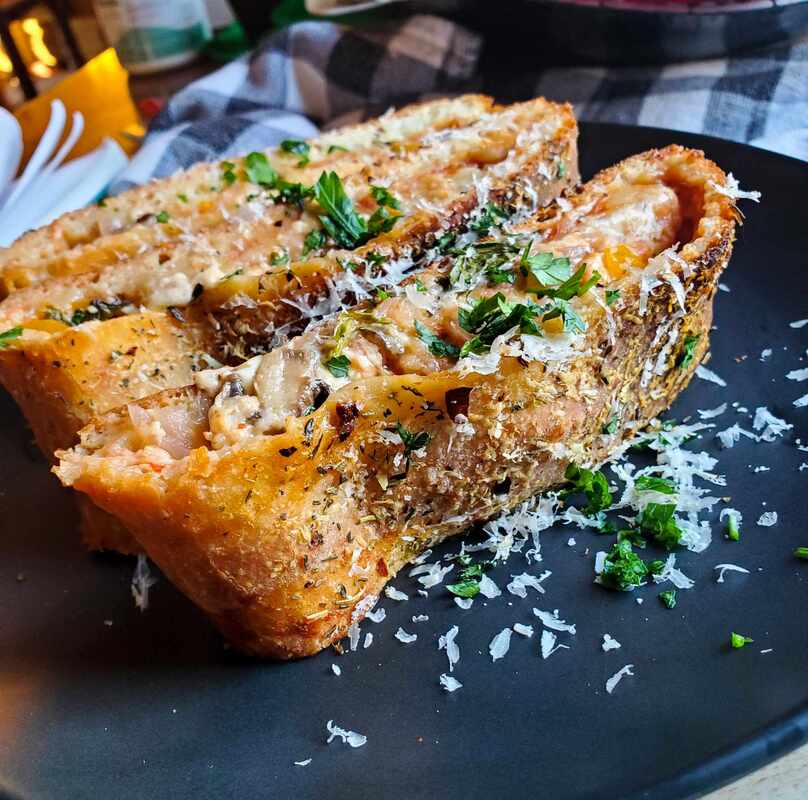
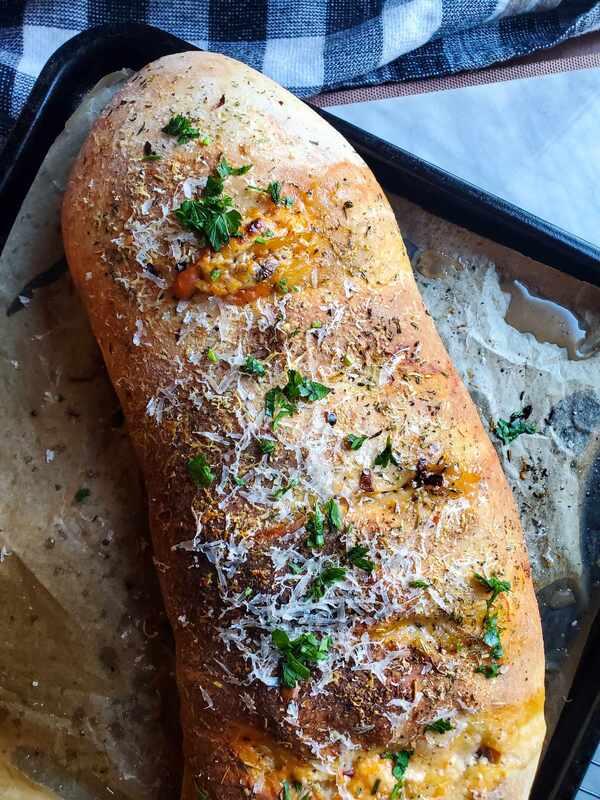
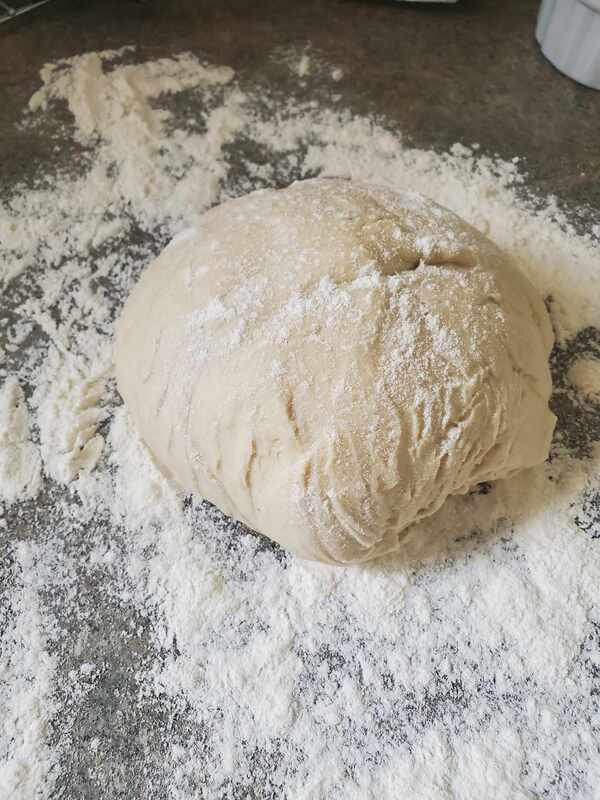
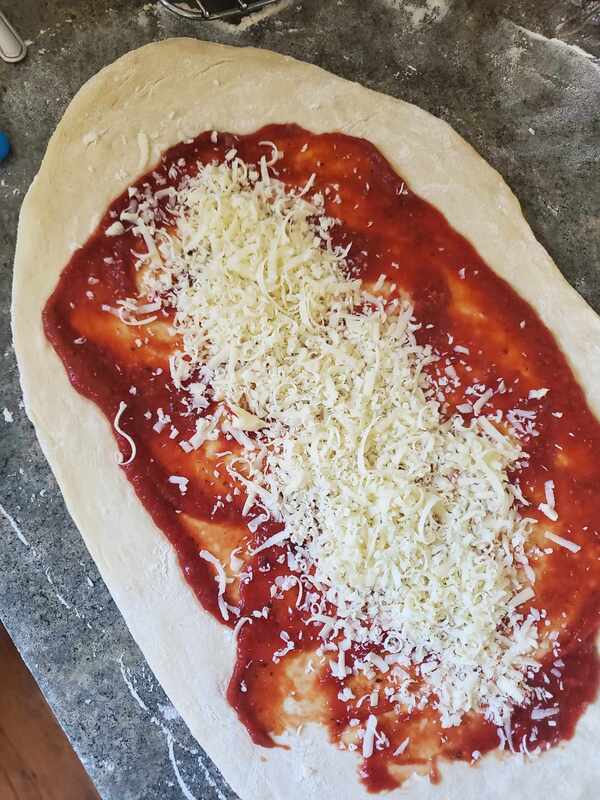
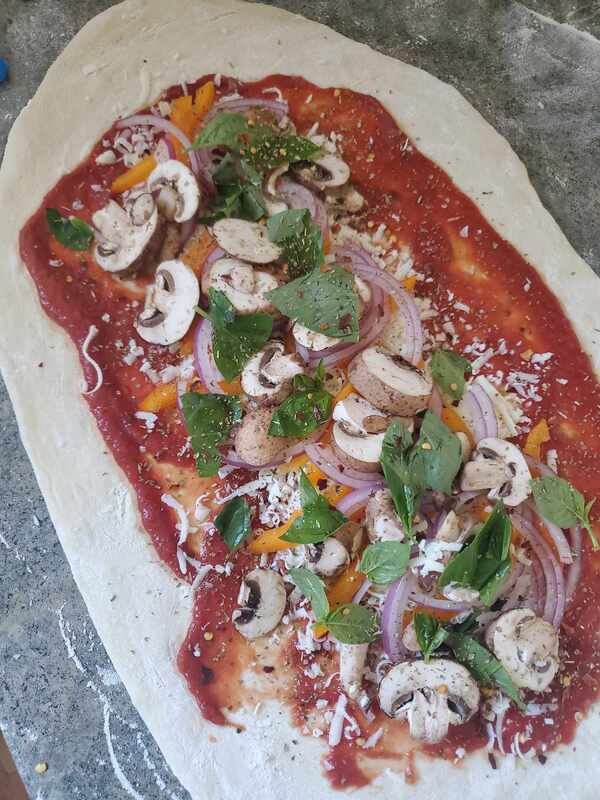
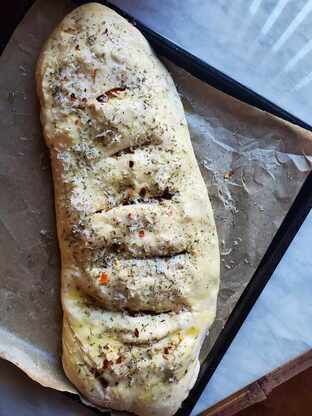
N O T E S * I was only able to find a 650g prepared pizza dough. Ideally, one pound of dough would make the perfect stromboli. I really had to twist the darned thing to get it to fit on my baking sheet lol * If you find the stromboli dough too thick after rolling it out, trim the ends off of the stromboli and re-roll it out to thin it out a touch. * For dipping, you could serve these up with any remaining pizza sauce or a second can for service. DIRECTIONS
 HAPPY VEG
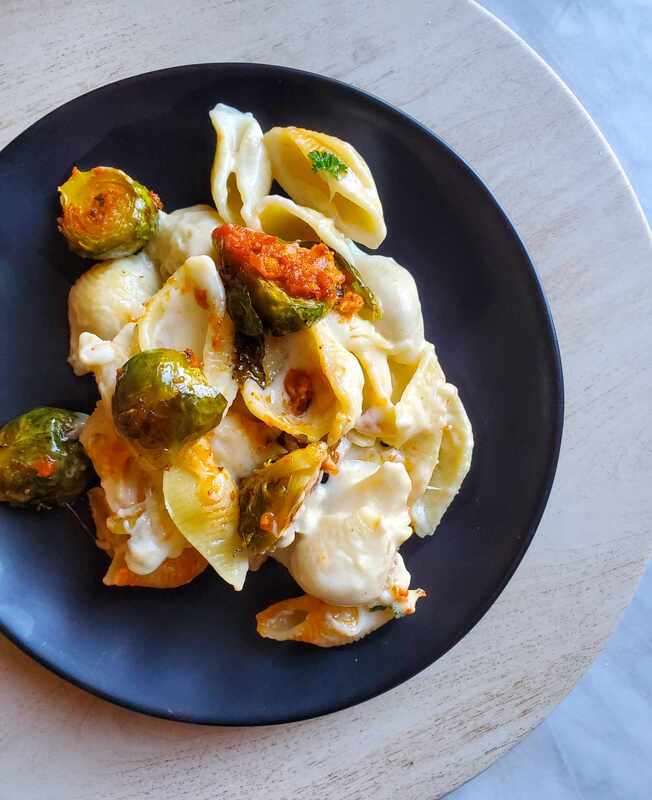
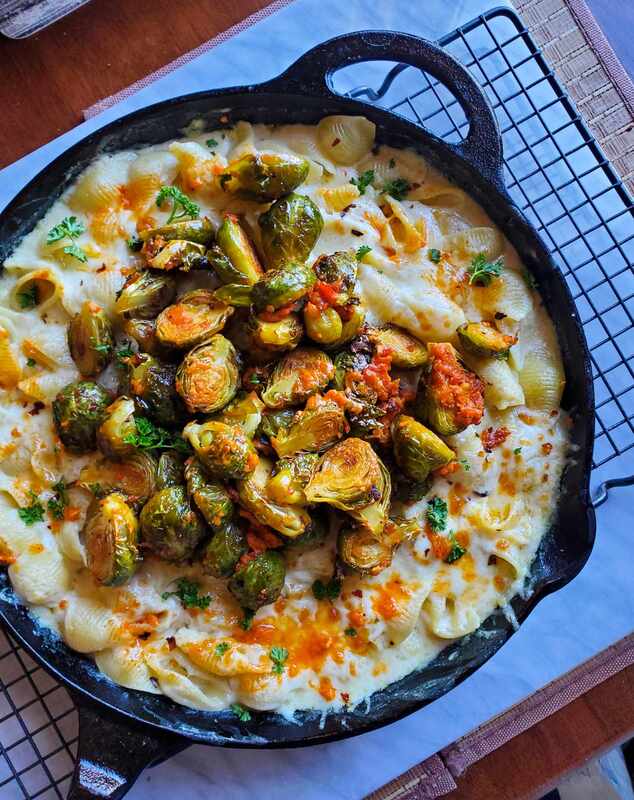
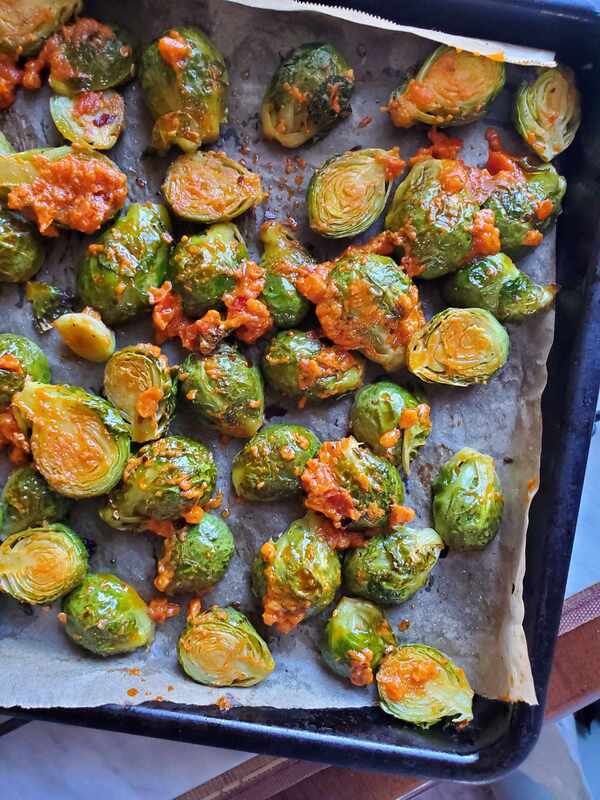
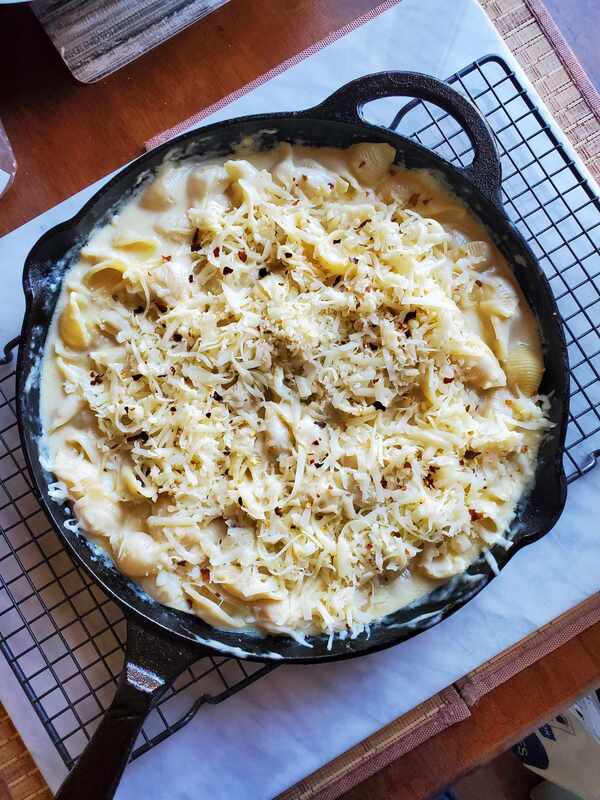
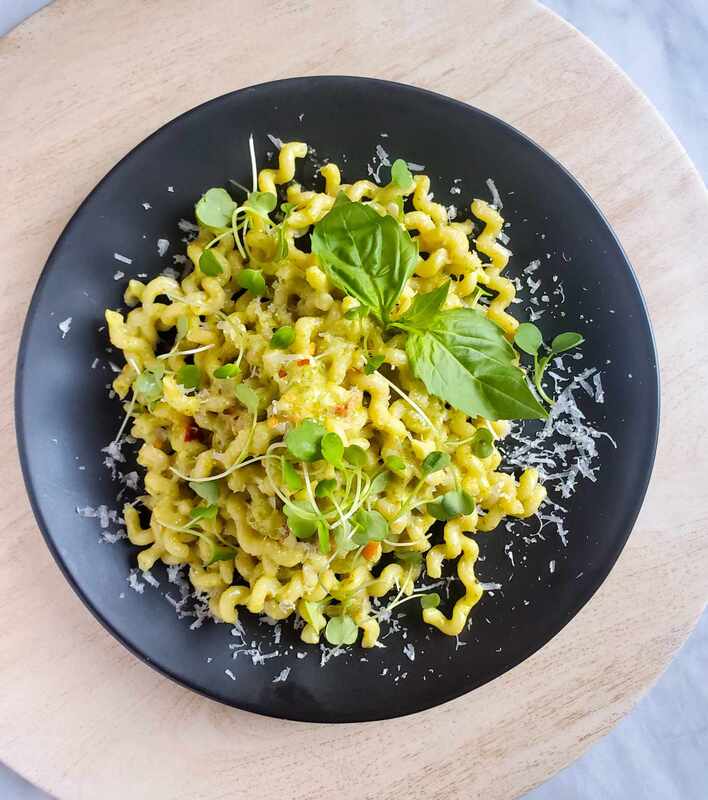
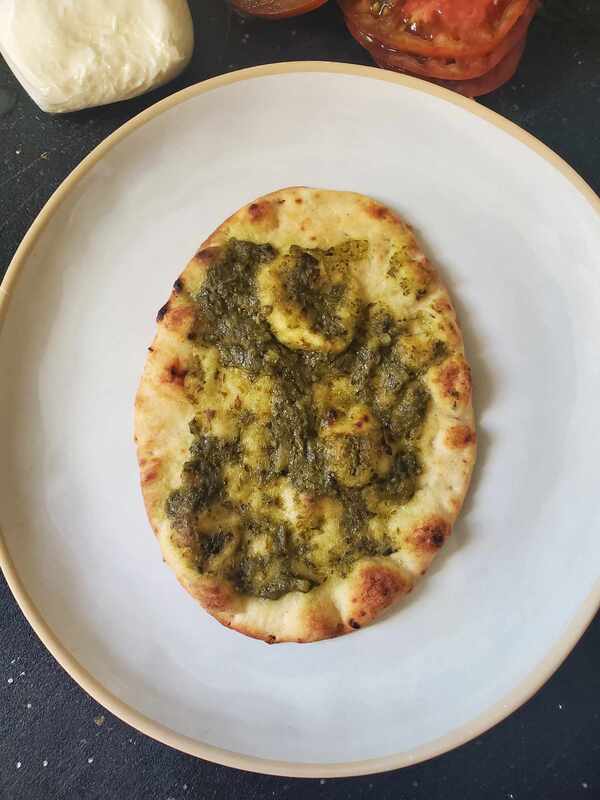
N O T E S * There are usually 3 sizes of shell pasta available. Mini shells, mediums, and jumbo shells for stuffing. You're looking for the medium sized ones for this recipe although you could probably sub the smaller ones if needed. ** If you are unable to find Calabrian chili pesto, substitute for any red pesto you can find including a spicy version, or a sundried tomato variety. DIRECTIONS
 HAPPY VEG
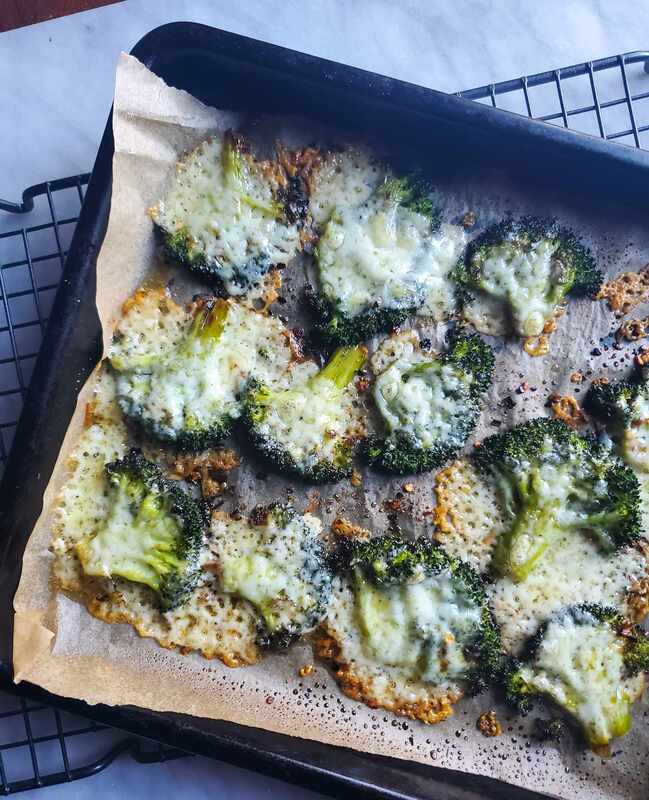
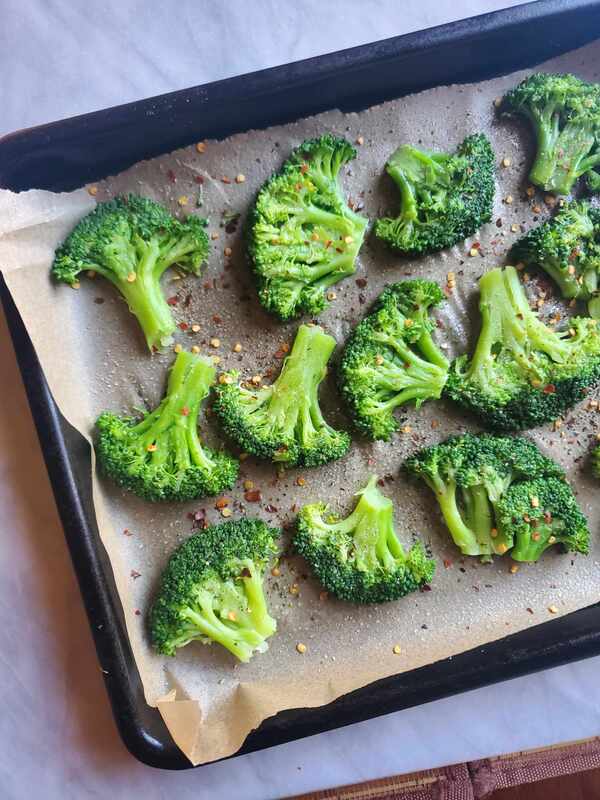
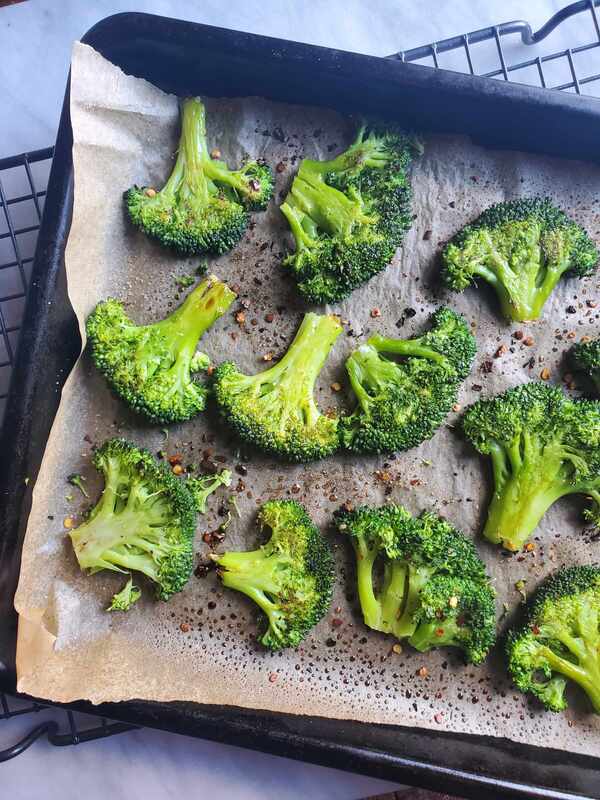
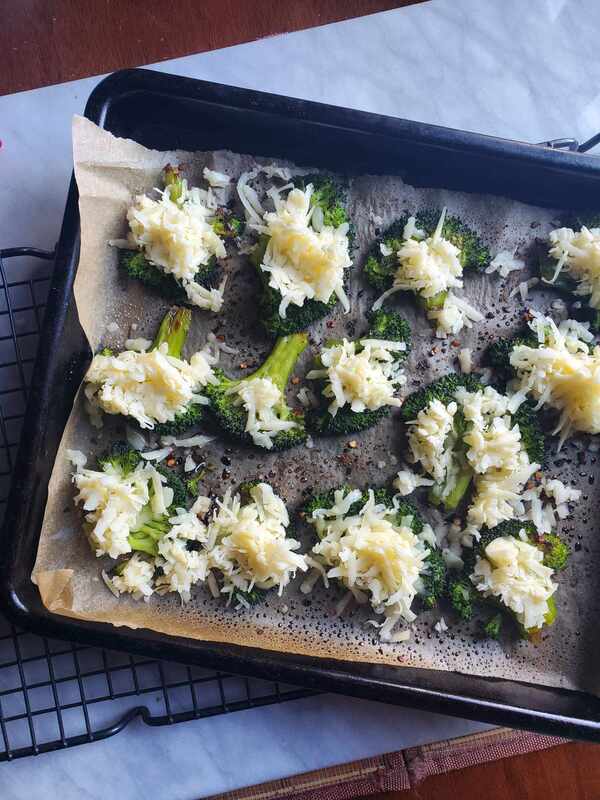
WHAT YOU NEED1 Small Head Broccoli / 14 - 16 Nice Florets Cooking Spray Red Pepper Flakes Himalayan Salt & Cracked Pepper 1 - 1 1/2 C Vintage White Cheddar, shredded
 HAPPY VEG
DIRECTIONS
 HAPPY VEG
DIRECTIONS
 HAPPY VEG
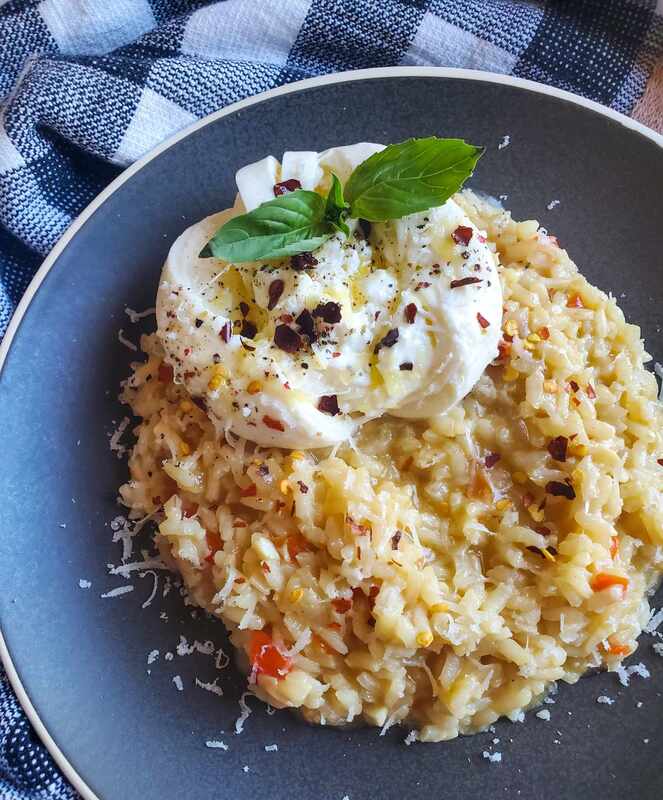
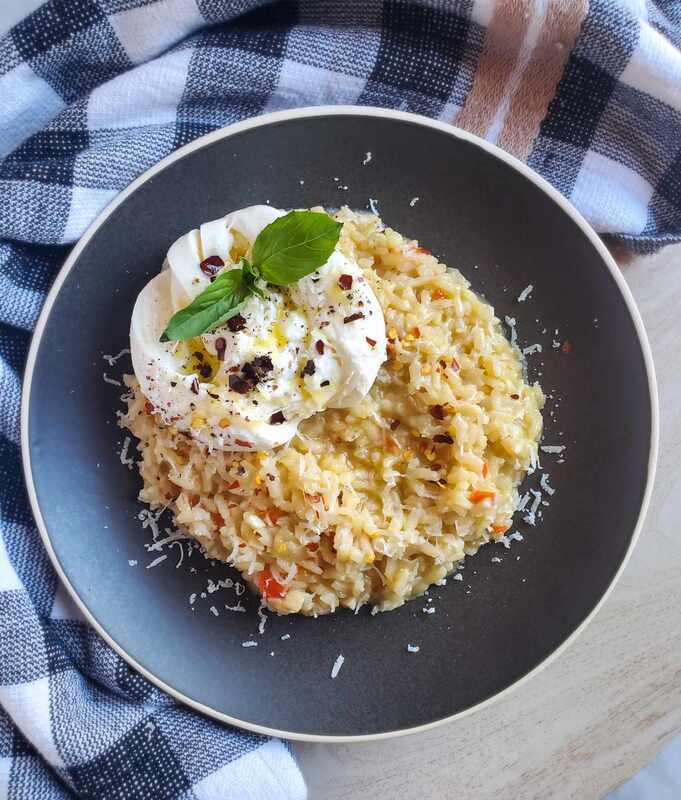
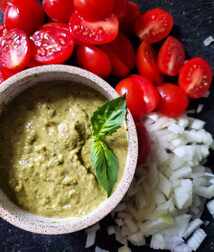
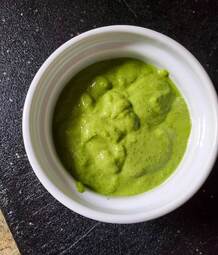
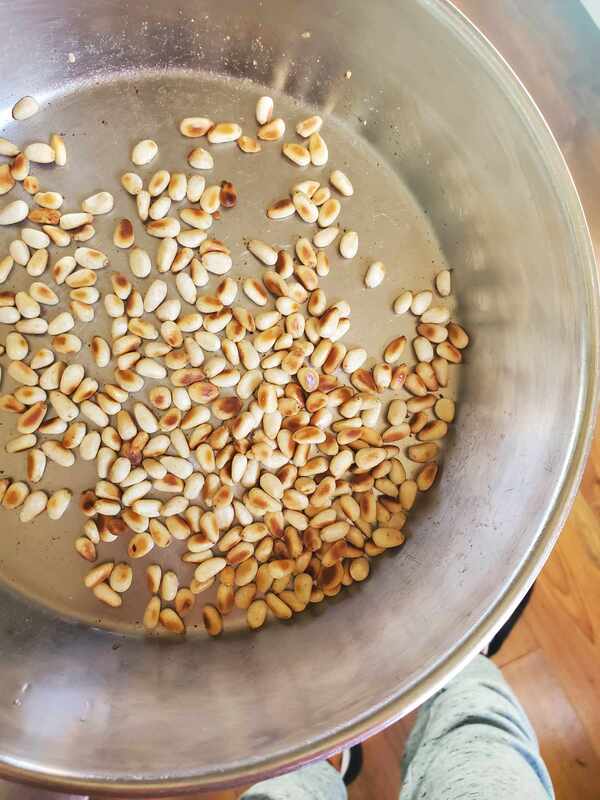
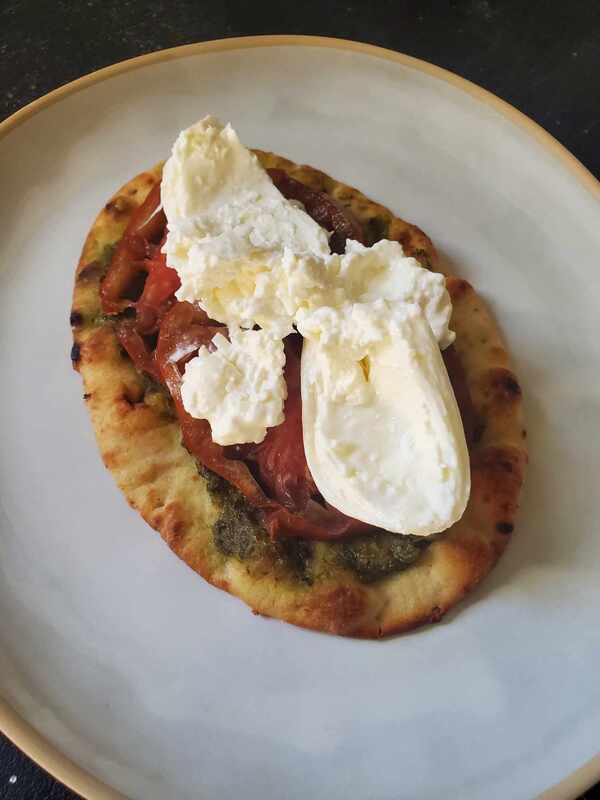
N O T E S: ** Fresh pesto is easy peasy to make, so delicious, and fresh AF. If you're interested, I've linked 3, fresh pesto recipes from the blog. With that being said, do not be discouraged from using a jarred pesto. Look for one imported from Italy for the most authentic taste.
DIRECTIONS
 HAPPY VEG
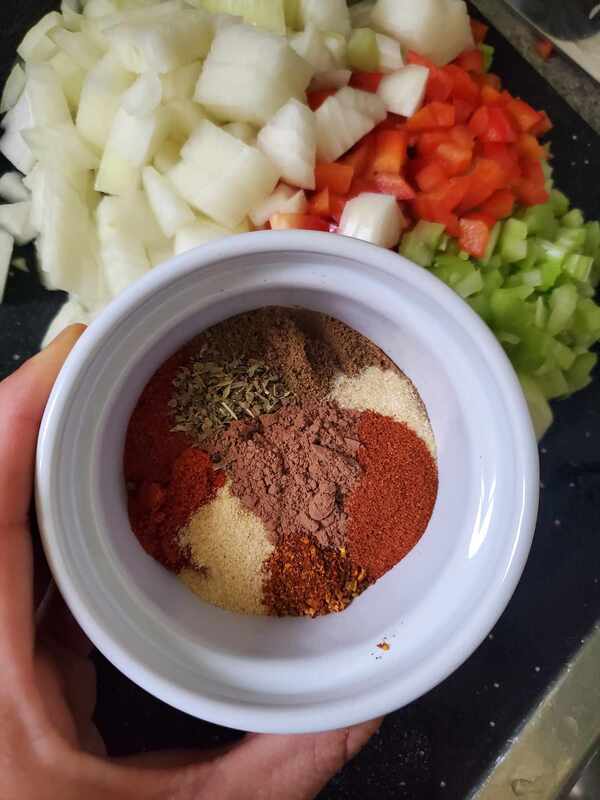
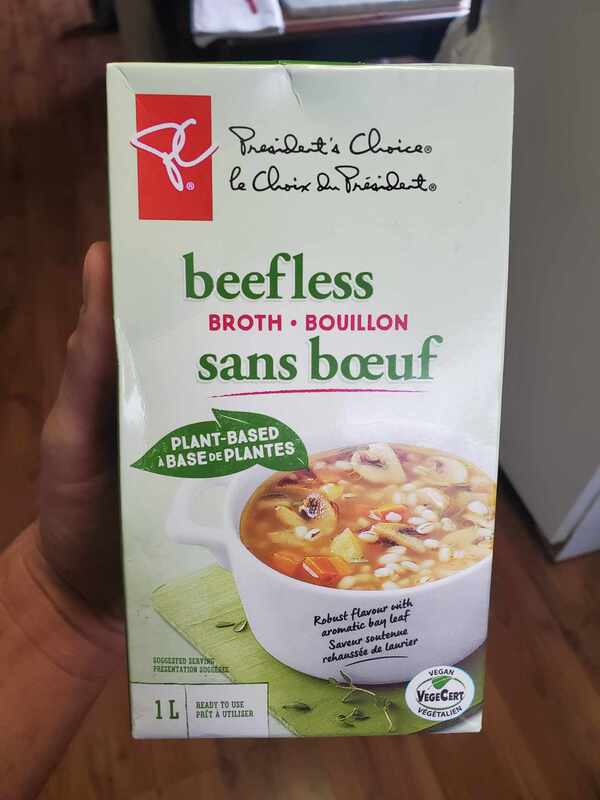
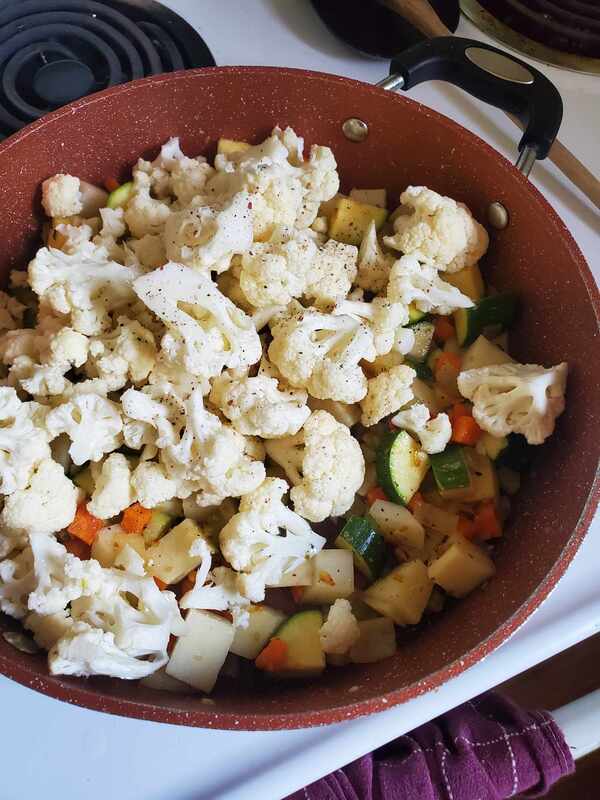
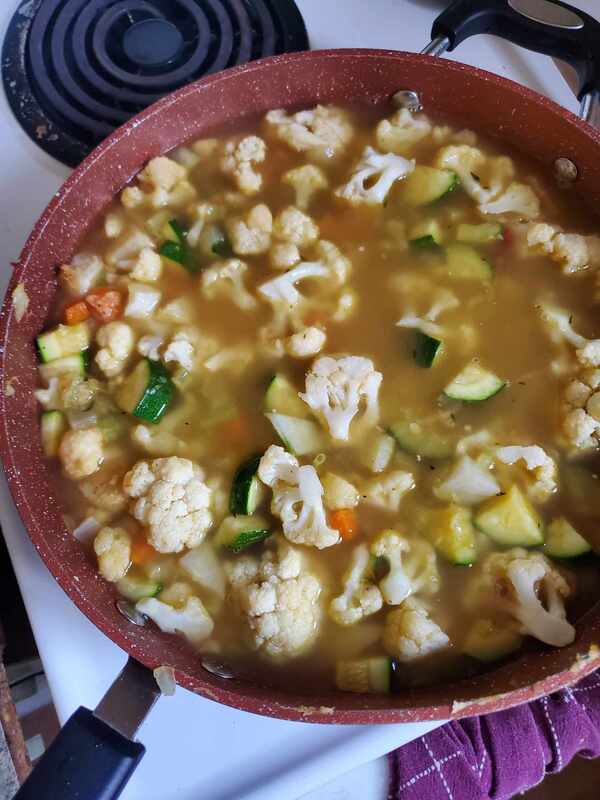
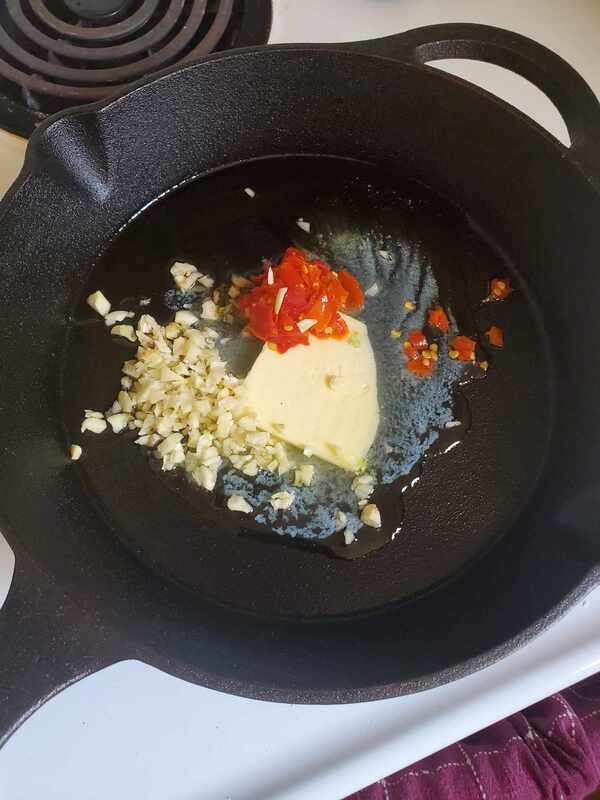
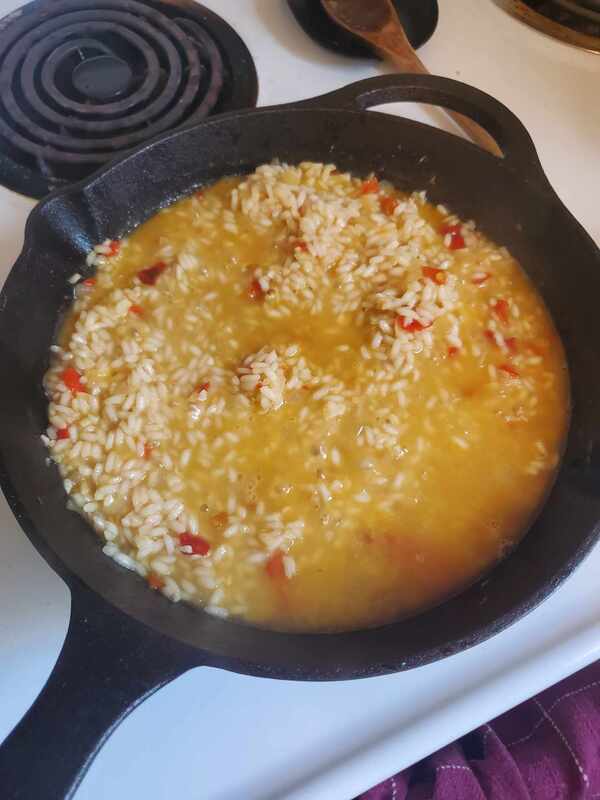
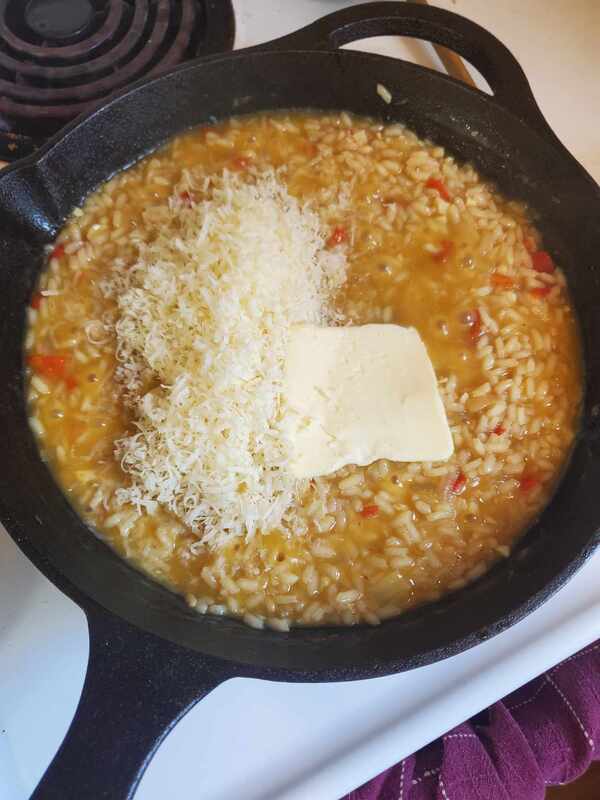
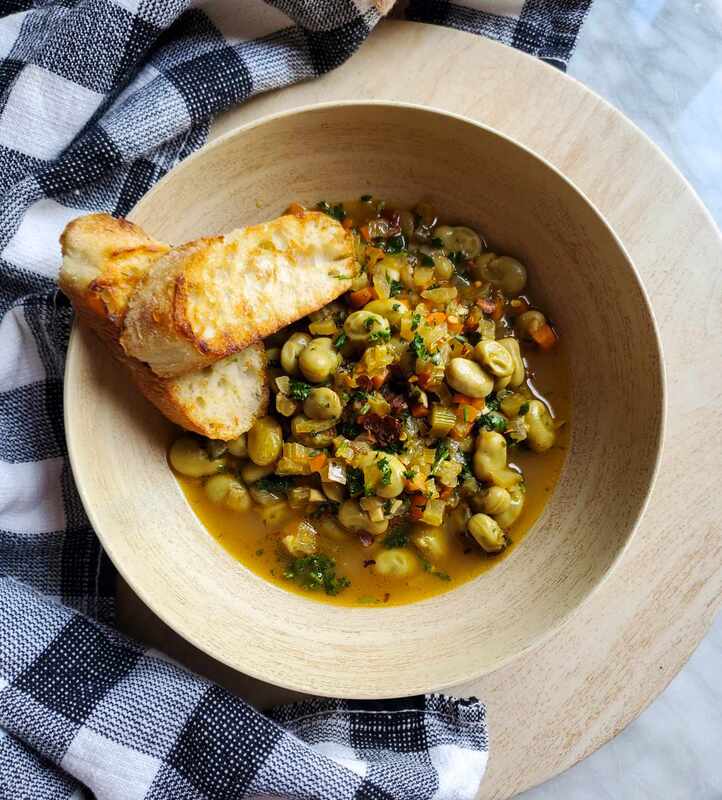
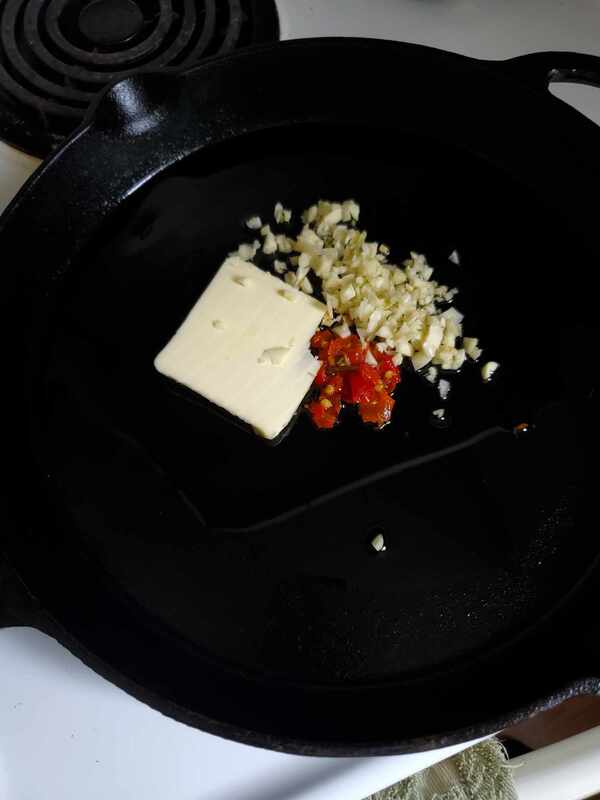
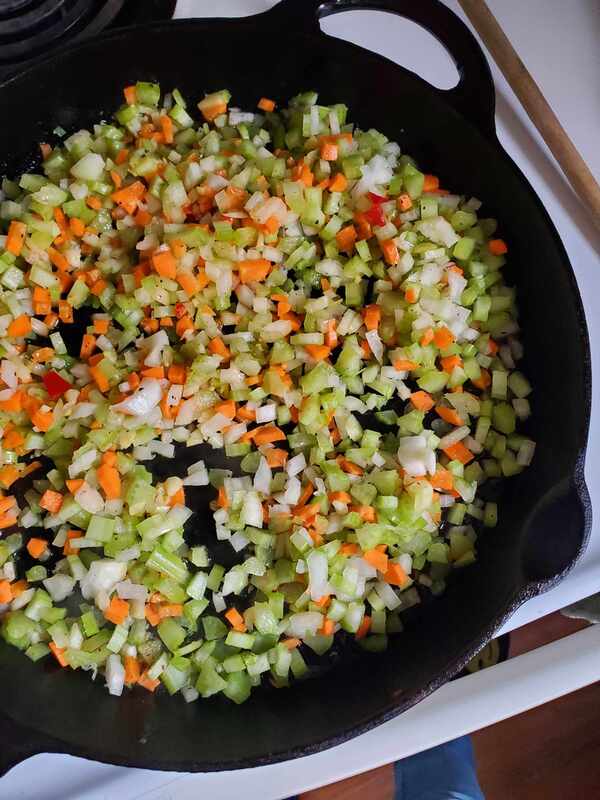
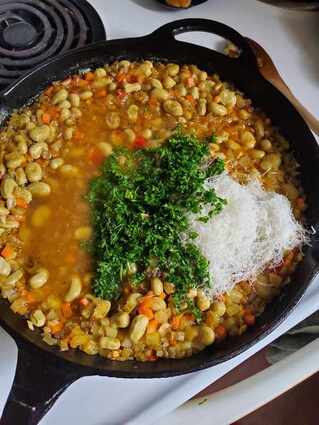
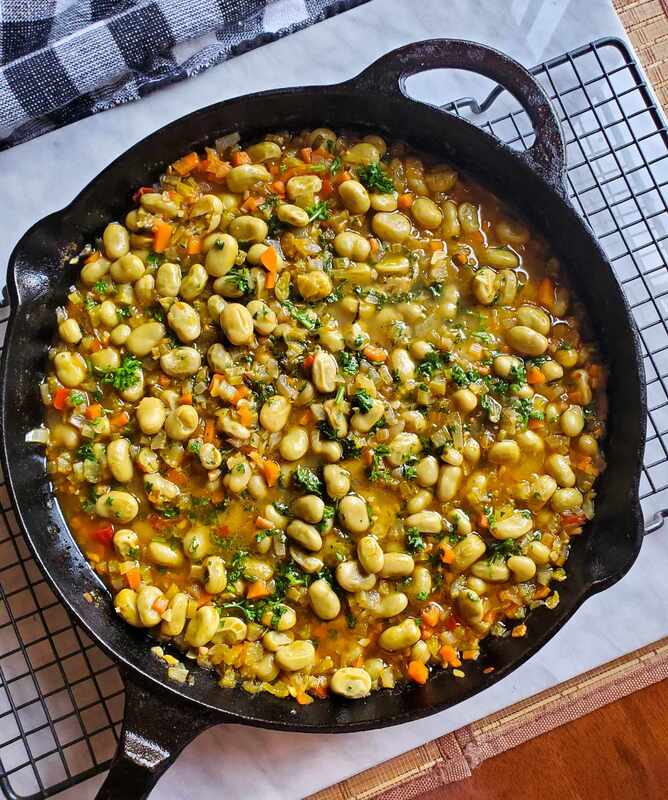
N O T E S - If your broth powder is salted, skip the added salt until the end. taste and season to your liking. If it is low salt / no salt, follow my measurements. DIRECTIONS
 HAPPY VEG
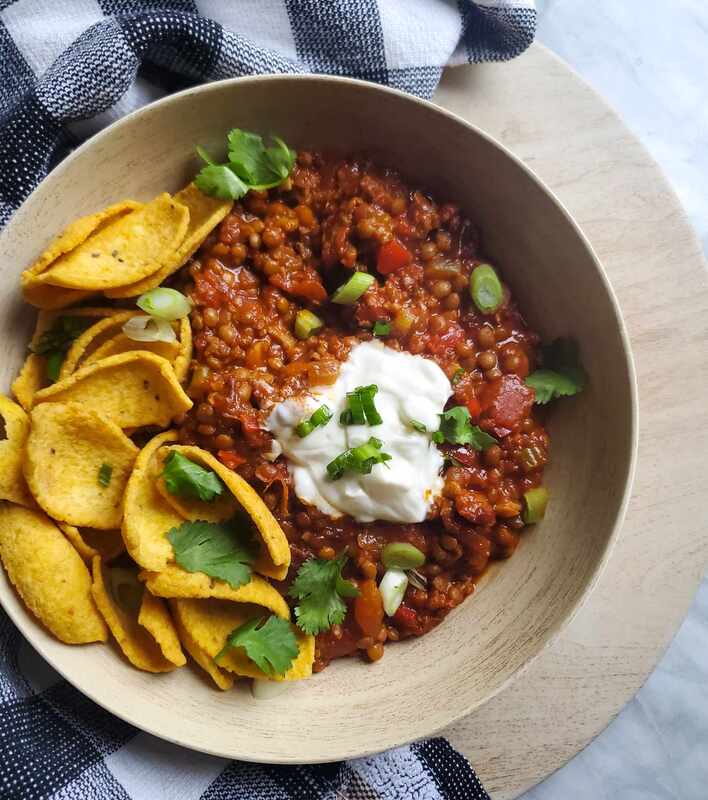
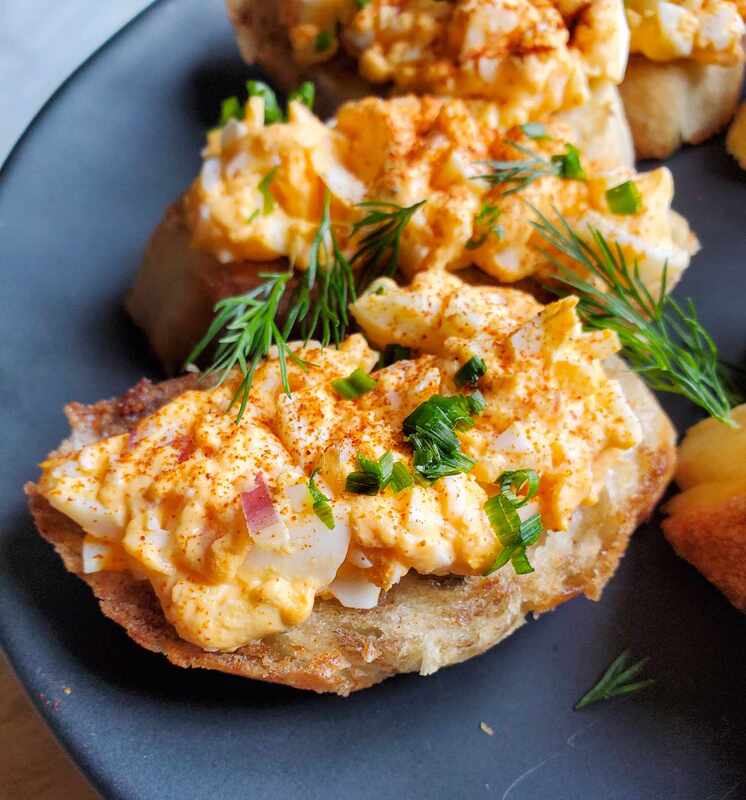
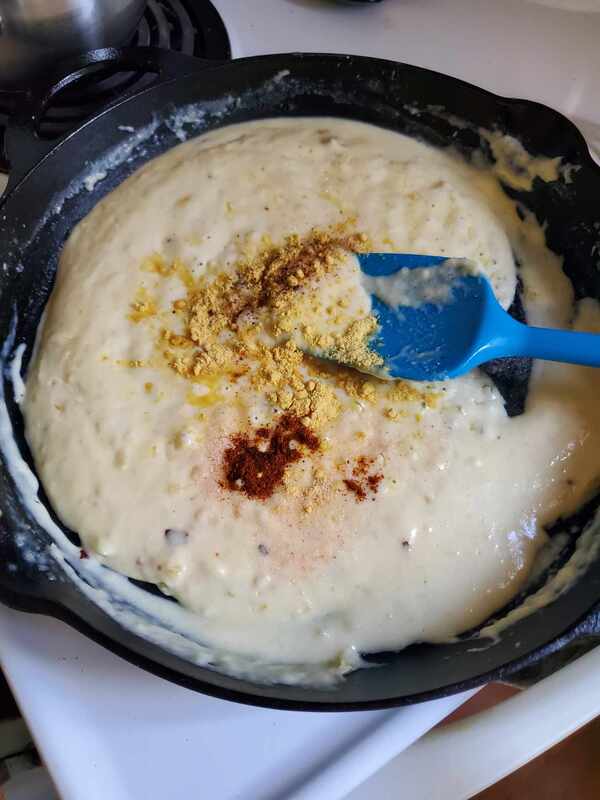
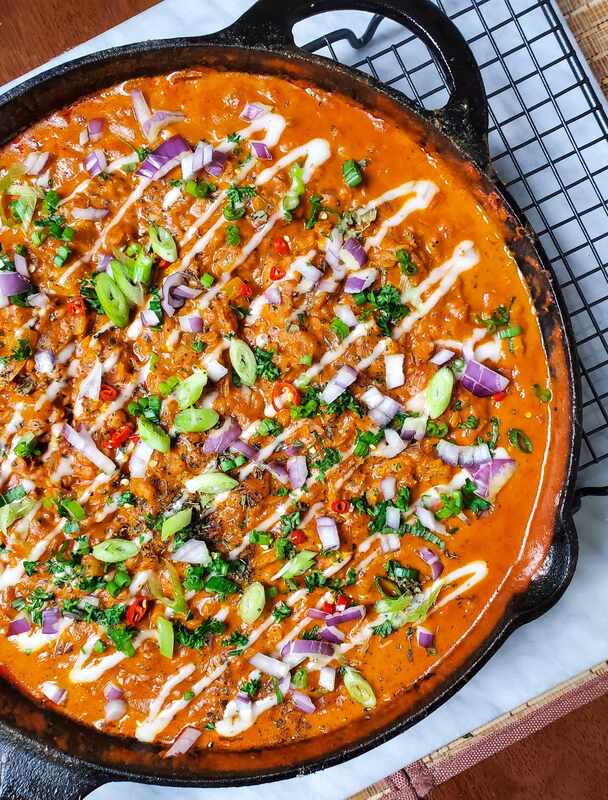
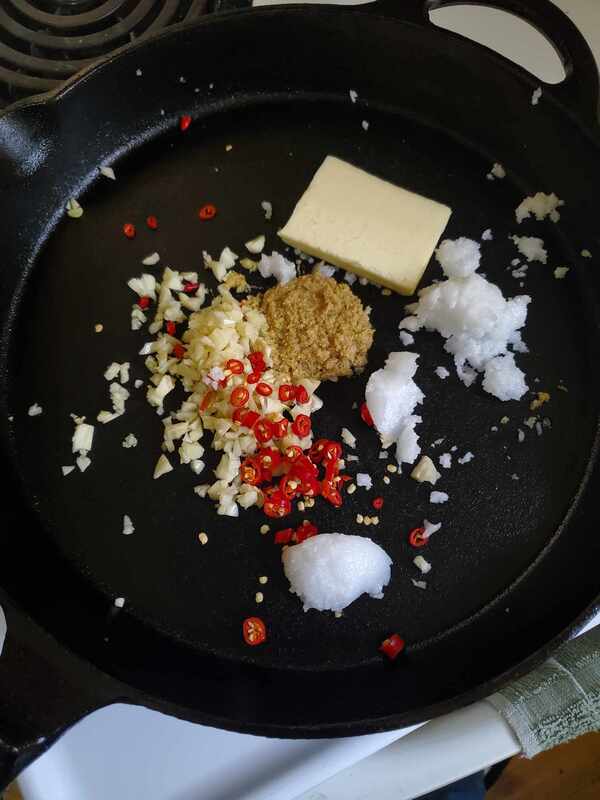
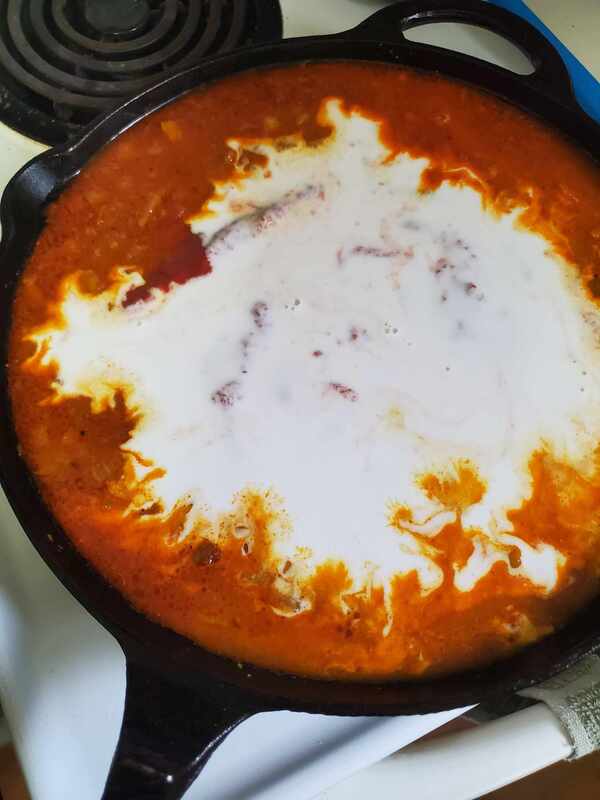
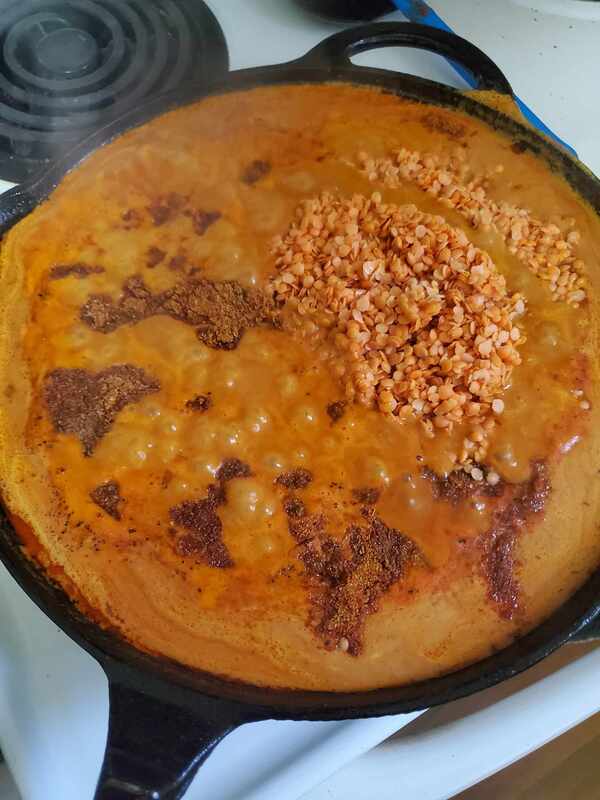
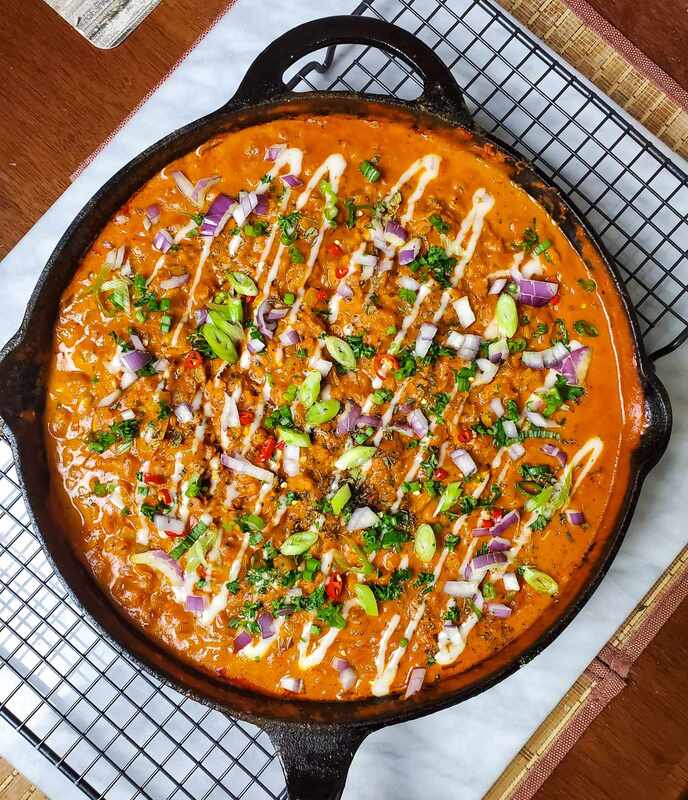
NOTES: * Kashmiri Mirchi is a chili powder found in India. It's notably much more red and vibrant than a standard chili powder and has mild heat. Sub regular chili powder + paprika if needed. ** Kasoori Methi is dried fenugreek leaves. You can usually find this in the international section of your grocer.
DIRECTIONS
HAPPY VEG |


Proudly powered by Weebly