
HAPPY VEG
0 Comments
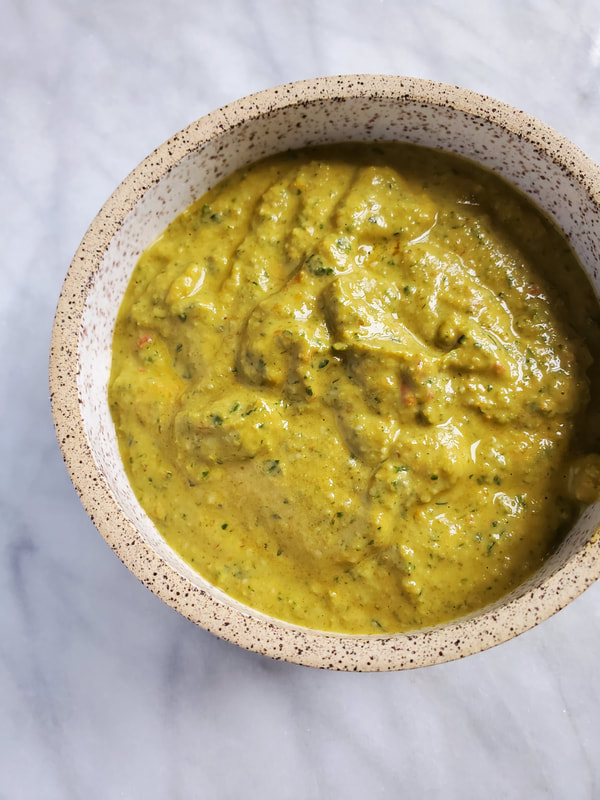
 NOTES: (*1) - Although I've provided a recipe for my sundried tomato pesto, don't hesitate to use a jar of pesto if you have that on hand. I always have a jar myself for recipes just like this one. (*2) I like the consistency of my pesto out of the blended but feel free to use your food processor for a more traditional, chunky pesto. HAPPY VEG
  HAPPY VEG
 HAPPY VEG
WHAT YOU NEED
  HAPPY VEG
 HAPPY VEG
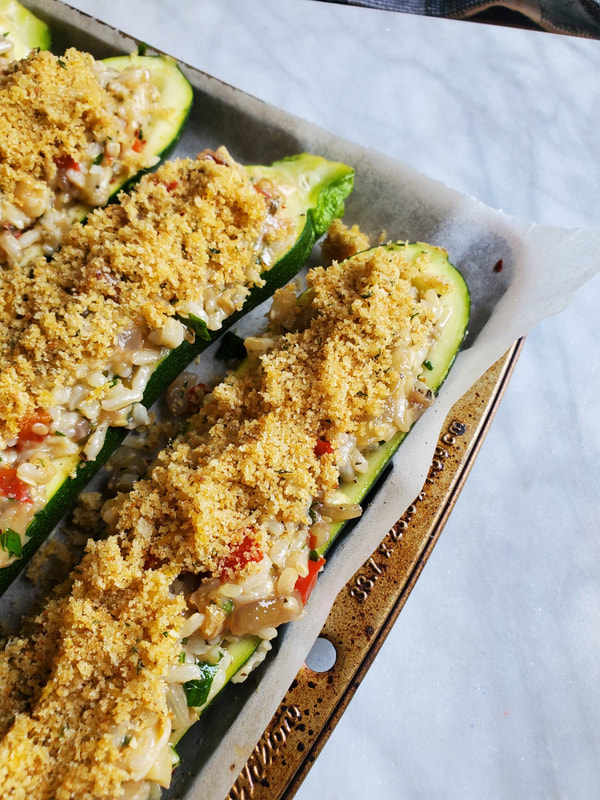
MAKE IT A JACKET
HAPPY VEG
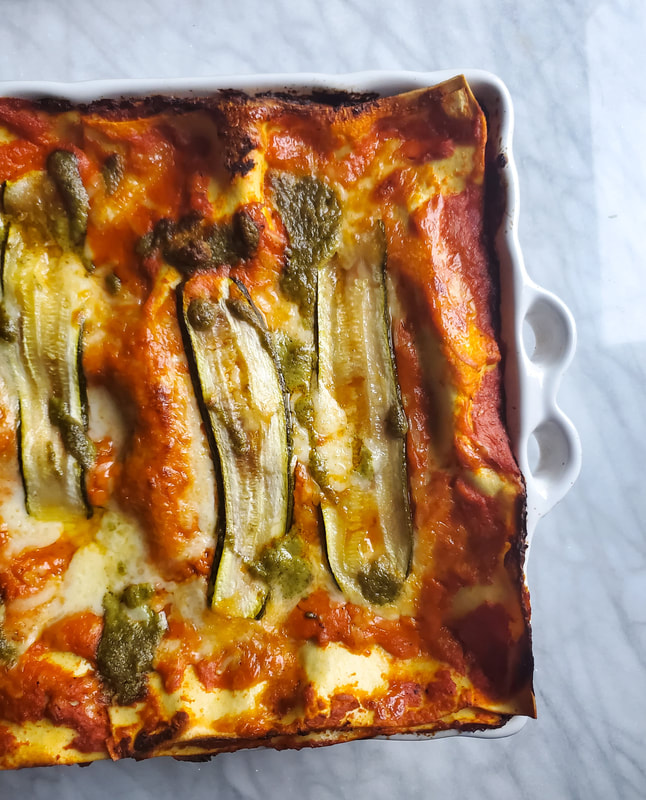
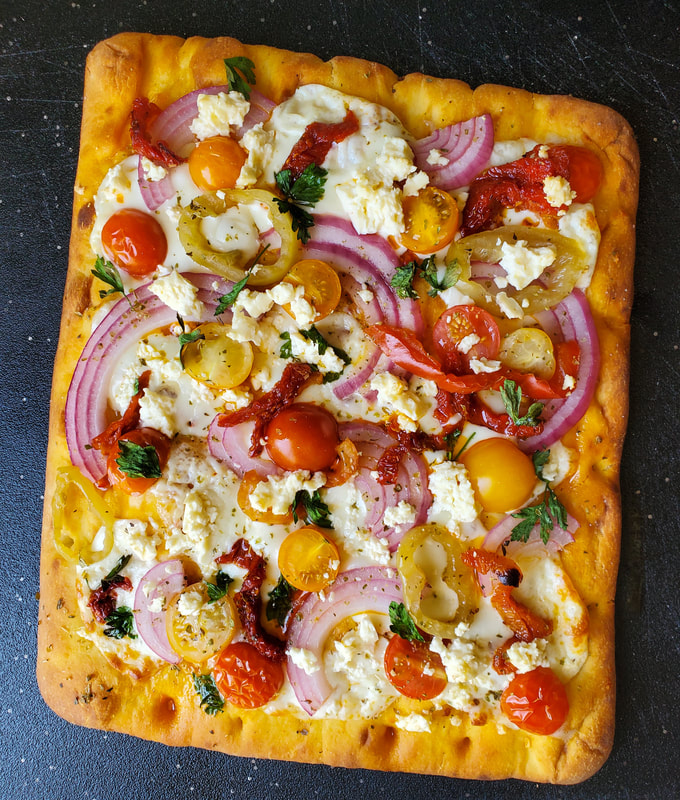
NOTES: (*1) - I use the balls of pizza mozzarella so when I say slices, I'm talking rounds. If you're using a brick for example, just cut enough to coat the flatbread. (*2) - I ALWAYS have a jar of store bought pesto in my fridge. This flatbread is very simple without preparing the pesto from scratch, so don't be afraid to open the jar if you're looking to keep things quick.
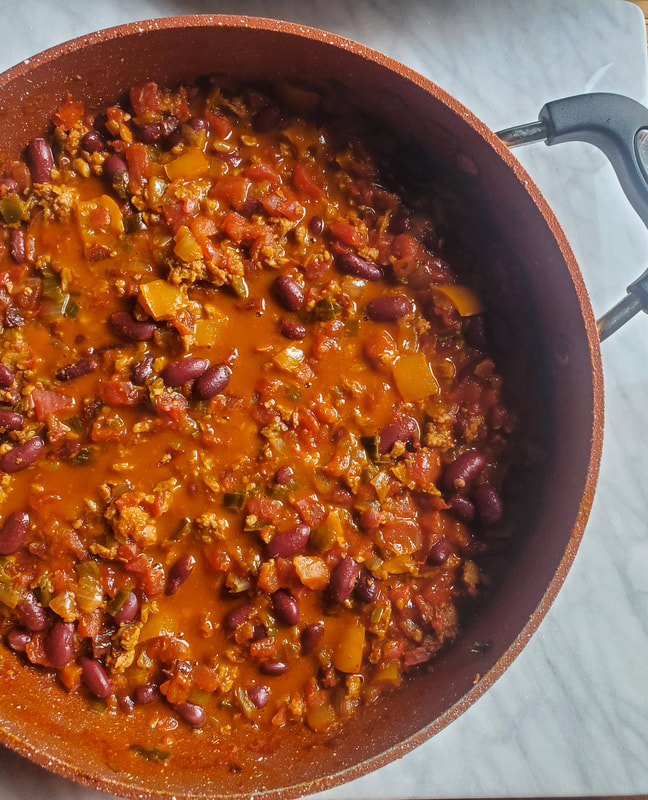
 HAPPY VEGI follow a page on Twitter called Rate My Plate, where people send in photos of their food for viewers to enjoy, criticize, or skewer. I'm still not sure if the ones who send in ugly pictures really believe the plate is good, or are looking for some fun, but I love the page. I've seen some really horrifying plates you guys, like, really bad, but I've also stumbled across a few gorgeous ones like the one that inspired this recipe. This is giving me back in Ireland vibes. I was loving the whole baked beans for breakfast thing, although my stomach might have felt differently. Quite simply, toasty crumpets, baked beans, the oldest cheddar, gouda, and some white & green onions. Delish.
GIVE IT SOME EXTRA OOMPHWanna crank these cheesy crumpets up a notch. If you've got the time and patience, try making my Baked beans recipe. They're smoky, flavourful, and absolutely delicious. www.thehappyveg.ca/recipes/baked-beans Make it an experience with an egg cooked to your liking. I suggest a yolky one because that golden yolk and those cheesy beans are a match made in heaven.  HAPPY VEG
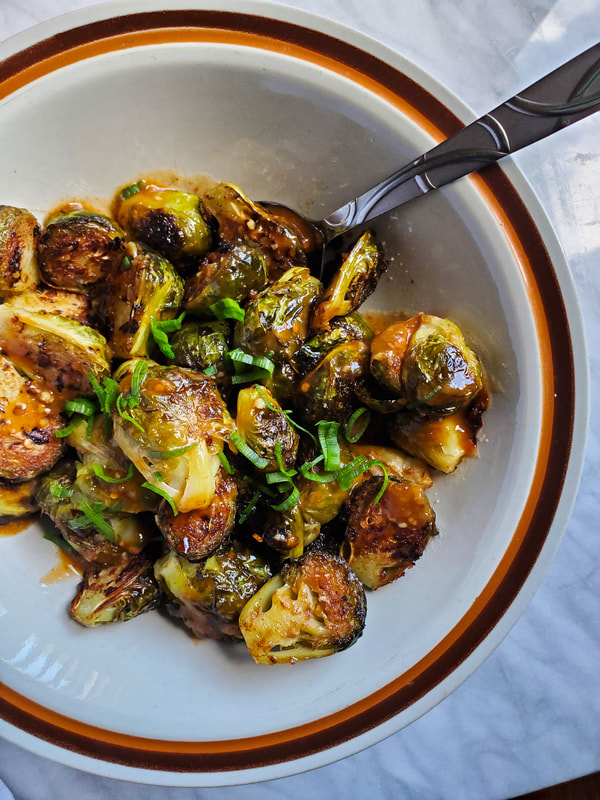
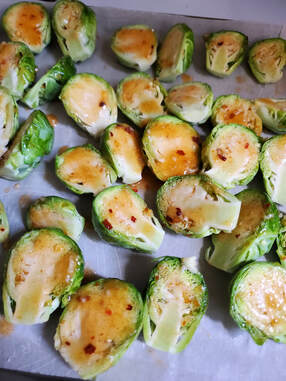
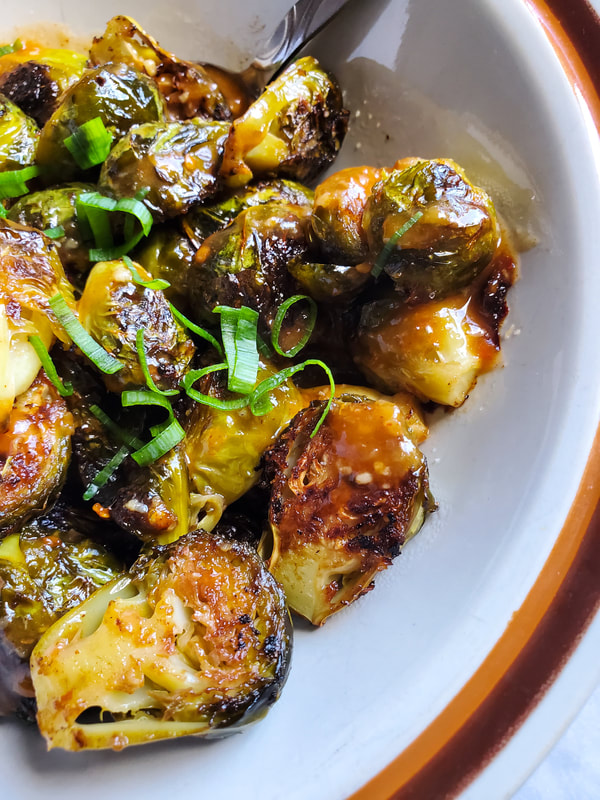
NOTES: (*1) I LOVE Nando's Peri Peri Garlic sauce in medium. It's hot, has great flavour, and it's my personal fave. You can easily sub it out for your favourite peri peri sauce but make sure it's got some heat because that's what these sprouts are all about.
 HAPPY VEG |


Proudly powered by Weebly