
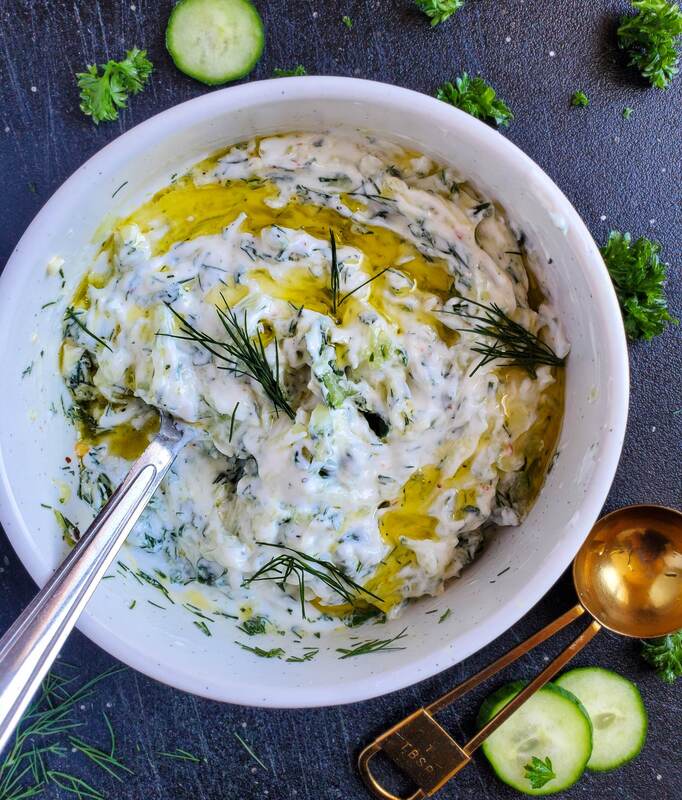
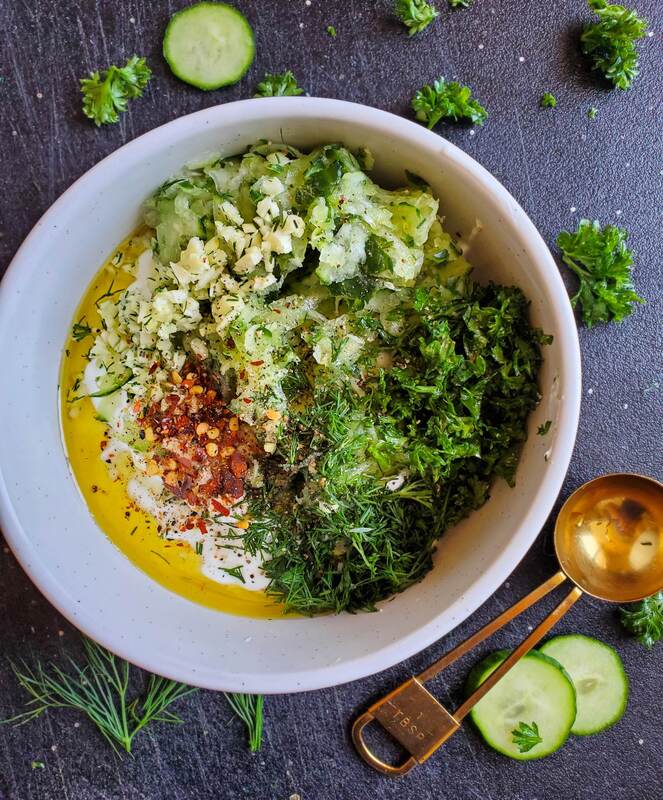
Tzatziki
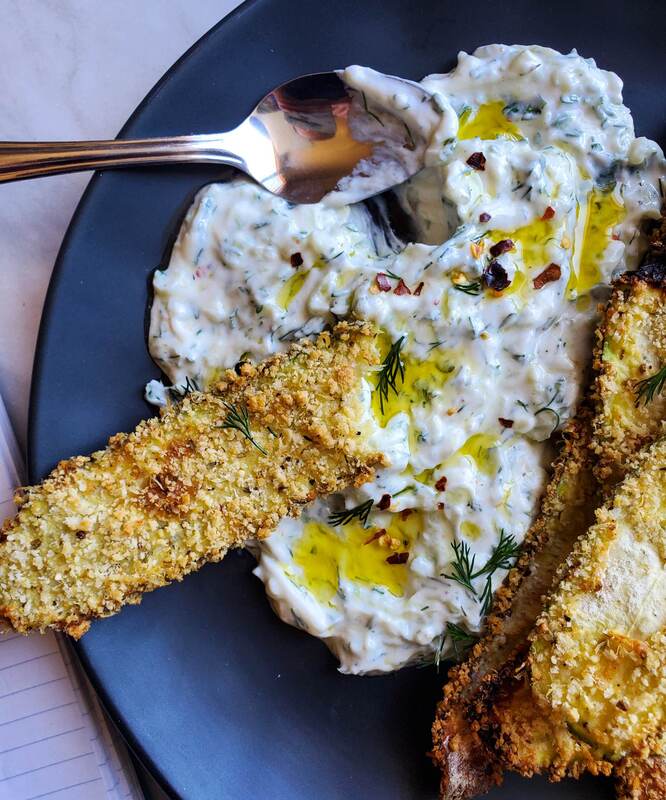
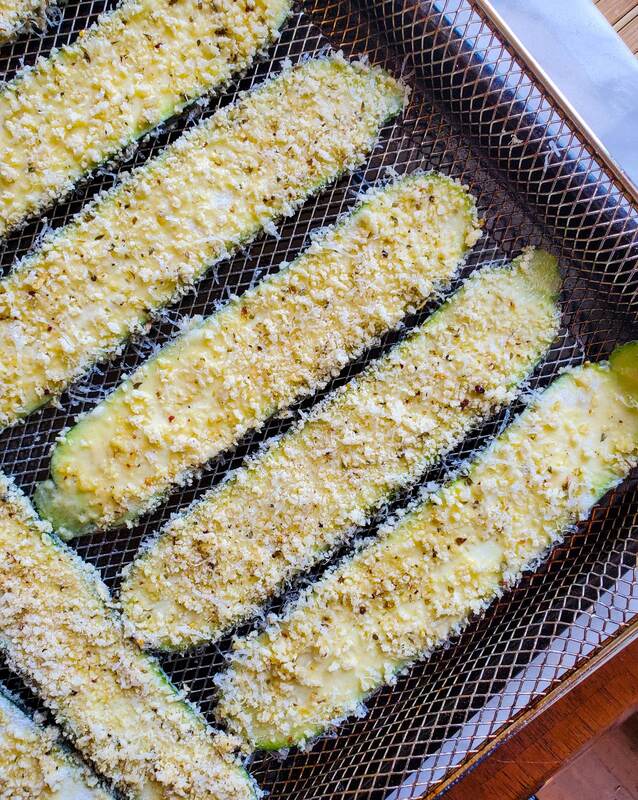
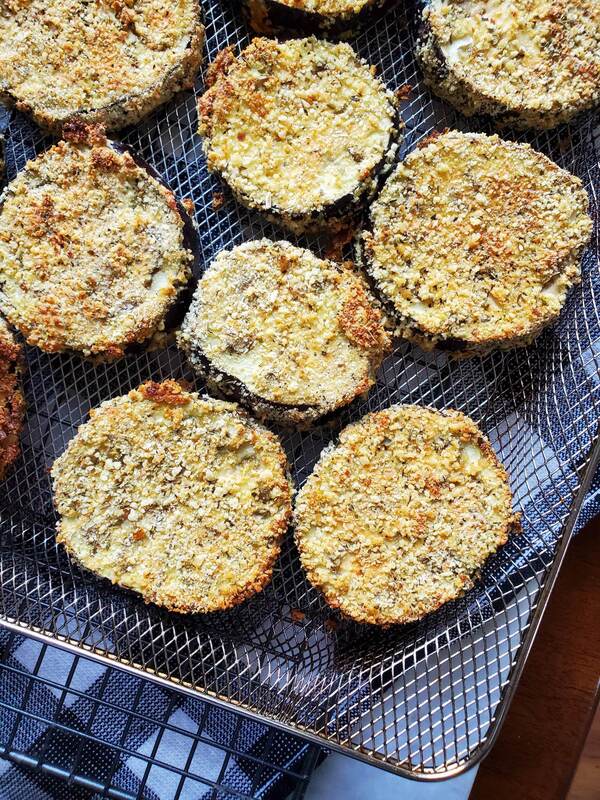
Crispy Air Fried Zuccs
NOTE: Crispy zucchini does NOT stay crispy for long. Your window of opportunity is limited, so serve and eat them right away for best results :)
 HAPPY VEG
1 Comment
DIRECTIONS
 HAPPY VEG
DIRECTIONS
 HAPPY VEG
DIRECTIONS
HAPPY VEG
WHAT YOU NEED
NOTES:
DIRECTIONS
 HAPPY VEG
DIRECTIONS
 HAPPY VEG
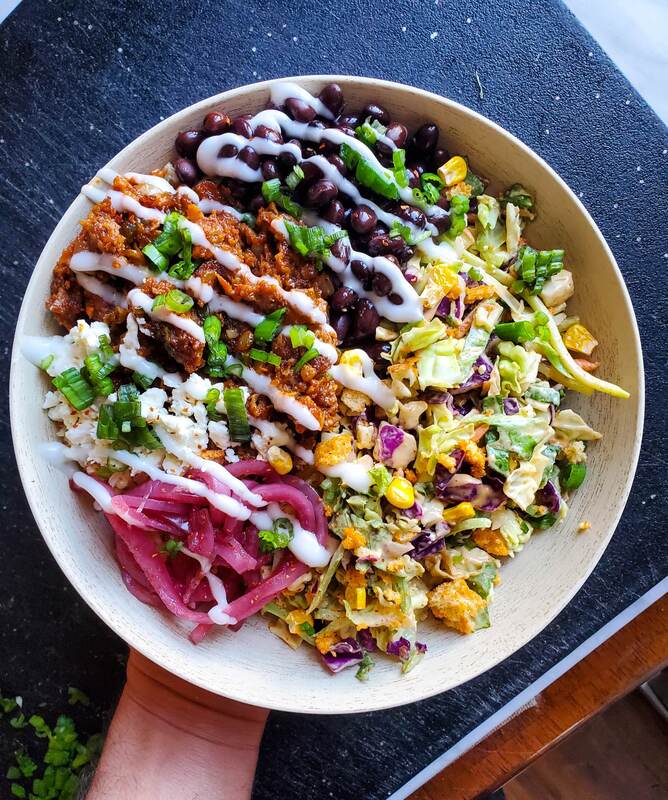
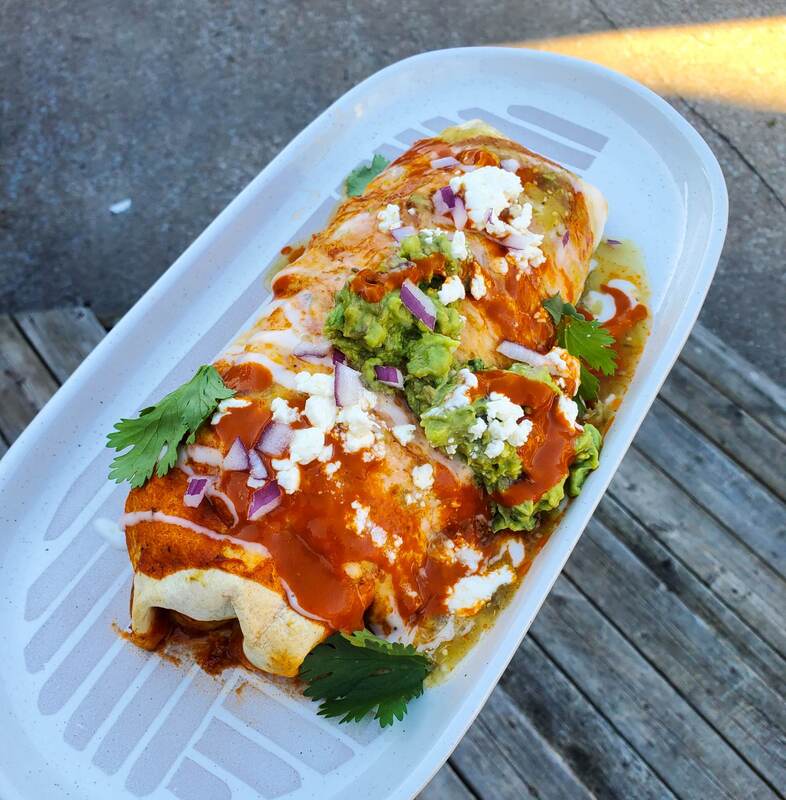
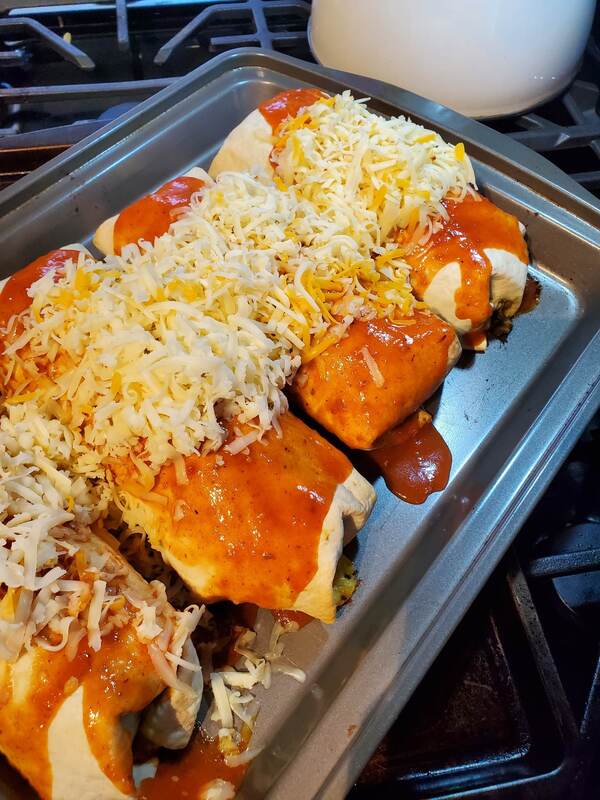
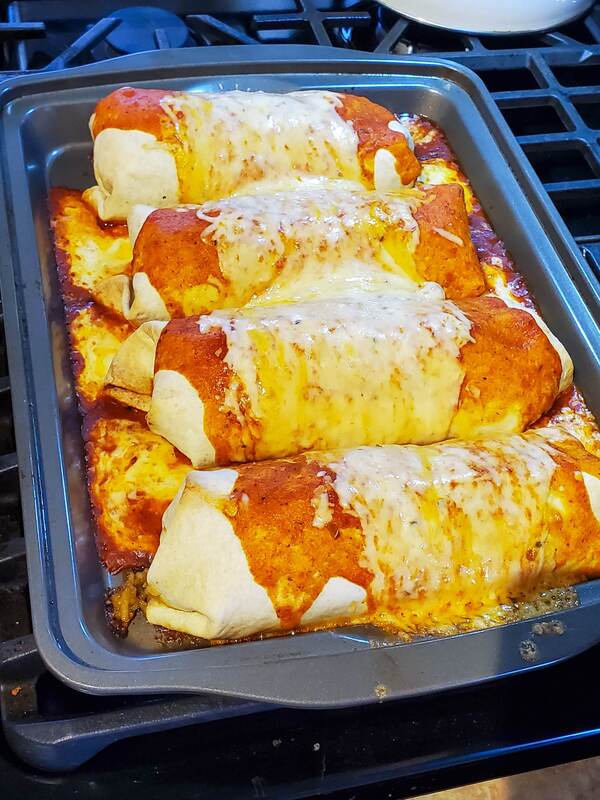
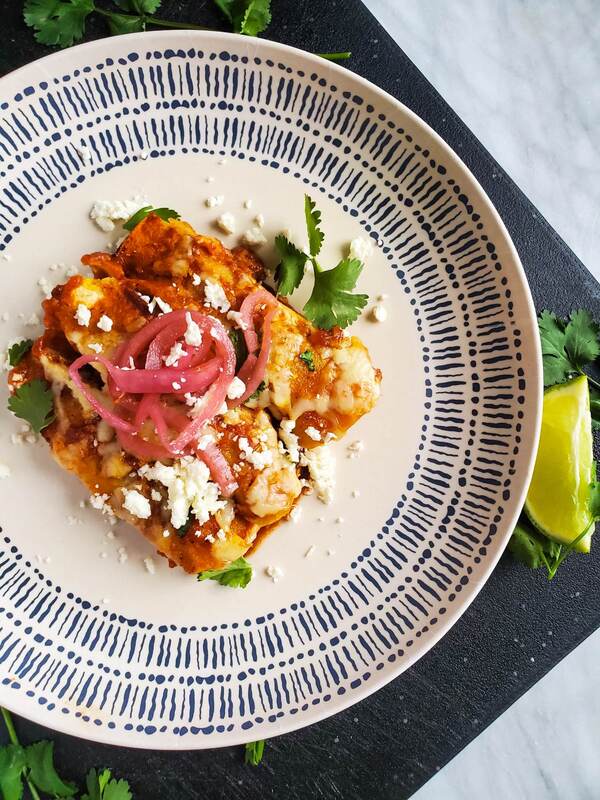
I've always said, I could eat Mexican Food, every day, for the rest of my life. I truly mean that. Admittedly, that also extends to Indian food as well, but this post is here to celebrate my love for Mexican cuisine. I've never been to Mexico, but I've been to hundreds of Mexican joints at this point in my life. I LOVE enchiladas, quesadillas, tacos!! All of it. In lieu of my love for Me-he-can, let's celebrate some Mexican inspired recipes I've collected from the blog!
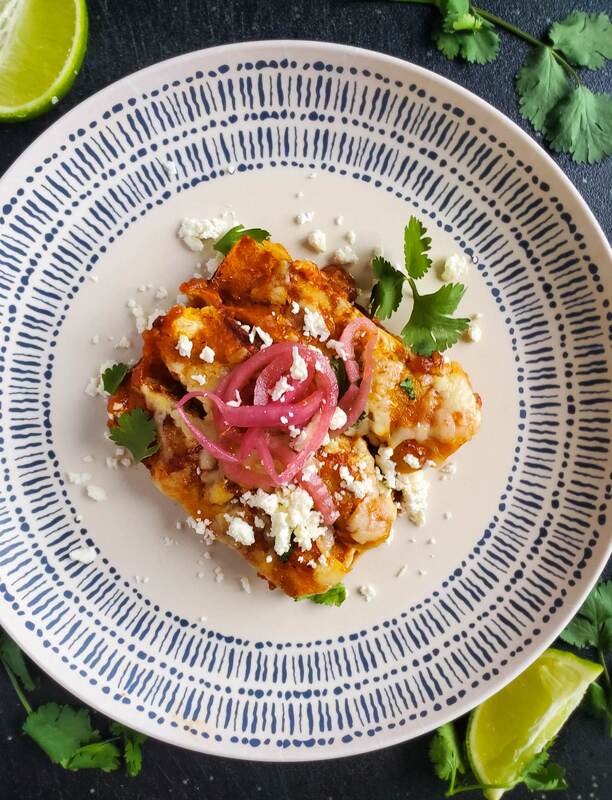
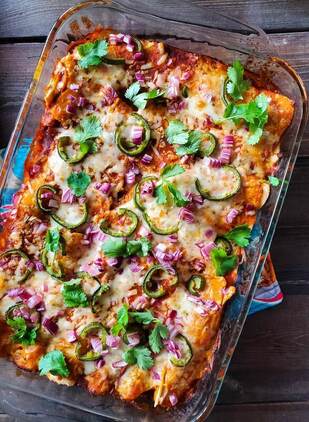
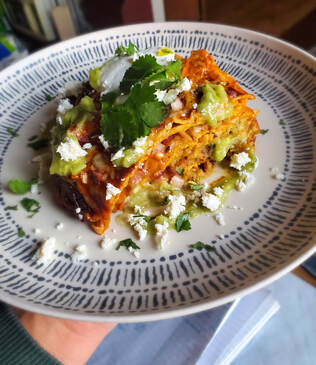
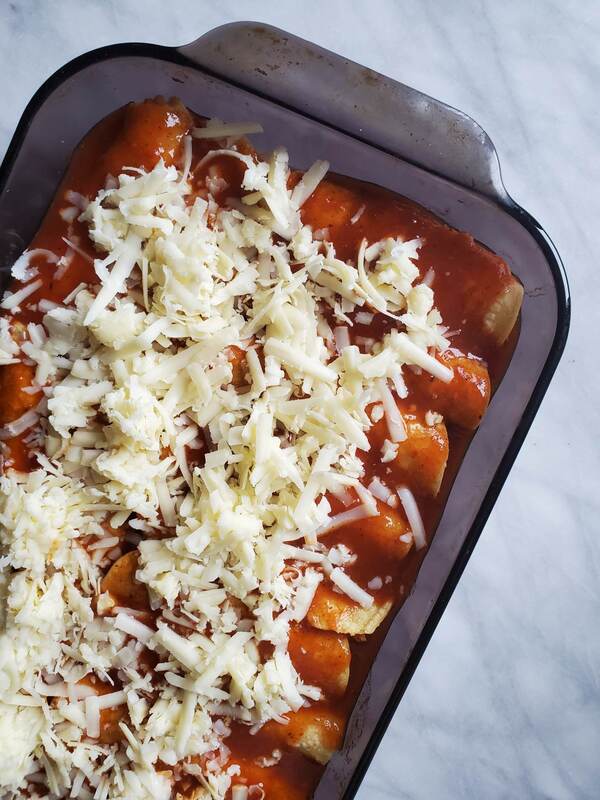
We get to take things even further when plating. Some additional fresh cilantro and crispy onion, a dollop of smooth, tangy sour cream, sprinkle of tajin, and your favourite green or red salsa to finish everything off. Definitely in my top 3 favourite enchilada recipes I've written! 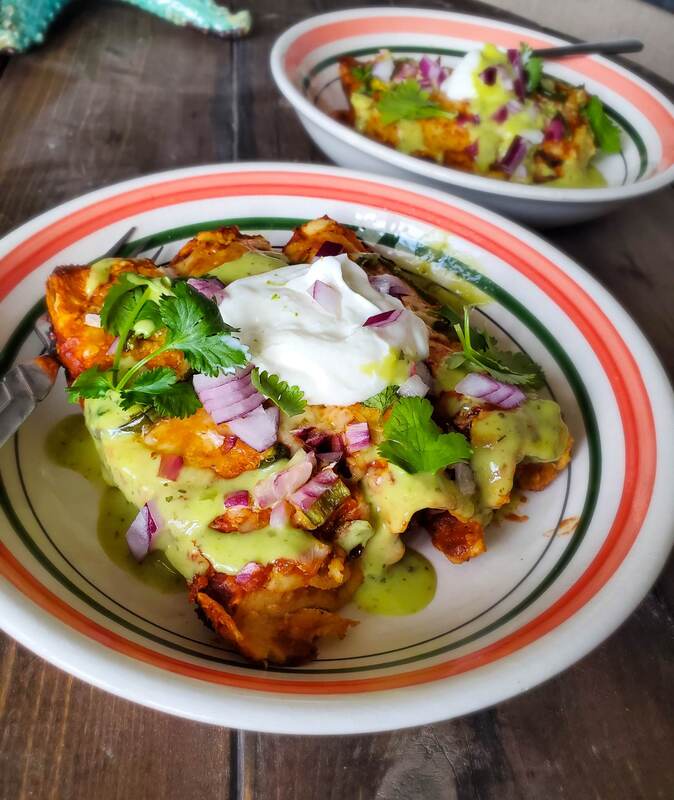
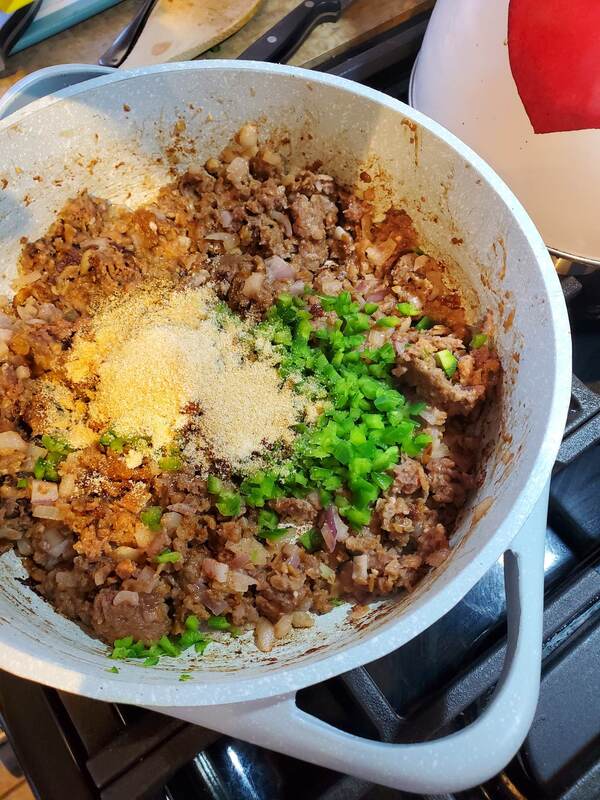
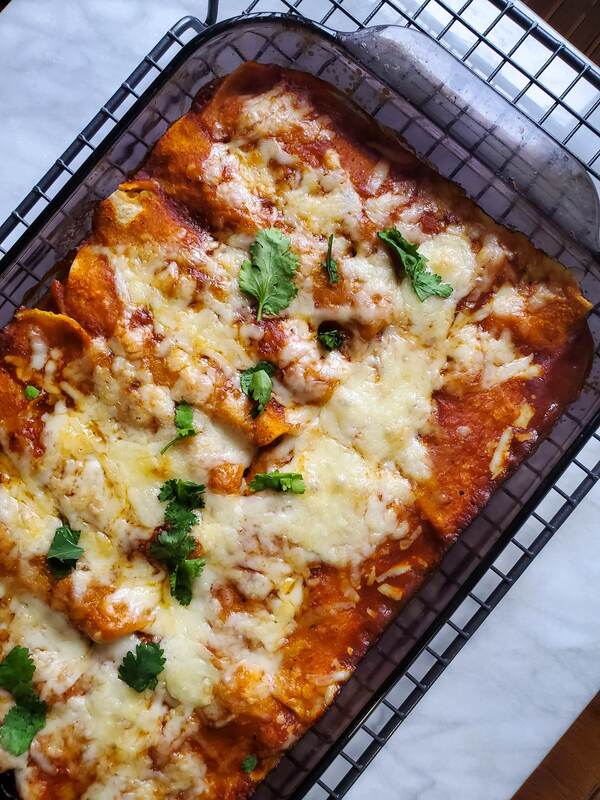
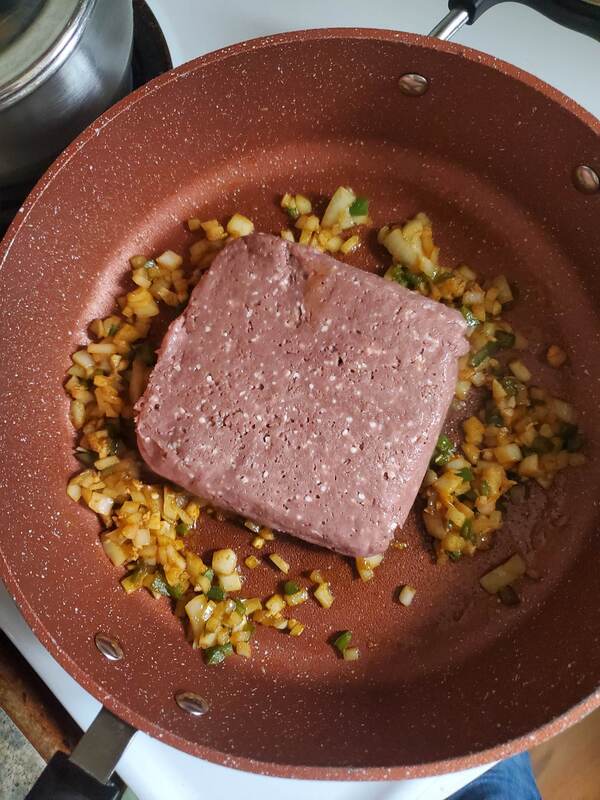
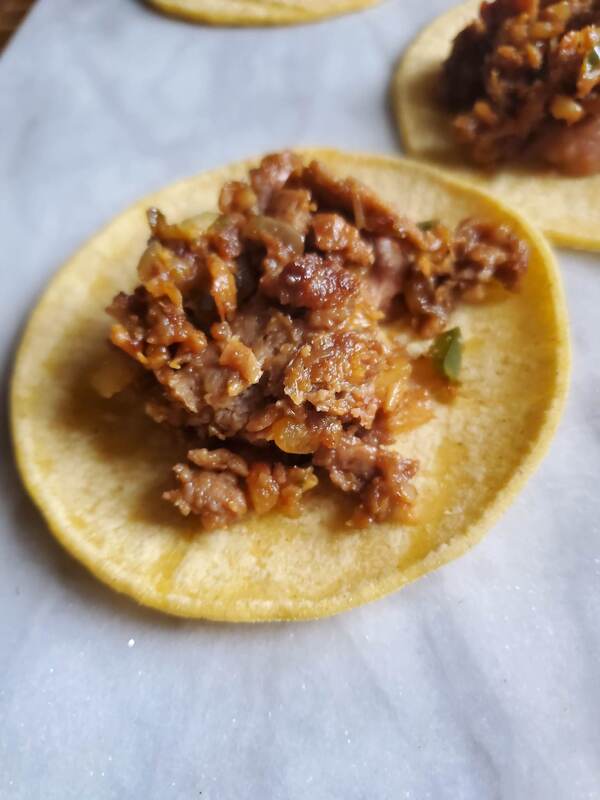
M O R E TO C O M EWe're not stopping here you guys! I've got lots of new ideas and recipes that need testing, so expect a bunch of new, Mexican inspired recipes at the blog. HAPPY VEGEnchiladas are a weeknight go to for me because they really couldn't be easier to put together. They're a great combination of pantry items along with fresh, which means you most often have the ingredients to whip up some kind of enchilada dinner.
DIRECTIONS
  HAPPY VEG
DIRECTIONS
 HAPPY VEG
WHAT YOU NEED
HAPPY VEG |


Proudly powered by Weebly